Your Guide To Moray Eel Drawing: Capturing Ocean Creatures On Paper
Detail Author:
- Name : Gerson Leannon
- Username : krystina.ullrich
- Email : deven44@denesik.com
- Birthdate : 1997-04-23
- Address : 6934 Kozey Overpass Apt. 602 Lake Heathertown, DE 14836-0501
- Phone : 505.713.3850
- Company : Mosciski Inc
- Job : Packer and Packager
- Bio : Sint numquam nam voluptas minus soluta minima vitae. Amet necessitatibus exercitationem facilis voluptatem. Asperiores ut quas odit dolores quia esse debitis. Aut eius pariatur qui animi.
Socials
facebook:
- url : https://facebook.com/richard_nader
- username : richard_nader
- bio : Pariatur velit ab quidem necessitatibus eum consectetur enim.
- followers : 3329
- following : 398
linkedin:
- url : https://linkedin.com/in/richardnader
- username : richardnader
- bio : Voluptatibus hic a enim iusto fugit enim qui.
- followers : 5628
- following : 2024
instagram:
- url : https://instagram.com/richard.nader
- username : richard.nader
- bio : Id dolor quia et ut ad saepe illo. Sed distinctio earum sed vel.
- followers : 6227
- following : 120
tiktok:
- url : https://tiktok.com/@naderr
- username : naderr
- bio : Ducimus tempore architecto eaque rerum. Corrupti id velit sed voluptatem.
- followers : 1737
- following : 2590
Have you ever looked at a picture of a moray eel and thought, "Wow, that would be an amazing thing to draw"? You are not alone, you know. These creatures, with their distinct shapes and often striking patterns, truly capture the eye. Creating a moray eel drawing can be a really rewarding project, whether you are just starting out with art or have been sketching for a while. It gives you a chance to explore marine life up close, right there on your page.
There's something quite fascinating about these ocean dwellers. As my text mentions, moray eels are a family of eels easily recognized by their huge heads, special jaws, and vivid coloring. With over 200 different kinds, they are found all over the world. This wide variety means you have so many choices when it comes to deciding what kind of moray eel you want to put on paper, which is pretty cool.
This article will walk you through what makes a good moray eel drawing. We will look at what you need, how to approach the shapes, and ways to add those fine details that make your art pop. So, if you are curious about bringing one of these amazing animals to life with your pencils or pens, you are definitely in the right spot. Let's get creative, shall we?
Table of Contents
- Why Draw a Moray Eel?
- Getting Ready: Your Drawing Materials
- Understanding the Moray Eel for Drawing
- A Step-by-Step Approach to Moray Eel Drawing
- Bringing in Color
- Capturing Their Expression
- Avoiding Common Drawing Mistakes
- Finding Inspiration for Your Art
- Sharing Your Moray Eel Art
- Frequently Asked Questions About Moray Eel Drawing
Why Draw a Moray Eel?
Drawing a moray eel is a pretty cool challenge for any artist, you know. They have this unique look that stands out from other fish. Their long, winding bodies and those really big heads make them visually interesting. Plus, their sometimes intense gaze and the way their mouths often stay open add a lot of character, which is great for art.
These creatures, as my text points out, have striking coloration. This means you get to play with a wide range of hues and patterns, which is honestly a lot of fun for coloring. From spotted to striped, or even plain dark shades, there's a lot of artistic freedom to explore. It's almost like they were made for artists to discover.
Also, drawing something a bit unusual like a moray eel can help you grow your skills. It pushes you to think about different textures, light hitting a sleek surface, and how to show movement in a still image. So, in a way, it's a fantastic exercise for anyone wanting to improve their animal drawing abilities.
Getting Ready: Your Drawing Materials
Before you even start putting lines on paper for your moray eel drawing, it's good to have your tools ready. You don't need anything too fancy, you know. A few basic things will get you pretty far. This is actually a very simple setup.
- Pencils: You will want a range of pencils. Maybe a harder one, like an HB or 2H, for light sketches. Then, some softer ones, like a 2B or 4B, for darker lines and shading. You might even want a 6B or 8B for the really dark spots.
- Paper: Any drawing paper will do to start. A smooth surface is generally nice for details, but a bit of tooth can help with texture.
- Eraser: A kneaded eraser is really good for lifting graphite without smudging. A regular plastic eraser works well for clean removal of lines.
- Blender (Optional): A blending stump or even a cotton swab can help smooth out your shading. This is just for a smoother finish, you know.
- Reference Photos: This is probably the most important tool. Look for clear pictures of moray eels from different angles. Pay attention to their eyes, mouth, and skin patterns. You can find tons of these online, which is very helpful.
Having these items ready just makes the whole process smoother. You won't have to stop mid-sketch to go searching for something, which is a bit annoying when you're in the zone.
Understanding the Moray Eel for Drawing
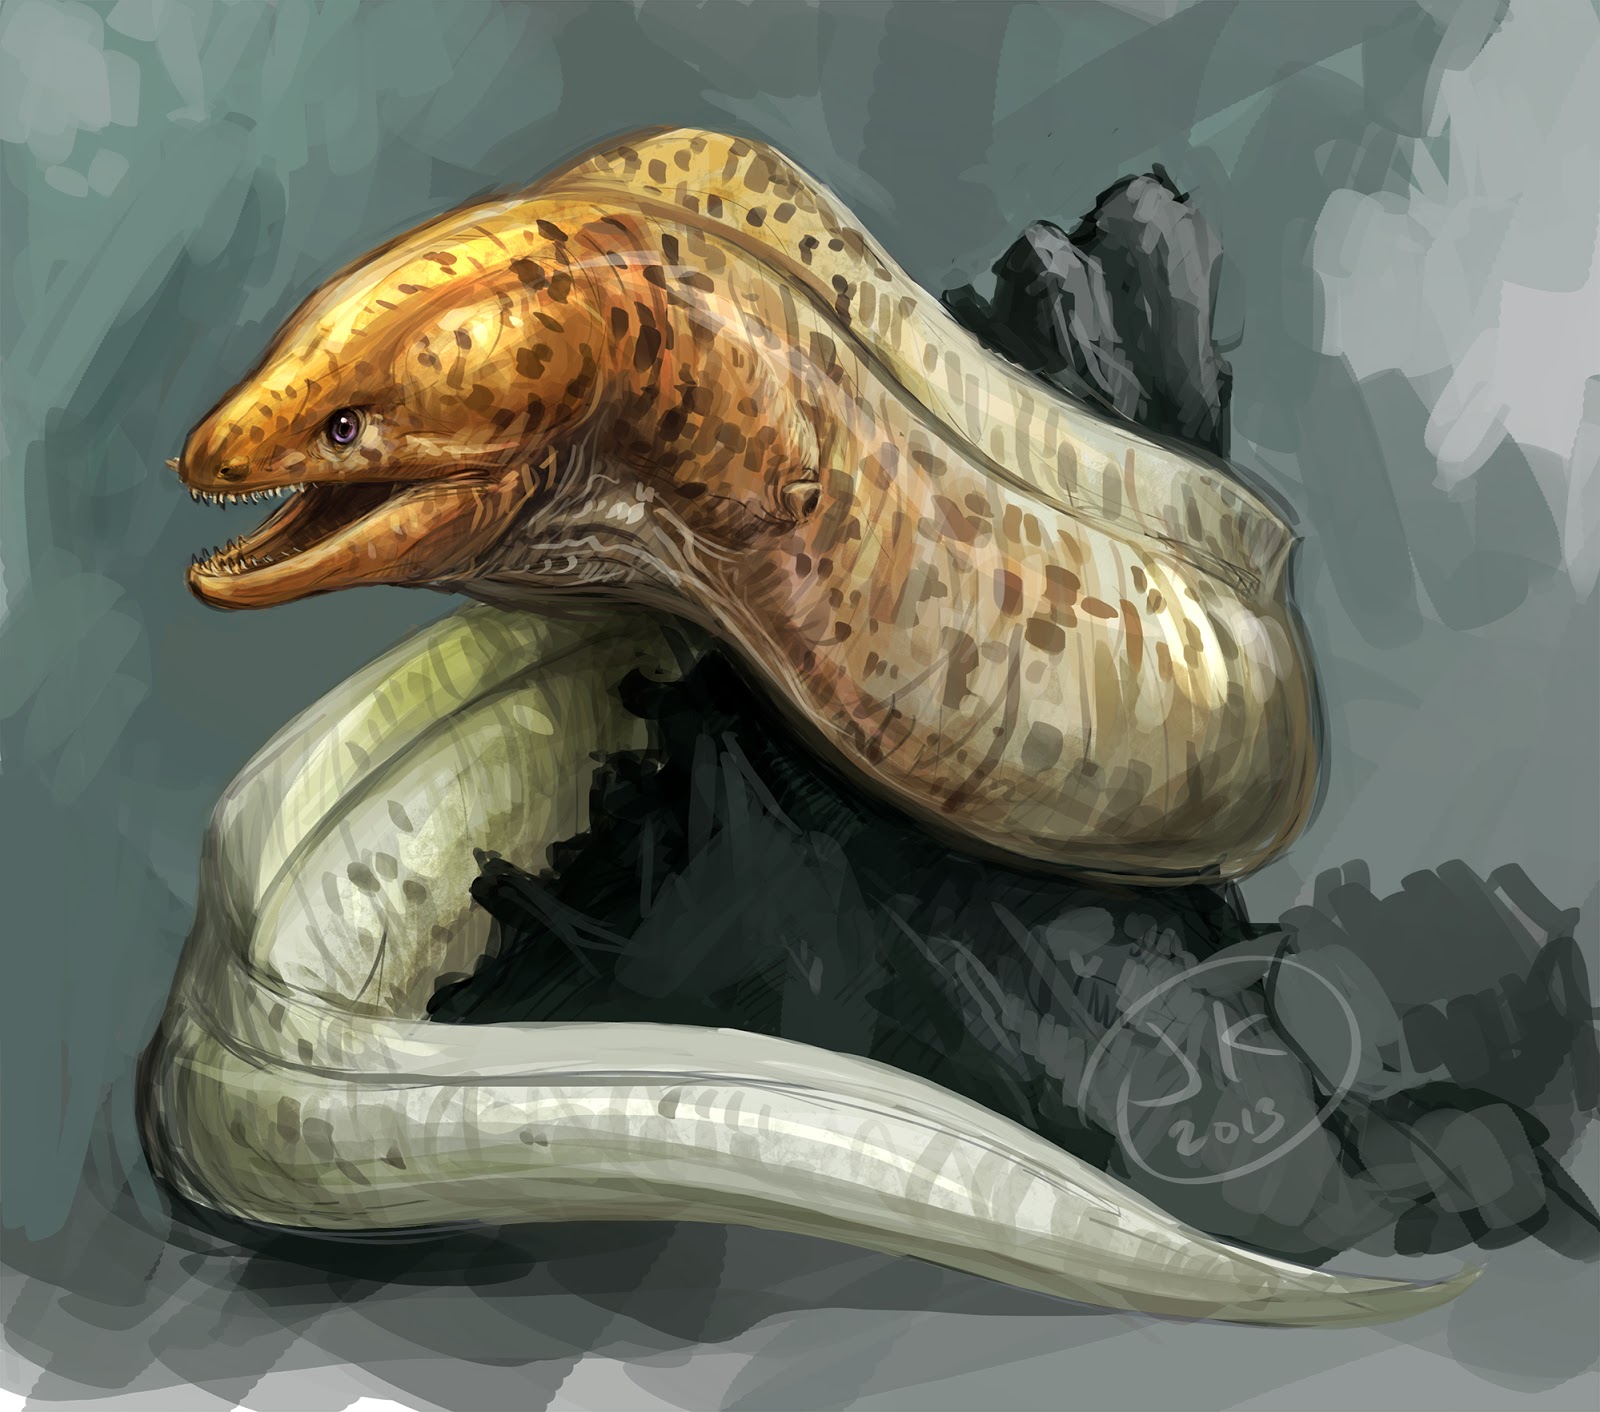
To really make your moray eel drawing look good, it helps to know a little bit about them. My text mentions they are clearly distinguished by their massive heads and striking coloration. Knowing these key features will help you get the proportions and details right, you know. It's almost like getting to know your subject first.
Their Distinctive Features
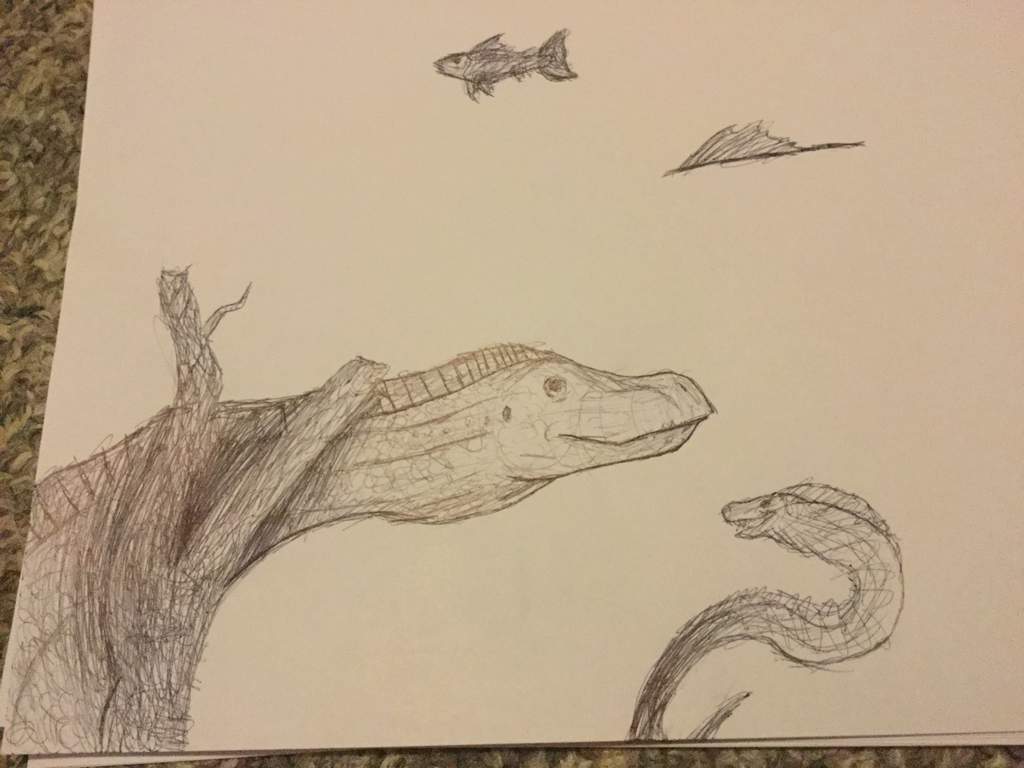
One of the first things you notice about moray eels is their head. They have a rather large head compared to their body, and it's quite broad. Their eyes are usually small and set back a bit. Then there are their mouths, which often appear slightly open, showing off their sharp teeth. This open-mouth look is pretty typical for them, you know, as they use it to breathe.
My text also mentions their "pharyngeal jaws." While you won't be drawing these inner jaws, understanding that they have a unique way of catching food can inform how you might portray their mouth. It adds to their somewhat mysterious and powerful appearance. So, when you are drawing the mouth, think about that strength.
Their skin is another key feature. It's smooth and lacks scales, which gives them a distinct texture. The patterns on their skin can be incredibly varied, from simple spots to intricate marbling. This is where you can really have fun with detail, honestly. Each species, and there are over 200, has its own unique look, which is pretty amazing.
Body Shape and Movement
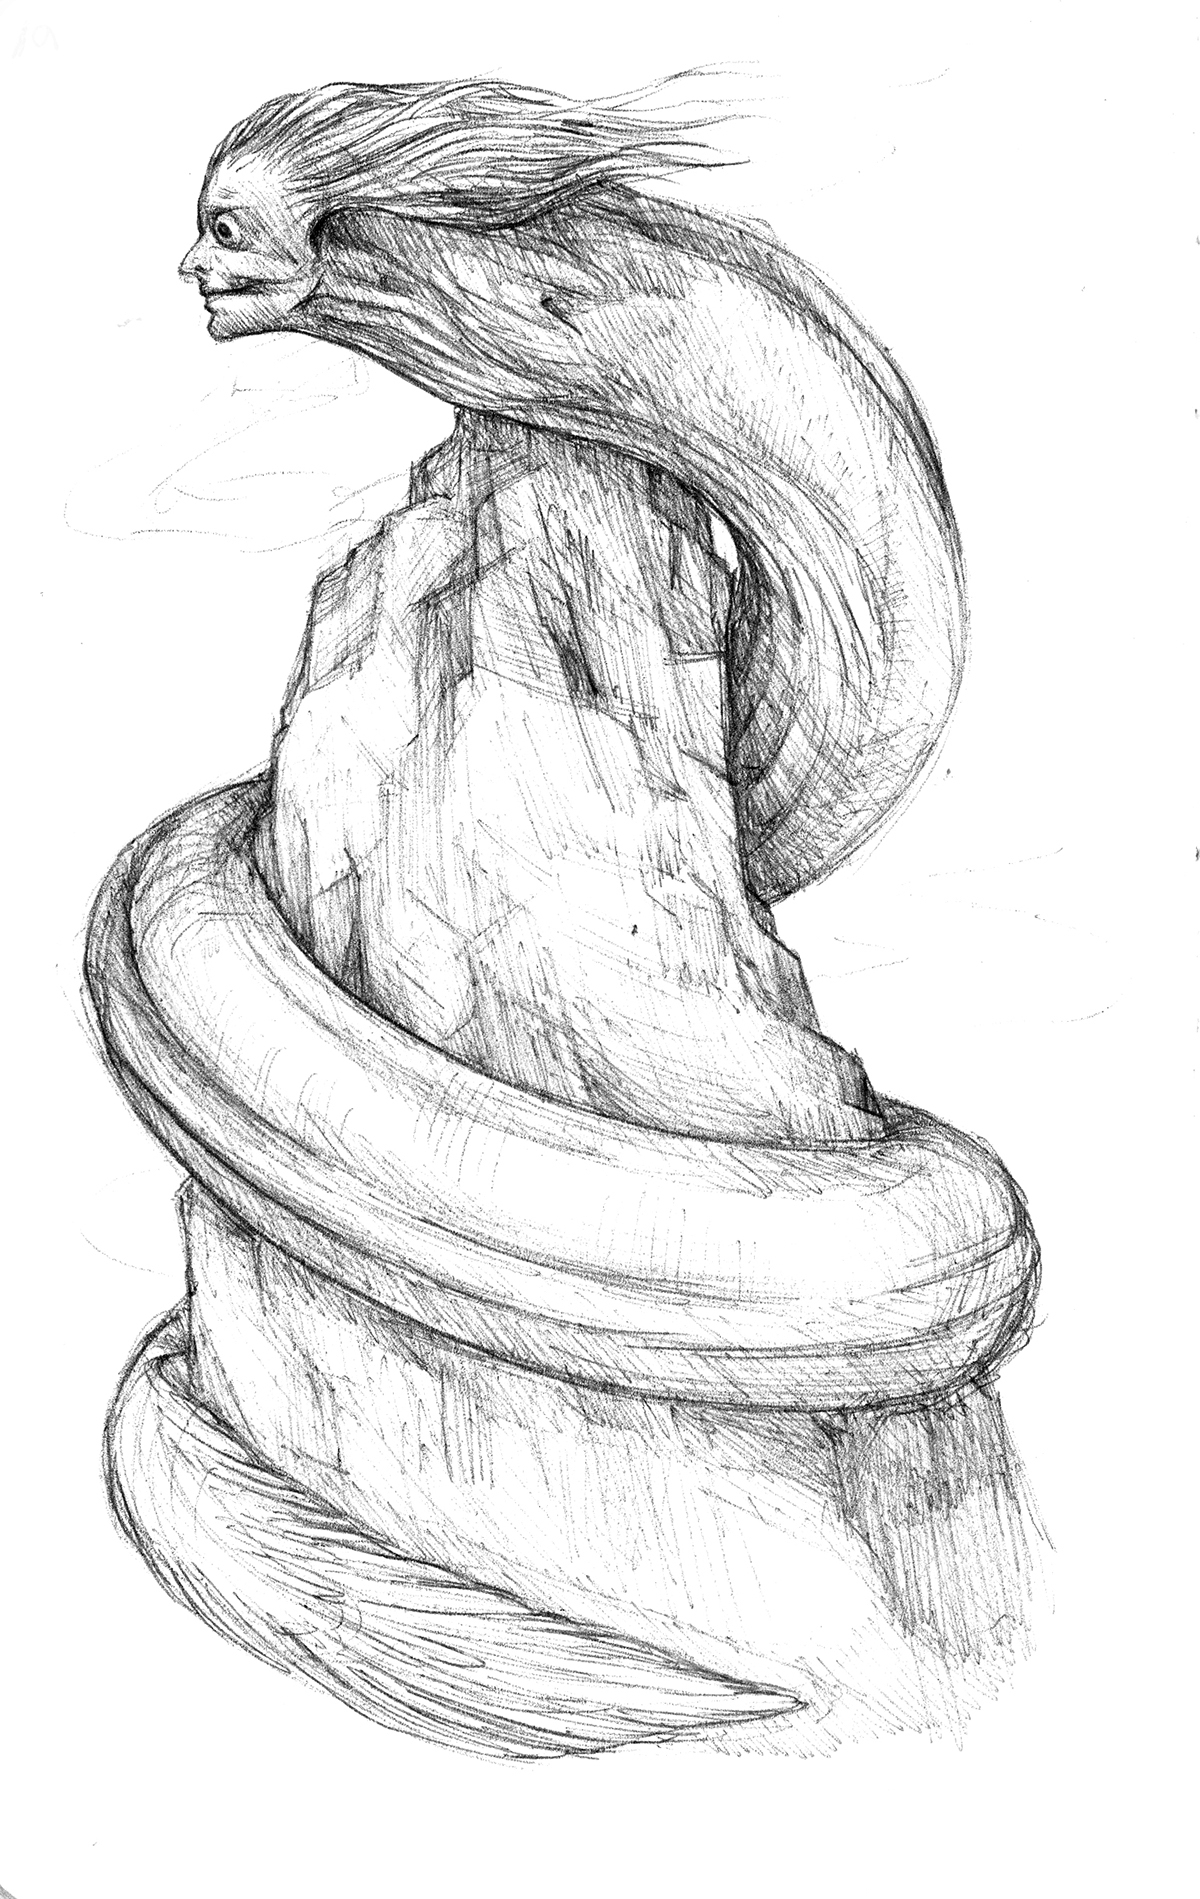
Moray eels have long, snake-like bodies that taper towards the tail. They are very flexible, which allows them to move through tight spaces in reefs. When drawing them, try to capture this fluidity. Think about how their body might curve and coil, even when they are just peeking out from a rock. This gives your drawing a sense of life and motion.
They often hide in crevices, with just their heads and a bit of their body showing. This is a very common pose to draw them in. You can also show them swimming, which means depicting that graceful, wavy movement. So, consider the environment they live in and how that affects their posture, which is actually quite important for a realistic feel.
A Step-by-Step Approach to Moray Eel Drawing
Ready to start your moray eel drawing? Breaking it down into smaller steps can make it feel less overwhelming, you know. It's like building something piece by piece. Just take your time with each stage, which is pretty much the best way to go.
Starting with Basic Shapes
Begin by sketching the main forms lightly. For the head, you can start with a somewhat elongated oval or a rounded rectangle. Think of the body as a long, tapering cylinder or a wavy line that suggests its length. Don't press too hard with your pencil at this stage, as these lines are just guides, you know. You will be adjusting them.
Connect the head shape to the body shape, making sure the transition is smooth. Remember, the head is quite broad where it meets the body. You can also lightly sketch the general curve of the eel's body. Is it straight? Is it winding around something? This initial gesture is very important for the overall feel.
Refining the Outline
Once you have your basic shapes, start to refine the outline. Look at your reference photos closely. Pay attention to the specific contours of the head, how the jawline curves, and the exact shape of the snout. This is where your drawing starts to really take on the form of a moray eel, which is pretty exciting.
Smooth out any sharp angles from your initial sketch. Think about the sleekness of their skin. Make the lines flow naturally. You might want to use a slightly darker pencil now, but still keep it light enough that you can erase if you need to. It's all about building up the form gradually, you know.
Adding Facial Details
Now for the face, which is arguably the most expressive part. Lightly draw in the eyes. They are usually small and round, often with a slightly intense gaze. Position them correctly on the side of the head. Then, sketch the mouth. Remember, it often appears slightly open, showing a hint of teeth.
The nostrils are also a key feature. They often look like small tubes or bumps on the snout. Look at your reference to see their exact placement and shape. These little details really help make your moray eel drawing recognizable, you know. They add that specific character.
Creating Texture and Patterns
This is where the unique coloration mentioned in my text comes into play. Moray eels have diverse skin patterns. If your eel has spots, start lightly sketching them onto the body. If it has stripes or a marbled look, try to follow the natural curves of the body as you draw these patterns.
Since their skin is smooth, you won't be drawing scales. Instead, think about subtle variations in tone or very fine lines to suggest the texture. This is a bit different from drawing a fish with scales, you know, so adjust your approach. The patterns are what really make each moray eel distinct, so take your time with them.
Shading for Depth
Shading gives your moray eel drawing a three-dimensional look. Identify your light source. Where is the light coming from? Areas facing the light will be brighter, while areas away from it will be darker. Use your softer pencils (2B, 4B, 6B) for the darker shadows.
Build up your shading in layers. Start with light layers and gradually add more pressure or darker pencils for deeper shadows. Pay attention to how the light falls on the rounded parts of the body and head. This creates form and makes your eel look solid. You can use a blending stump to smooth out transitions, which is pretty effective for a sleek look.
Bringing in Color
If you decide to add color to your moray eel drawing, you have a lot of options because of their "striking coloration," as my text says. You can use colored pencils, markers, or even paints. Think about the specific species you are drawing, as their colors vary greatly.
Some moray eels are a dark, uniform brown or black. Others have vibrant yellow or green bases with intricate spots or reticulated patterns. Start with lighter base colors and then layer darker shades and patterns on top. This helps build depth and richness in your color. It's honestly a lot like shading with graphite, just with color.
Remember to consider how light affects color. Areas in shadow will have slightly duller or darker colors. Highlights will be brighter. A little bit of white or a very light color can be used for reflections on their smooth skin, which is a nice touch. This makes them look wet and alive, you know.
Capturing Their Expression
A moray eel's expression, or rather, its appearance, is largely in its eyes and mouth. The small, often intense eyes can convey a sense of mystery or alertness. When you draw them, make sure the pupils are well-defined. A tiny highlight in the eye can make it look more alive, which is a pretty simple trick.
Their mouth, which is frequently open, can look a bit intimidating. Drawing the subtle curves of the lips and the hint of teeth can really add to this effect. Even if you are not drawing every single tooth, suggesting them can be very powerful. It's almost like giving them a personality through their features.
Think about the angle of the head too. A slight tilt can add a lot of character. These small choices in how you render the face can really change the feel of your moray eel drawing. It's about capturing that unique presence they have, you know.
Avoiding Common Drawing Mistakes
When you are working on your moray eel drawing, there are a few common things to watch out for. Knowing these can save you some frustration later, you know. It's like learning from others' experiences, which is pretty smart.
- Incorrect Proportions: One common issue is making the head too small or the body too thin. Remember their "massive heads" and robust bodies. Use your reference photos to constantly check the size relationships between different parts.
- Stiff Body: Moray eels are very flexible. If your drawing looks rigid, it might be because you are not capturing that natural curve and flow. Practice drawing wavy lines and coils to get a feel for their movement.
- Flat Shading: If your eel looks flat, it might need more varied shading. Push your darks darker and make sure your highlights are bright enough. This creates that sense of form and depth.
- Ignoring Patterns: The patterns are a big part of what makes moray eels unique. Don't just make the body a solid color unless that's what your specific eel looks like. Take time to add those spots, stripes, or marbled textures.
- Lack of Reference: Trying to draw from memory alone can lead to inaccuracies. Always keep good reference images nearby. They are your best guide for getting the details right, which is very true.
Paying attention to these points will really help your moray eel drawing look more lifelike and convincing. It's all about practice and observation, honestly.
Finding Inspiration for Your Art
Sometimes, just seeing a picture isn't enough to spark your creative flow. My text talks about Moray, the council area in Scotland, known for its "stunning beaches dotted across the northern coastline" and "breathtaking natural resources." While moray eels don't live in Scottish waters, thinking about the vastness and beauty of ocean environments can definitely inspire your art.
Imagine the rocky crevices where these eels might hide, or the vibrant coral reefs they might swim through. You could even draw your moray eel in an imagined underwater scene, which is pretty cool. Consider watching videos of moray eels in their natural habitats. Seeing them move and interact can give you ideas for dynamic poses and expressions.
Look at other artists' marine life drawings too. Not to copy, but to see how they handle light, texture, and composition. There are many online communities where people share their art, which is very inspiring. You can find some amazing examples on platforms like Pinterest, for instance. Just seeing different styles can really get your own ideas flowing.
Sharing Your Moray Eel Art
Once you have finished your moray eel drawing, don't keep it to yourself! Sharing your work can be a really positive experience, you know. It allows others to appreciate your effort and can even get you some helpful feedback. There are many places online where artists connect and show off their creations.
You could post your drawing on social media platforms. My text mentions Facebook as a place to "share photos and updates with people you know." It's a great spot to share your art with friends and family, and maybe even a wider audience. Just snap a good photo of your drawing in decent light, and put it out there. People love seeing art, honestly.
Remember, every drawing you complete is a step forward in your artistic journey. So, keep practicing, keep observing, and most importantly, keep enjoying the process of creating. You can learn more about drawing techniques on our site, and perhaps even find other fascinating creatures to draw on this page our marine life art guides.
Frequently Asked Questions About Moray Eel Drawing
Here are some common questions people have when they are thinking about drawing moray eels:
How do you draw an eel?
Drawing an eel, including a moray eel, usually starts with a long, wavy line for the body. Then, you build out the shape around that line, making it thicker towards the head and tapering towards the tail. Add a distinct head shape, and then refine the details like eyes, mouth, and any patterns. It's basically about getting that fluid, snake-like form right, you know.
What are the characteristics of a moray eel?
Moray eels have several clear characteristics. My text points out their "massive heads" and "pharyngeal jaws," which are inner jaws they use to grab prey. They also have smooth, scale-less skin with varied patterns, and often a somewhat open mouth showing sharp teeth. They tend to hide in crevices, with just their heads peeking out, which is a very typical pose for them.
What colors are moray eels?
Moray eels come in a wide range of colors and patterns, which is pretty amazing. Some are plain dark browns, blacks, or grays. Others can be bright yellow, green, or even blue. Many have spots, stripes, or marbled patterns in contrasting colors. The "striking coloration" mentioned in my text means you have a lot of artistic freedom when it comes to choosing your palette, honestly.
Moray Eel Drawing at PaintingValley.com | Explore collection of Moray
Moray Eel Drawing at PaintingValley.com | Explore collection of Moray
Moray Eel Drawing at GetDrawings | Free download
