Crochet Your Own Bikini Top: A Complete Pattern Guide For Summer Style
Detail Author:
- Name : Margie Schuppe
- Username : moore.dominic
- Email : hand.taylor@ortiz.org
- Birthdate : 2002-05-18
- Address : 3721 Rogelio Hills Lake Yvonnestad, MD 54914-1298
- Phone : 323.513.2518
- Company : Schmidt Ltd
- Job : Human Resources Assistant
- Bio : Et rem reiciendis voluptatem quia libero ratione. Minus doloribus odio id. Natus ut exercitationem id molestias eius et est.
Socials
facebook:
- url : https://facebook.com/alaina_block
- username : alaina_block
- bio : Reprehenderit amet accusantium tempora.
- followers : 5399
- following : 2159
linkedin:
- url : https://linkedin.com/in/alaina.block
- username : alaina.block
- bio : Error non dignissimos quod esse.
- followers : 767
- following : 1085
tiktok:
- url : https://tiktok.com/@ablock
- username : ablock
- bio : Enim aut necessitatibus esse voluptatem dolor neque non exercitationem.
- followers : 1813
- following : 1246
Imagine yourself on a warm, sunny day, perhaps by the water, wearing something truly unique. Something you made with your own hands. That, in a way, is the magic of a crochet bikini top. It’s not just a piece of swimwear; it's a personal statement, a little piece of art that reflects your creative spirit. So, if you've ever thought about making your own clothes, or just want a fun project, this could be a really good place to start. It feels good to wear something you've put your heart into, and a handmade bikini top offers a fit and style you just can't find in stores, too.
Making your own swimwear lets you pick the exact colors, the specific textures, and the perfect shape that suits you best. It's a rather rewarding craft, giving you a very practical item at the end. Plus, it's a wonderfully relaxing activity, giving you a chance to unwind while creating something beautiful. This guide will help you get started on your very own bikini top crochet pattern project, walking you through the steps and tips you'll need.
Whether you're new to crochet or just looking for a fresh summer project, making a bikini top is a delightful way to spend some creative time. You know, it's almost like painting with yarn, shaping it into something lovely and wearable. We'll cover everything from choosing your materials to understanding the stitches, and even how to make sure it fits just right. Let's get ready to make some wonderful things!
Table of Contents
- Why Crochet Your Own Bikini Top?
- Getting Started: Your Crochet Toolkit
- Picking the Right Yarn
- Choosing Your Hook Size
- Other Handy Supplies
- Understanding Basic Crochet Stitches
- Chain Stitch (ch)
- Single Crochet (sc)
- Half Double Crochet (hdc)
- Double Crochet (dc)
- Sizing Your Bikini Top: Getting the Perfect Fit
- Measuring for Success
- Gauge Swatches: Your Best Friend
- Common Bikini Top Shapes and Patterns
- Triangle Cups
- Bandeau Styles
- Halter Necks
- Bralette Designs
- Step-by-Step: A Simple Triangle Bikini Top Pattern
- Starting the Cup
- Increasing for Shape
- Creating the Edging
- Adding Straps and Ties
- Making It Your Own: Customization Tips
- Adding Shell Edges or Picots
- Incorporating Color Changes
- Embellishments and Details
- Caring for Your Handmade Crochet Bikini Top
- Troubleshooting Common Crochet Challenges
- Frequently Asked Questions About Crochet Bikini Tops
- Ready to Make Your Own?
Why Crochet Your Own Bikini Top?
There are many good reasons to pick up your hook and yarn for a bikini top. First off, it's about personal style. When you make your own, you can pick colors that really make you happy, or create a shape that you just can't find anywhere else. It’s a very unique way to express yourself, you know.
Then there's the fit. Store-bought swimwear sometimes feels a bit off, maybe too tight here or too loose there. With crochet, you can adjust as you go, making sure it hugs your body just right. This means comfort, which is pretty important when you're out enjoying the sun. It’s a bit like having a custom-made piece, but you’re the one making it.
Finally, it's a very satisfying project. The feeling of finishing something beautiful with your hands, and then actually wearing it, is truly special. It's also a way to connect with a craft that has been around for a very long time, sharing in a tradition of making things by hand. Plus, it's a great conversation starter, apparently!
Getting Started: Your Crochet Toolkit
Before you start making stitches, gathering your tools is a good first step. You don't need a lot of fancy things, just a few key items. Having the right supplies makes the whole process a lot smoother, you see. It's like preparing for any fun activity; having what you need just makes it easier to enjoy.
Picking the Right Yarn
Choosing yarn for a bikini top is pretty important, as it needs to stand up to water and sun. Cotton yarn is a very popular choice. It's breathable, absorbs water well, and holds its shape nicely when wet. Organic cotton or mercerized cotton are good options because they tend to be softer and have a bit more shine.
Bamboo yarn is another nice pick; it's very soft and has a lovely drape. Some people also like acrylic blends, especially those made for swimwear, because they dry quickly and keep their color. Just make sure whatever you pick is comfortable against your skin and can handle getting wet. You really want something that feels good and lasts, too.
A good tip is to look for yarns that are labeled "sport weight" or "DK weight" (double knitting). These are not too thick, which helps the bikini top dry faster and feel lighter. Using a slightly lighter yarn also means your stitches will be a bit finer, giving your finished piece a more delicate look, that's for sure.
Choosing Your Hook Size
The hook size you use will depend on your yarn and how tight or loose you want your stitches. Generally, for bikini tops, you might use a hook size between 2.5mm and 4mm. The yarn label will usually suggest a hook size, which is a good starting point. You know, it's almost always a good idea to check that first.
If you use a hook that's too big for your yarn, your stitches might be too loose, and the fabric could be a bit see-through. If it's too small, your fabric might be too stiff. It's a bit of a balancing act, and you might need to try a couple of sizes to find what feels right for you and your chosen yarn. Sometimes, it just takes a little experimenting.
Other Handy Supplies
Beyond yarn and a hook, a few other things will help you along the way. A pair of sharp scissors is very useful for cutting yarn ends. A measuring tape is absolutely essential for checking your size and gauge, which we'll talk about soon. You really can't get by without one, practically speaking.
Stitch markers are also very helpful, especially when you're working in rounds or need to mark a specific spot. They help you keep track of your progress and avoid mistakes. A yarn needle, also called a tapestry needle, is used for weaving in those loose ends when you're done, giving your piece a neat finish. These little things, they really do make a difference, you know.
Understanding Basic Crochet Stitches
To make a bikini top, you'll need to know a few basic crochet stitches. These are the building blocks of almost any crochet project. Once you get these down, you'll be able to follow most patterns. It's like learning the alphabet before you can read a book, in a way.
Chain Stitch (ch)
The chain stitch is the very first stitch you'll learn, and it forms the foundation for most crochet projects. It's a series of loops that create a starting chain. You make a slip knot on your hook, then yarn over and pull through the loop on your hook. Repeat that action to create a chain of stitches. It's pretty simple, actually, but very important.
Single Crochet (sc)
The single crochet is a very common and sturdy stitch. To make a single crochet, you insert your hook into a stitch, yarn over, pull up a loop (you'll have two loops on your hook), yarn over again, and pull through both loops. It creates a tight, dense fabric, which is often good for swimwear. It's a basic, yet very useful stitch, you see.
Half Double Crochet (hdc)
The half double crochet is a bit taller than a single crochet but shorter than a double crochet. It gives you a fabric that's a little looser than single crochet but still pretty solid. To make it, yarn over, insert your hook into a stitch, yarn over, pull up a loop (three loops on your hook), yarn over again, and pull through all three loops. It's a nice middle ground, in some respects.
Double Crochet (dc)
The double crochet is a taller stitch that creates a looser, more open fabric. It's often used for quick projects or when you want a bit more drape. To make a double crochet, yarn over, insert your hook into a stitch, yarn over, pull up a loop (three loops on your hook), yarn over, pull through two loops (two loops left), yarn over, and pull through the last two loops. It's a very versatile stitch, apparently.
Sizing Your Bikini Top: Getting the Perfect Fit
Getting the right fit is arguably the most important part of making a crochet bikini top. A well-fitting top will be comfortable and look great. This part might take a little patience, but it's very worth it in the end. You know, it's almost like tailoring a piece of clothing just for you.
Measuring for Success
Before you even start crocheting, take some key measurements. You'll want to measure around the fullest part of your bust. Also, measure the width of one cup and the height of one cup on a bikini top that already fits you well. These measurements will help you decide how wide and tall to make your crochet cups. It's a bit like having a blueprint for your project.
Knowing your approximate bra size can also help as a guide, but direct measurements are always best for a custom fit. Remember, bodies are all different, so what works for one person might not work for another. Taking the time to measure properly will save you headaches later, that's for sure.
Gauge Swatches: Your Best Friend
A gauge swatch is a small square of crochet fabric that you make using your chosen yarn and hook. It helps you see how many stitches and rows you get per inch or centimeter. This is incredibly important for sizing, because if your gauge is different from the pattern's, your finished top will be a different size. You really can't skip this step, basically.
To make a swatch, chain about 20 stitches, then crochet about 15 rows in the stitch pattern you plan to use for your bikini top. Measure a 4x4 inch (or 10x10 cm) square within your swatch and count the stitches and rows. If you have too many stitches, use a larger hook. If you have too few, use a smaller hook. It’s a bit like fine-tuning an instrument, you know, just a little.
Common Bikini Top Shapes and Patterns
Bikini tops come in many shapes, and crochet is very versatile, allowing you to create almost any style. Knowing the basic shapes can help you pick a pattern or even design your own. Each shape offers a slightly different look and level of support, you see.
Triangle Cups
Triangle cups are perhaps the most classic and popular style for crochet bikini tops. They are usually worked from the bottom point upwards, increasing stitches on each side to form the triangle shape. They are relatively simple to make and can be adjusted for various sizes. Many patterns start with this basic shape, too.
These cups often tie around the neck and back, offering a simple, adjustable fit. They are a great choice for beginners because the shaping is straightforward. You can make them as small or as large as you like, just by changing how many rows you crochet. They are very adaptable, apparently.
Bandeau Styles
Bandeau tops are straight bands of fabric that go across the bust, usually without straps. They can be a bit trickier to get to stay up without slipping, so they often include elastic sewn into the top and bottom edges, or a tie at the back. Some bandeau patterns might have a center seam or shaping to give a bit more form. They are a bit more modern, in some respects.
These styles are good for sunbathing as they minimize tan lines. They can be made with a solid stitch pattern or a lacy one, depending on the look you want. They tend to be a little less supportive than other styles, so that's something to consider, you know.
Halter Necks
Halter neck tops are similar to triangle cups but often have wider straps that tie behind the neck. They can offer a bit more support than simple triangle tops, especially if the cups are designed to be wider or have a bit more coverage. The neck strap can be quite decorative, too, which is nice.
Many patterns for halter tops will have you crochet two cups and then join them together before adding the neck and back straps. This style is very popular because it's comfortable and provides a good lift. It's a classic choice for a reason, basically.
Bralette Designs
Bralette-style bikini tops are often more like a soft bra, with wider bands under the bust and sometimes wider shoulder straps. They offer more coverage and support than traditional bikini tops. These patterns might involve more complex shaping, like working in rounds or creating a seamless design. They can be very comfortable, you know.
Bralettes are a good option if you want something that feels more like a top you could wear everyday, but made for the water. They often look very stylish and can be dressed up or down. They are, in a way, a bit more substantial than other bikini top styles.
Step-by-Step: A Simple Triangle Bikini Top Pattern
Let's walk through the general idea of making a simple triangle bikini top. This isn't a precise pattern with exact stitch counts, but a guide to the process. You'll need to adjust counts based on your yarn, hook, and desired size, you see. It's a bit like following a recipe, but you get to add your own spices.
First, pick your yarn and hook based on the earlier advice. Make sure you do your gauge swatch! This is pretty important, as I was saying. For a medium-sized cup, you might aim for a finished cup width of about 6-7 inches and a height of 7-8 inches, more or less.
Starting the Cup
To begin one cup, make a slip knot and then chain 15 to 20 stitches. This will be the starting width of your cup. The number of chains will depend on how wide you want the bottom of your cup to be, so you know. It's a bit of trial and error here, sometimes.
Now, single crochet (sc) in the second chain from your hook, and then sc in each chain across until you reach the last chain. In that very last chain, you'll make 3 single crochet stitches. This creates the point of your triangle. Then, continue to sc down the other side of your starting chain, one sc in each chain. This completes your first row, forming a small triangle shape. It's a neat trick, apparently.
Increasing for Shape
For the next rows, you'll turn your work. Chain 1 (this acts as your first sc), and then sc in each stitch until you reach the middle stitch of the 3 sc you made in the previous row's point. In that middle stitch, you'll again make 3 sc stitches. This is how you keep the triangle shape growing. It's basically a repeating pattern, you know.
Continue to sc in each remaining stitch across the row. You will repeat this row (chain 1, sc to center, 3 sc in center stitch, sc to end) until your cup reaches the desired size. Keep measuring against your body or your reference bikini top to check the width and height. You really want to make sure it's growing evenly, too.
Keep going until the cup is big enough. It's better to make it slightly too big than too small, as you can always adjust later. You'll need to make two identical cups, obviously. Take your time with each one; consistency is key for a matching pair. It's a bit like making two cookies that are the same size, in a way.
Creating the Edging
Once both cups are done, you can add an optional edging around the perimeter of each cup. This gives a neat finish and can help strengthen the edges. A simple single crochet border is often enough. Just sc evenly around the entire edge of each cup. You know, it's almost like framing a picture.
You might want to put 3 sc stitches in each corner of the triangle to keep the point sharp. This step is a bit like adding the final touches to a piece of art. It just makes everything look more polished, apparently. You can also add a decorative border here, if you like.
Adding Straps and Ties
Now, it's time to connect the cups and add the ties. First, join your two cups together. You can do this by simply single crocheting across the bottom edge of both cups, connecting them with a few sc stitches in the middle. This forms the band that goes under your bust. It's a pretty straightforward step, you see.
For the neck straps, attach yarn to the top point of each cup and chain a long string (about 18-24 inches, or 45-60 cm, or even longer depending on your preference). Then, single crochet back down the chain to make a sturdy strap. You'll need two of these. For the back tie, attach yarn to one side of the bottom band and chain a long string (about 30-40 inches, or 75-100 cm). Single crochet back down the chain. Repeat on the other side. These are your ties for securing the top. It's really just making long chains and then working back down them, basically.
Making It Your Own: Customization Tips
One of the best parts about crocheting your own bikini top is the chance to make it truly yours. There are so many ways to add your personal touch. It's like adding your signature to a painting, you know.
Adding Shell Edges or Picots
Instead of a plain single crochet border, you could add a pretty shell edge. A shell stitch is typically a group of double crochets worked into one stitch, creating a fan-like shape. Picot stitches are small decorative loops that add a delicate, bumpy texture. These little details can really make your bikini top stand out. They are a bit fancy, in some respects.
Incorporating Color Changes
Don't be afraid to use more than one color! You could make each cup a different color, or add stripes to your cups. You could also use a contrasting color for the edging or the straps. Changing colors can add a lot of visual interest and make your top very lively. It's a bit like adding splashes of paint, you see.
Embellishments and Details
Think about adding some small embellishments. You could crochet little flowers or leaves and sew them onto the cups. Beads can also be threaded onto your yarn before you start crocheting, or sewn on afterward for a bit of sparkle. Just make sure any added items are water-friendly. These little touches really make it unique, apparently.
Caring for Your Handmade Crochet Bikini Top
A handmade crochet bikini top needs a little extra care to keep it looking its best. Proper care will help it last longer and keep its shape. You know, it's almost like taking care of any special piece of clothing.
Always hand wash your bikini top. Fill a basin with cool water and a mild soap, like a gentle laundry detergent or even a little shampoo. Gently swish the top around in the water, pressing out any dirt. Avoid harsh scrubbing or twisting, as this can stretch or damage the stitches. It's a very delicate process, in a way.
Rinse thoroughly with cool, clear water until all the soap is gone. Then, gently press out the excess water. Do not wring it! Lay the bikini top flat on a clean towel, reshaping it as needed, and let it air dry. Drying it flat helps prevent stretching and keeps its original shape. Direct sunlight can sometimes fade colors, so a shady spot is often better. This care will help your top stay lovely for many summers, too.
Troubleshooting Common Crochet Challenges
Even experienced crocheters run into little snags sometimes. Don't get discouraged if your bikini top project isn't perfect on the first try. These challenges are usually easy to fix, you know. It's a bit like learning any new skill; there are always little bumps along the road.
If your edges are looking uneven, it's usually because you're either missing stitches at the end of rows or adding extra ones. Make sure you're always counting your stitches, especially at the beginning and end of each row. Using stitch markers in your first and last stitch can really help keep things straight. Counting is pretty important, as I was saying.
If your fabric is too loose or too stiff, it's probably a gauge issue. Go back to your gauge swatch and try a different hook size. Sometimes, your tension (how tightly you hold the yarn) might change as you crochet, so try to keep it consistent. It takes a little practice to get an even tension, but you'll get there, apparently.
If your yarn is splitting, it might be the yarn itself, or your hook might have a sharp point. Try a different yarn or a hook
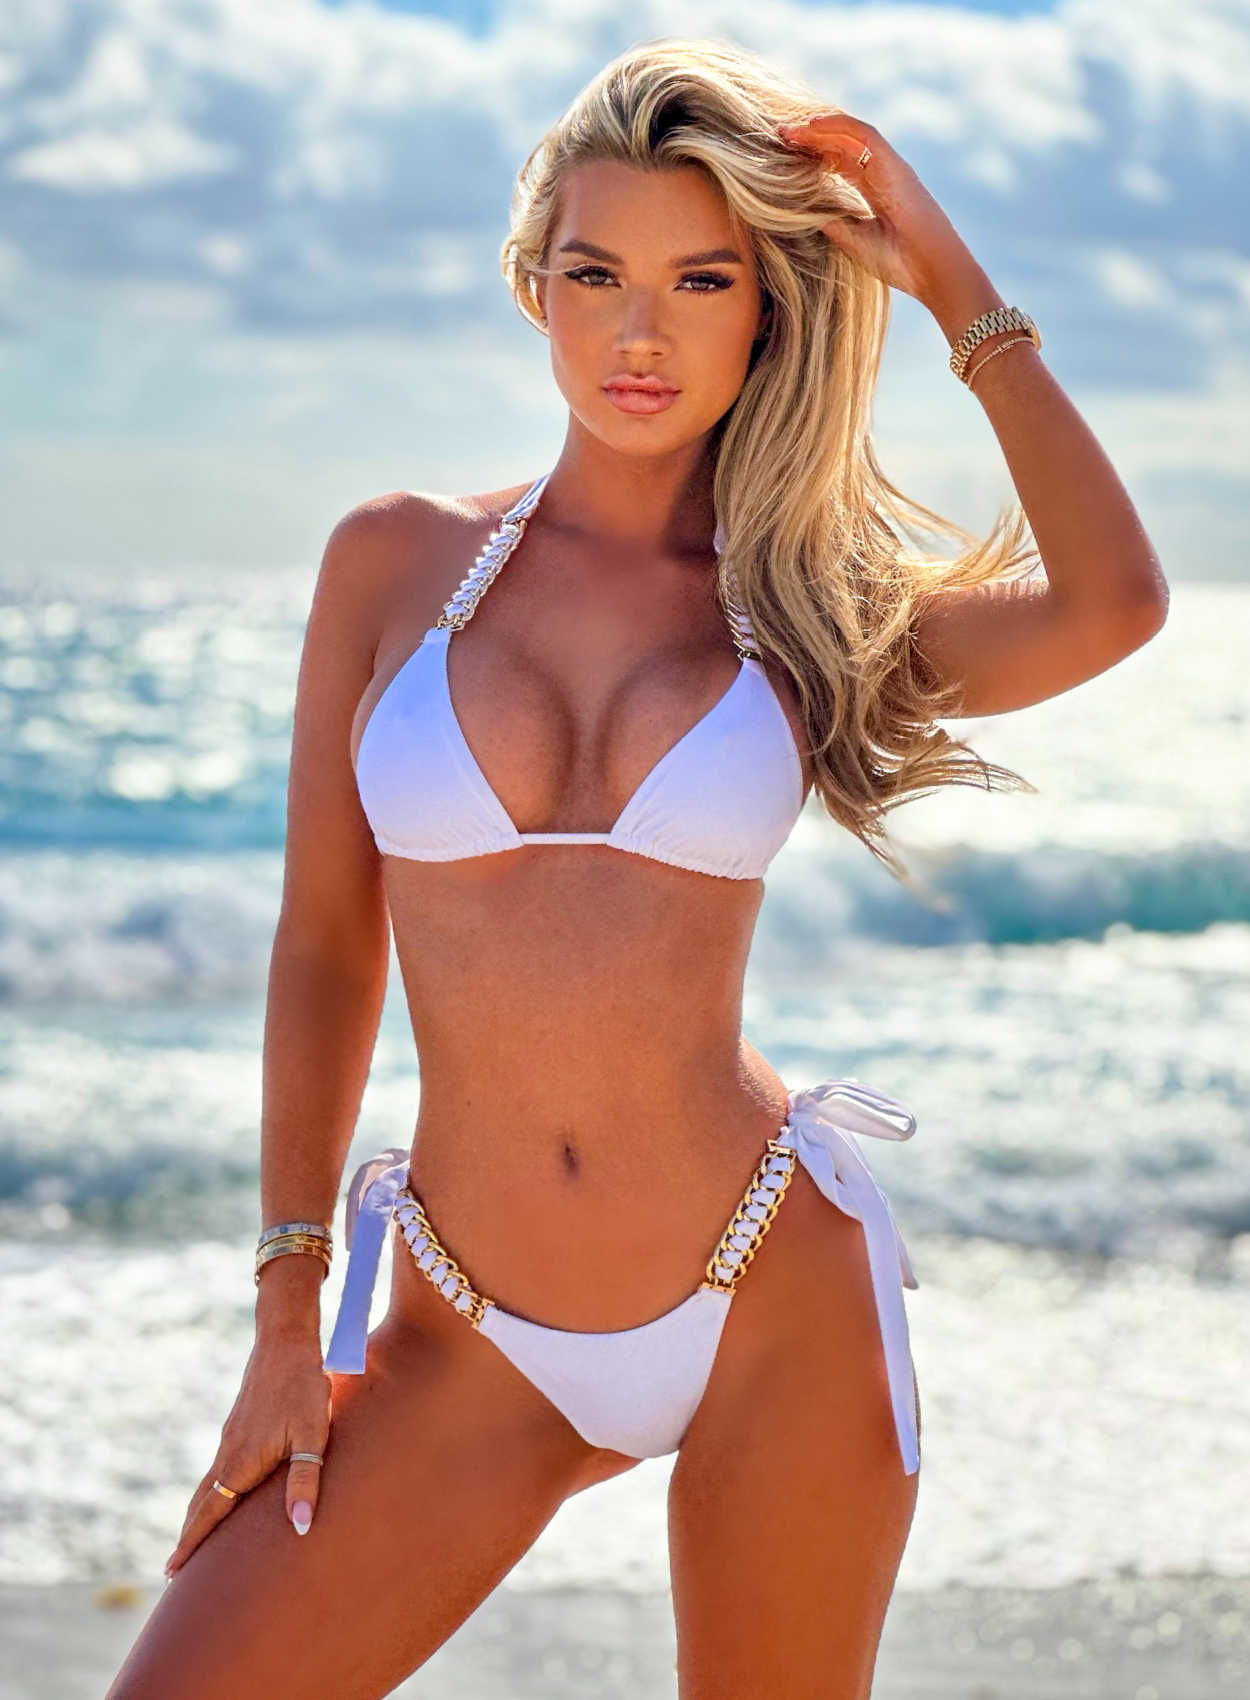
Bella Chain White Bikini Top – Lady Lux Swimwear

Bikinis For Women | Bikini Sets | Two Piece Swimsuits | boohoo USA

Pin on #Bikini
