DIY Fanny Pack: Craft Your Own Unique Waist Bag
Detail Author:
- Name : Dr. Zackery Howe
- Username : pstroman
- Email : parker.erich@beahan.org
- Birthdate : 1986-08-02
- Address : 6078 Waters Forges Davisshire, CA 73009-8461
- Phone : (947) 588-9998
- Company : Hickle, Jacobs and Emard
- Job : Radio and Television Announcer
- Bio : Qui debitis minima et suscipit optio eius. Id quis harum aut. Reiciendis deserunt error aut est saepe libero.
Socials
tiktok:
- url : https://tiktok.com/@fredy.roob
- username : fredy.roob
- bio : Eum et sed non quia autem aliquid.
- followers : 5084
- following : 2937
instagram:
- url : https://instagram.com/fredyroob
- username : fredyroob
- bio : Est nesciunt fugit amet est rem. Autem voluptatum eius fugit et.
- followers : 5586
- following : 1541
twitter:
- url : https://twitter.com/fredy.roob
- username : fredy.roob
- bio : Vero omnis nisi doloremque. Dolore et tempore adipisci similique distinctio perferendis. Mollitia autem maxime ut doloribus.
- followers : 1214
- following : 1261
facebook:
- url : https://facebook.com/fredyroob
- username : fredyroob
- bio : Rerum aliquam sint ut. Dolorum deserunt odit nesciunt blanditiis.
- followers : 3770
- following : 1280
linkedin:
- url : https://linkedin.com/in/fredyroob
- username : fredyroob
- bio : Qui consectetur enim voluptatibus perspiciatis.
- followers : 1640
- following : 2454
There's something truly special about creating something with your own hands, isn't there? It's that feeling of bringing an idea to life, shaping materials into a useful and beautiful item. That's exactly the joy you find when you take on a DIY Sewing Projects like making your very own diy fanny pack. It's not just about saving a bit of cash; it's about making something that tells your story, fits your style perfectly, and frankly, is just plain cool.
You know, our text mentions how DIY projects are a fantastic way to personalize your home, solving specific needs while letting your style shine. Well, that same spirit absolutely applies to your personal accessories, too. A store-bought fanny pack might do the job, but one you've made yourself? That's a statement. It's a piece of wearable art, a reflection of your creative spirit, and honestly, a bit of a conversation starter. It's kind of like that perfect window seat you might build; it's unique to you.
So, whether you're a seasoned crafter with a sewing machine ready to hum, or someone just starting out, curious about what DIY projects you can take on, making a diy fanny pack is a super rewarding activity. This guide is for you, offering ideas for quick DIY projects that deliver big results. We'll explore why these waist bags are so popular, what you'll need, and how you can make one that's truly yours, as a matter of fact.
Table of Contents
- Why Make Your Own Fanny Pack?
- Getting Started: Tools and Materials
- Fanny Pack Design Ideas
- Step-by-Step Guide: Making Your Own
- Tips for a Successful DIY Project
- Caring for Your Handmade Fanny Pack
- Frequently Asked Questions About DIY Fanny Packs
Why Make Your Own Fanny Pack?
Making a diy fanny pack is, in a way, a perfect example of what DIY is all about. It's a beautiful way to save energy, and it's a beautiful way to recycle, as our text points out. You can use fabric scraps, old jeans, or even a discarded tent to create something entirely new and useful. This approach is not just good for your wallet; it's also good for the planet, which is pretty cool, you know.
Beyond the environmental perks, there's the sheer joy of personalization. Store shelves offer plenty of options, but they rarely have that exact color, pattern, or pocket configuration you're dreaming of. When you make your own, every detail is up to you. You get to pick the fabric, the zipper color, the strap material, and even the size of the pockets. It's truly a unique expression of your individual taste, so.
And let's be honest, it's incredibly satisfying to say, "Oh, this? I made it myself!" People are often impressed by handmade items, and a well-made diy fanny pack is no exception. It shows a bit of skill, a lot of creativity, and a willingness to put your hands to work. Plus, it's a fantastic project for beginners, offering a chance to learn basic sewing techniques without too much fuss, actually.
Our text mentions how DIY projects can solve specific and unusual needs in your space. This applies perfectly here. Maybe you need a small bag for just your phone and keys for walks. Perhaps you want a larger one for travel documents and snacks. You can tailor your diy fanny pack to your exact needs, making it far more functional than a generic store-bought option, at the end of the day.
Getting Started: Tools and Materials
Before you jump into cutting fabric, it's helpful to gather your supplies. Think of it like preparing for any home improvement project; having everything ready makes the process smoother and more enjoyable. You don't need a massive collection of specialized gear for a diy fanny pack, thankfully. Just a few key items will get you going, more or less.
Fabric Choices for Your Fanny Pack
The fabric you pick for your diy fanny pack really sets the tone. You want something durable enough to hold up to daily use, but also something that looks good. Canvas is a popular choice; it's sturdy and comes in many colors. Denim is another excellent option, especially if you're thinking about upcycling an old pair of jeans, which is a great way to recycle, you know.
For something a bit lighter, cotton twill works well. If you want a water-resistant bag, consider waxed canvas or a coated nylon. These fabrics offer a bit more protection from the elements, which is pretty handy for outdoor adventures. You can even mix and match fabrics for a unique look, maybe a patterned cotton with a solid canvas bottom, and stuff.
Think about the weight and drape of the fabric, too. A very stiff fabric might be harder to turn right side out, while something too flimsy might not hold its shape. A medium-weight fabric is usually a good starting point for your first diy fanny pack. And honestly, don't be afraid to experiment a little with what you have on hand.
Hardware and Notions You'll Need
Beyond the main fabric, you'll need a few other bits and pieces to make your diy fanny pack functional. A zipper is a must for the main compartment, and you'll want one that's a good length for your bag's opening. Plastic zippers are usually easier for beginners to work with than metal ones, just a little.
For the strap, you'll need webbing. This is that strong, woven material often used for backpack straps. You'll also need a buckle to fasten the strap around your waist. Side-release buckles are common and easy to use. Some designs might also call for D-rings or sliders to adjust the strap length, so.
Lining fabric is also a good idea. It gives your diy fanny pack a neat finish on the inside and can add an extra layer of durability. A lightweight cotton or polyester works well for this. And if you plan on adding inner pockets, you'll need a bit more of this lining material, or even a different contrasting fabric, obviously.
Basic Tools for Sewing
You don't need a huge sewing studio to make a diy fanny pack. A sewing machine is super helpful, but you can definitely hand-sew one if you're patient and enjoy that process. Besides the machine, you'll want good fabric scissors, pins or fabric clips to hold pieces together, and a seam ripper for any little mistakes, because they happen, you know.
A tape measure or ruler is essential for accurate cutting, and tailor's chalk or a fabric marker helps you transfer pattern markings. An iron and ironing board are also incredibly useful for pressing seams flat, which gives your diy fanny pack a much more professional look. And of course, thread that matches or complements your fabric choice, really.
Fanny Pack Design Ideas
One of the best parts about making a diy fanny pack is the freedom to design it exactly how you want. Our text mentions how DIY projects allow you to express your style in a way you just can't with store-bought items, and this is so true here. You can make it simple, complex, practical, or purely fashionable, basically.
The Simple Pouch Style
For beginners, a simple pouch-style diy fanny pack is a fantastic starting point. This design usually involves two main fabric pieces for the body, a zipper opening, and a strap. It's straightforward and teaches you the basics of attaching a zipper and sewing curved seams. You can make it small for just essentials, or a bit larger for more carrying capacity, kind of.
This style is quick to put together, often making it one of those easy DIY projects that deliver big impact without a lot of time commitment. You can finish one in an afternoon, honestly. It's a great way to use up a favorite fabric scrap or to try out a bold pattern you love, which is pretty cool.
The Multi-Pocket Marvel
If you're feeling a bit more ambitious, or if you need your diy fanny pack to organize a lot of items, consider adding multiple pockets. This could mean a front zipper pocket for quick access to keys, an inner slip pocket for your phone, or even a hidden back pocket for valuables. This adds a layer of complexity but makes the bag incredibly functional, definitely.
Think about how you use a bag. Do you always fumble for your wallet? A dedicated, easy-to-reach pocket can solve that. Do you carry a lot of small items? Inner dividers can keep them organized. This kind of thoughtful design really makes your diy fanny pack a custom solution for your specific needs, you know, like how DIY home projects can solve unusual needs in your space.
Upcycled Creations
As our text suggests, DIY projects are a beautiful way to recycle. An upcycled diy fanny pack is not only eco-friendly but also results in a truly unique item. Old jeans are a classic choice; the denim is durable, and you can use the existing seams and pockets as part of your design. Imagine a fanny pack made from the back pockets of a favorite pair of jeans, right?
Other materials you could upcycle include old canvas tote bags, sturdy curtains, or even old jackets. Just make sure the fabric is clean and in good condition. This approach adds character and a story to your diy fanny pack, making it even more special. It's a great way to give new life to materials that might otherwise be discarded, basically.
Step-by-Step Guide: Making Your Own
Ready to start tackling this diy project? This general guide will walk you through the process. Remember, every pattern is a little different, but the basic steps for a diy fanny pack are quite similar. Laat je inspireren en steek je handen uit de mouwen, met een beetje hulp, as our text suggests.
Planning and Pattern Selection
First, decide on the size and shape of your diy fanny pack. Do you want it wide and flat, or more rounded and roomy? You can find free patterns online, purchase one, or even draft your own simple pattern using paper. Make sure your pattern pieces include seam allowances, which are usually about 3/8 to 1/2 inch, pretty much.
Lay out all your pattern pieces and visualize how they'll fit together. This planning stage is important; it helps prevent mistakes later on. Think about where the zipper will go, where the strap will attach, and if you want any additional pockets. A clear plan makes the sewing process much smoother, honestly.
Cutting Your Fabric with Care
Once you have your pattern, it's time to cut your fabric. Lay your fabric flat and smooth it out. Pin your pattern pieces securely to the fabric, making sure to align them with the grain of the fabric for the best results. Cut slowly and carefully around the edges of your pattern pieces, getting as precise as you can. This precision helps a lot later when you're sewing, you know.
Cut out all the pieces you need: the main body pieces (usually two), the lining pieces (also usually two), and any pocket pieces. Don't forget the pieces for the zipper tabs or the strap connectors if your pattern calls for them. Having all your pieces cut accurately saves a lot of frustration, so.
Sewing It All Together
Now for the fun part: sewing! Start by attaching the zipper. This usually involves sewing the zipper between the two main body pieces and their corresponding lining pieces. Take your time with this step, as a well-installed zipper makes a big difference to the look and function of your diy fanny pack. Press your seams open after sewing for a neater finish, as a matter of fact.
Next, you'll typically sew the main body pieces together, right sides facing, leaving an opening for turning. Then, you'll do the same for the lining pieces, leaving a gap in the lining seam for turning the entire bag right side out later. Remember to reinforce any areas where the strap will attach, perhaps with a few extra stitches, just to be sure.
Attach the strap connectors or D-rings at this stage, if your design uses them. These are usually sewn into the side seams of the bag. Make sure they are secure and facing the correct direction before you sew the final seams. This is where attention to detail really pays off for your diy fanny pack, you know.
Adding the Finishing Touches
Once the main bag and lining are sewn, you'll put the outer bag inside the lining, right sides together, and sew around the top edge, leaving the turning gap in the lining. Then, through that gap in the lining, carefully pull the entire diy fanny pack right side out. This is where the magic happens, as the bag starts to take its final shape, literally.
Push out all the corners and edges gently. Press the bag flat, especially around the zipper, for a crisp finish. Now, sew up the turning gap in the lining by hand or machine. Finally, attach your webbing strap to the buckle and thread it through the strap connectors on your diy fanny pack. Adjust the length, and you're good to go, pretty much!
Tips for a Successful DIY Project
Whether you’re making small updates or diving into an easy DIY project, these ideas can make a big impact without requiring major renovations, as our text says. Here are some tips to help your diy fanny pack project go smoothly, and honestly, to make sure you enjoy the process, too.
- Read the Pattern First: Before you cut or sew anything, read through your entire pattern or instructions. This helps you understand all the steps and prevents surprises.
- Take Your Time: Rushing leads to mistakes. Sewing is a process that benefits from patience. If you get frustrated, take a break.
- Press Your Seams: This simple step makes a huge difference in the professional look of your diy fanny pack. It flattens the fabric and makes subsequent sewing easier.
- Use Good Quality Thread: It might seem minor, but good thread is less likely to break and will hold up better over time.
- Don't Be Afraid to Unpick: A seam ripper is your friend! Everyone makes mistakes. It's better to unpick a wonky seam and re-sew it than to leave it.
- Personalize It: Add a fun patch, some embroidery, or use a contrasting fabric for the lining. This is your chance to make your diy fanny pack truly unique.
- Practice on Scraps: If you're trying a new technique, like zipper installation, practice on some scrap fabric first. It builds confidence and saves your main fabric, actually.
These ideas for quick DIY projects that deliver big results are definitely applicable here. A diy fanny pack is a manageable project, even for beginners, and the satisfaction of wearing something you created is immense. It's a very rewarding experience, in a way.
Caring for Your Handmade Fanny Pack
Once your diy fanny pack is complete, you'll want to keep it looking great. How you care for it will largely depend on the fabric you chose. For most cotton or canvas bags, a gentle spot clean with mild soap and water is usually best. If it's heavily soiled, you might be able to hand wash it, but avoid machine washing if possible, especially if it has delicate hardware or a structured shape, you know.
For fabrics like waxed canvas, you'll typically want to avoid soap altogether and just wipe it clean with a damp cloth. Check the care instructions for your specific fabric if you're unsure. Air drying is almost always the best option for a handmade bag, as machine dryers can shrink fabric or damage hardware. Lay it flat or hang it to dry completely before storing it, so.
Regular maintenance, like brushing off dirt and wiping down any spills quickly, will help your diy fanny pack last for a long time. Just like homes require regular maintenance, your handmade accessories appreciate a little care too. This ensures your personalized creation stays in great shape for all your adventures, really.
Frequently Asked Questions About DIY Fanny Packs
Here are some common questions people ask when they're thinking about making their own diy fanny pack, alright.
What fabric is best for a fanny pack?
For a durable and versatile diy fanny pack, canvas or denim are excellent choices. They hold their shape well and stand up to wear. If you need something water-resistant, consider waxed canvas or coated nylon. Lighter cotton twill also works for a less structured bag. The best fabric honestly depends on how you plan to use your bag and the look you're going for, obviously.
How much fabric do I need for a fanny pack?
The amount of fabric needed for a diy fanny pack depends on its size and design. For a standard small to medium-sized fanny pack, you'll usually need about 1/2 to 3/4 of a yard of main fabric and the same amount for the lining. If your fabric is very wide, you might need less. Always check your specific pattern for exact fabric requirements, as they can vary quite a bit, you know.
Can you make a fanny pack without sewing?
While most diy fanny pack projects involve some sewing, it is possible to make a no-sew version using fabric glue, fabric tape, or even by repurposing an existing item like a tote bag or an old pair of pants. These methods might not be as durable as a sewn bag, but they are great for a quick, temporary, or beginner-friendly project. For other quick crafts, link to this page Quick Craft Ideas. You can also find tutorials online for no-sew options, which is pretty cool.
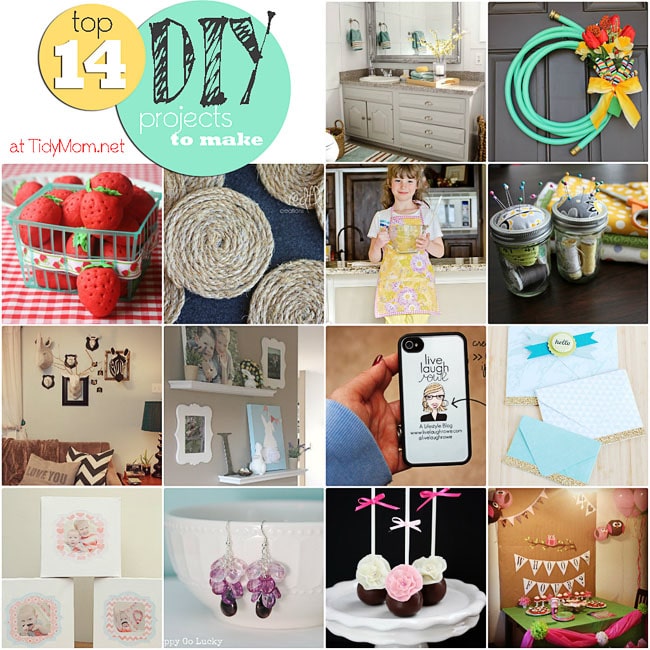
Top 14 DIY Projects to Make
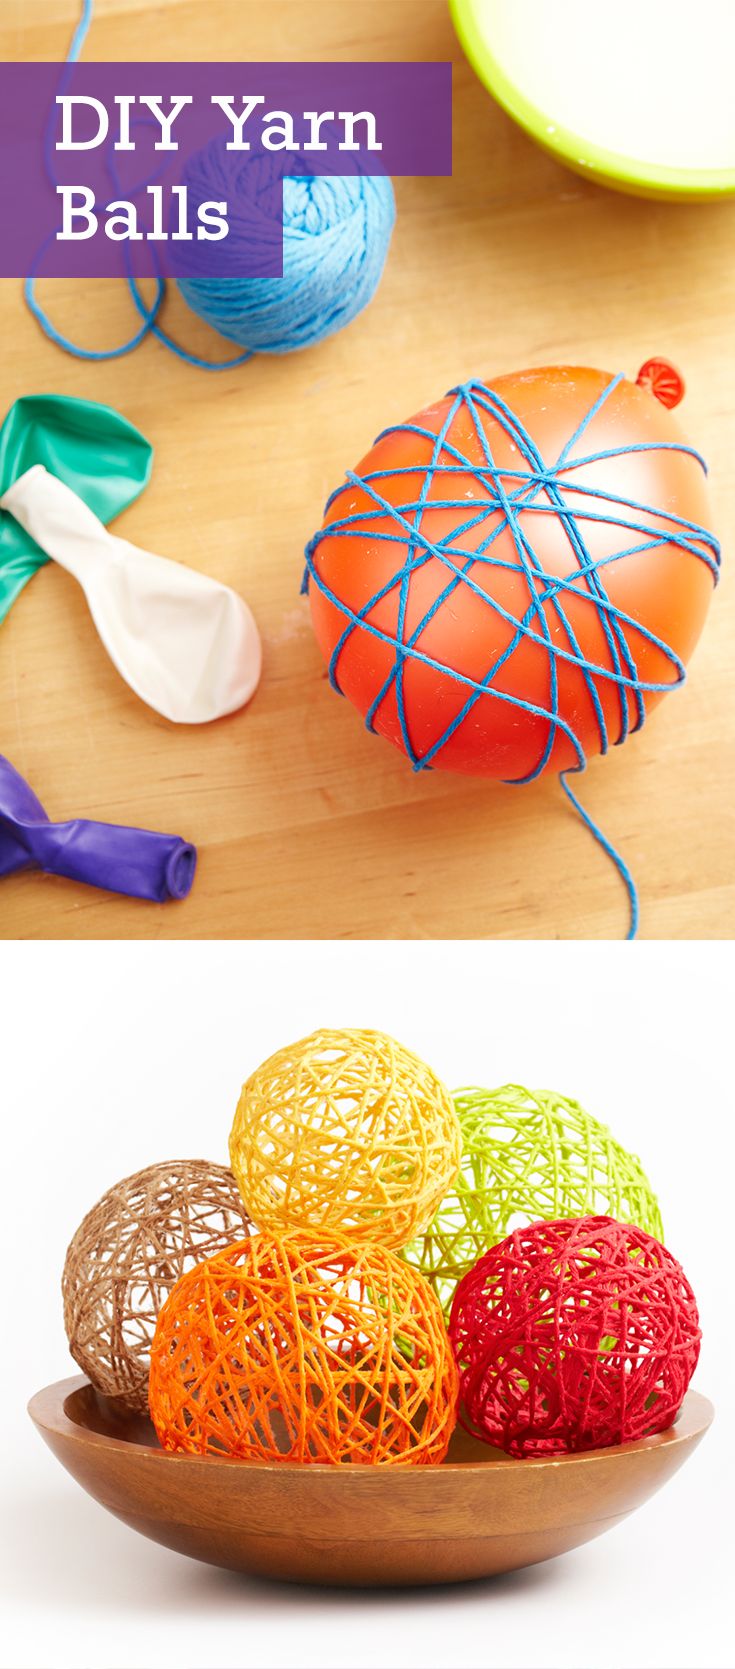
20 DIY Yarn Projects for this Winter - Pretty Designs
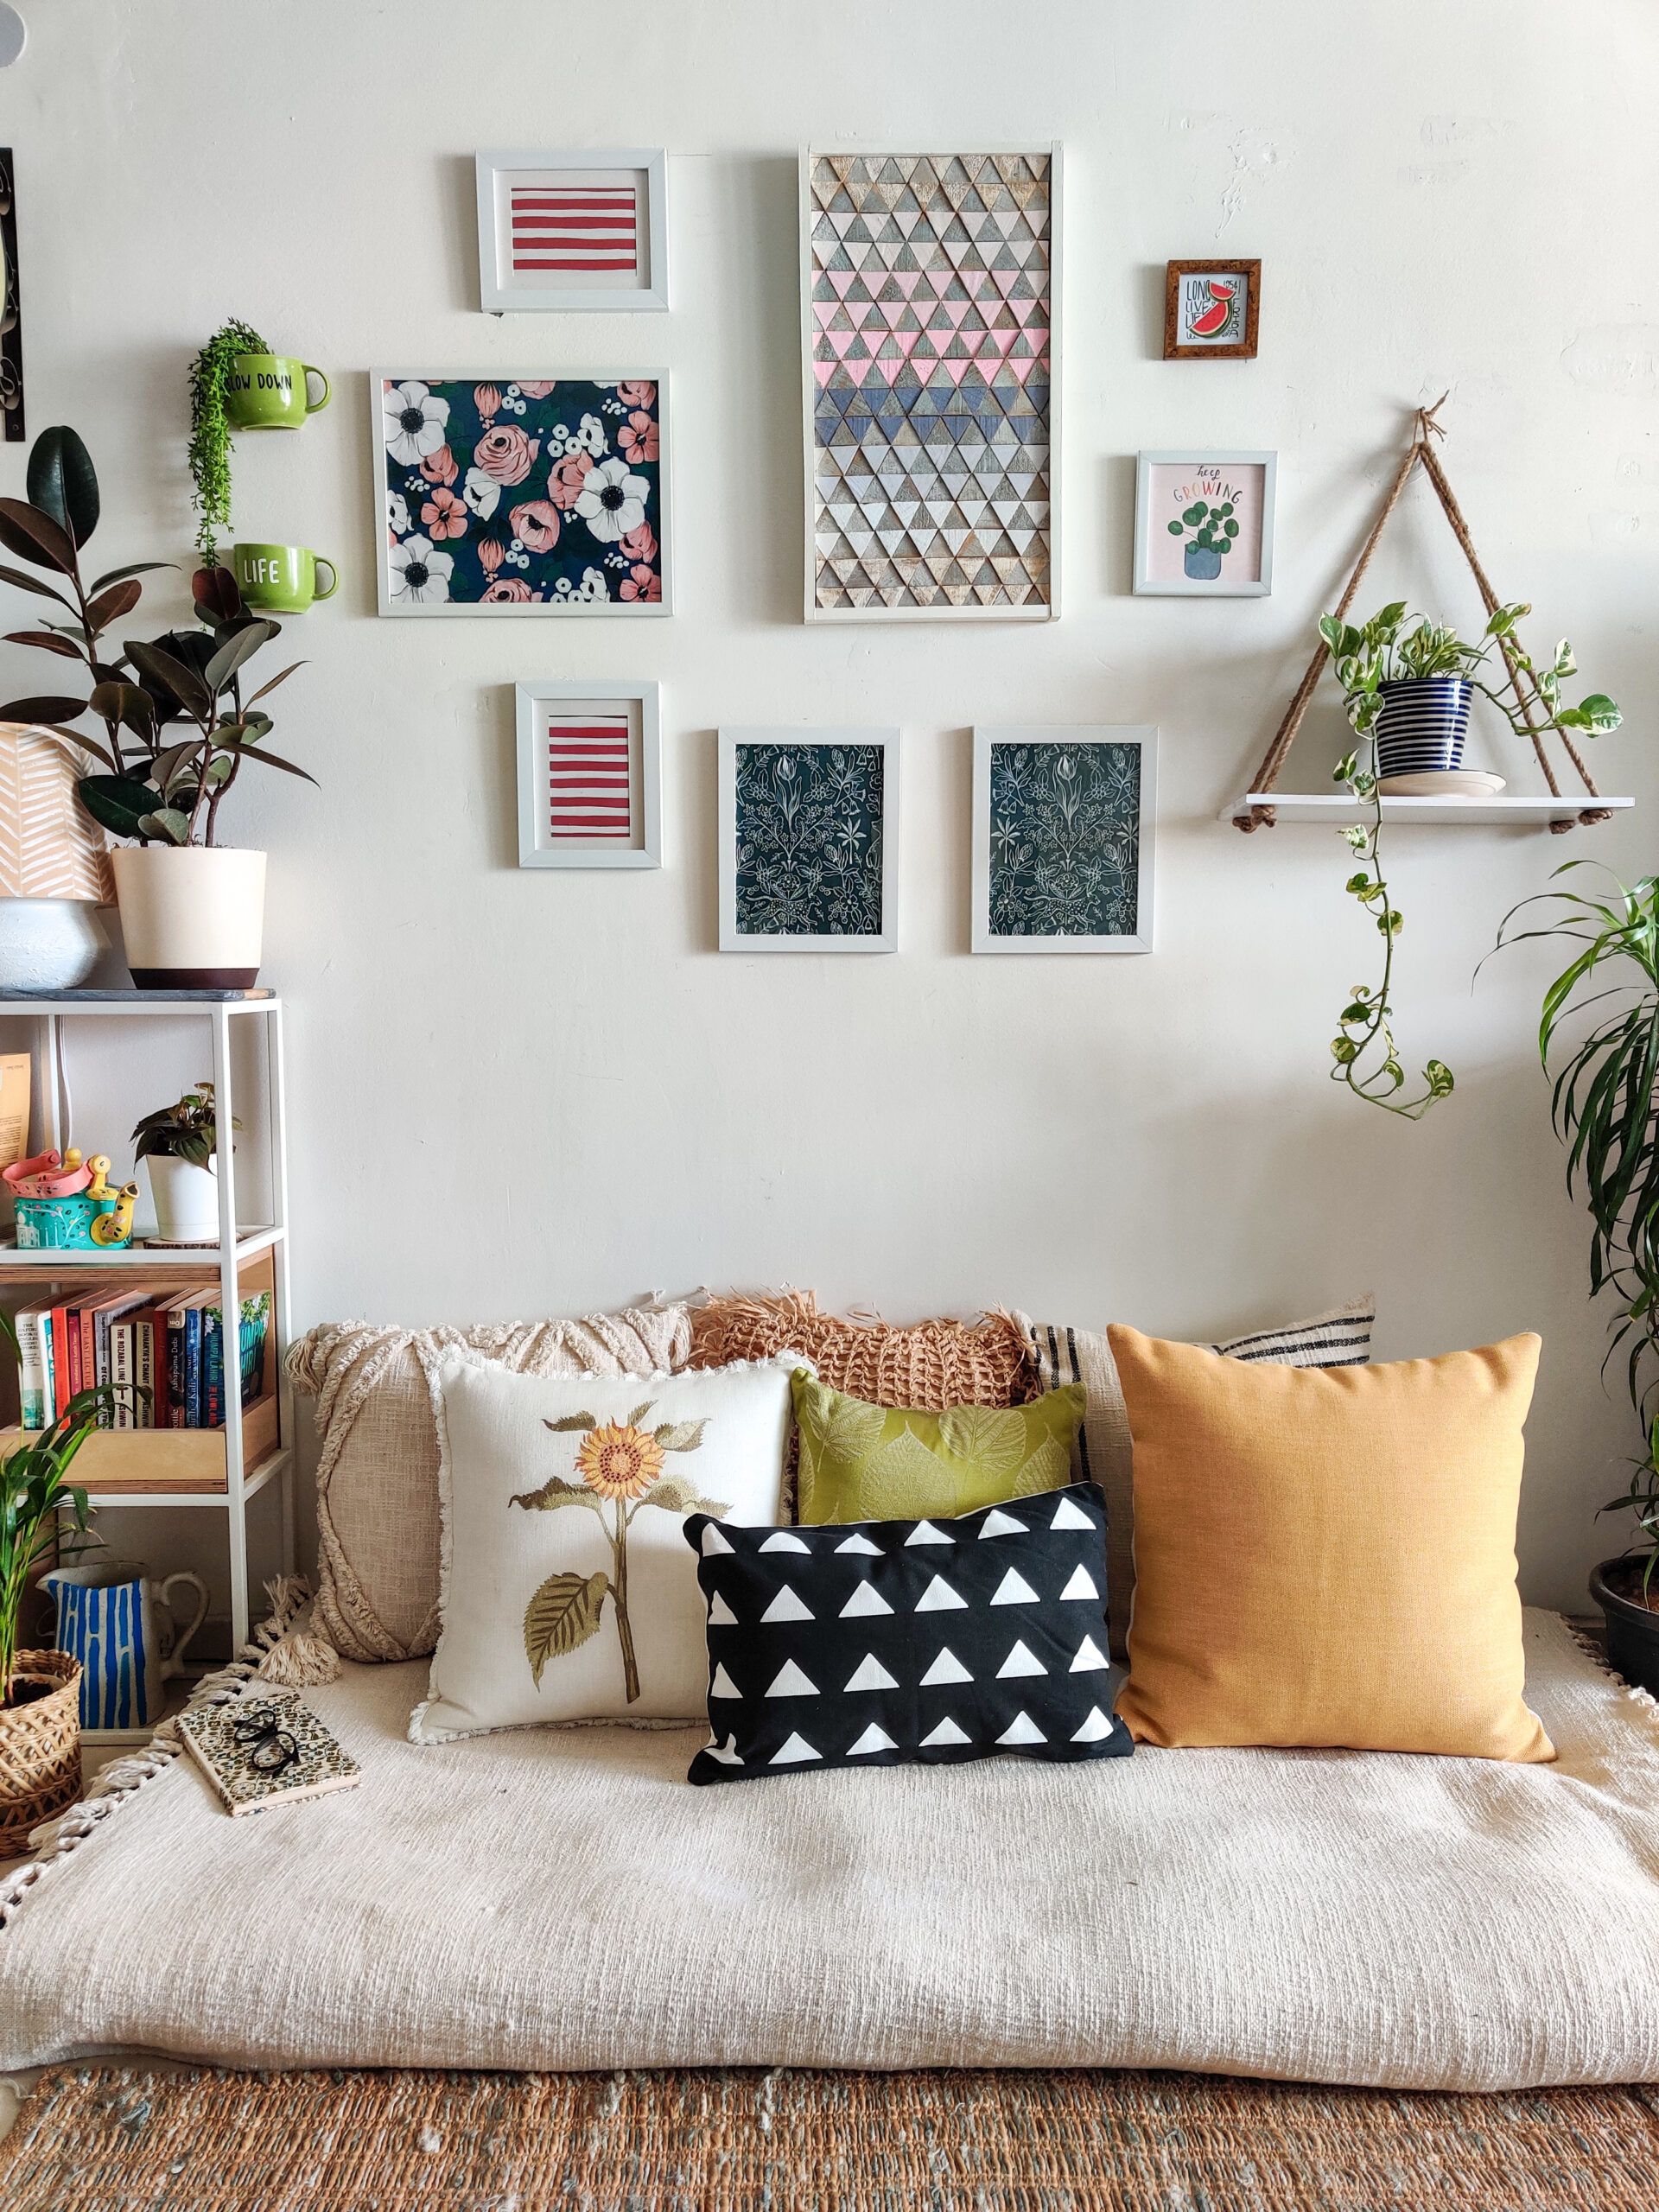
5+ Easy DIY Home Decor Crafts Ideas by Livspace & ThatYellowTrunk
