Pallet Hardwood Floors: Crafting Character And Comfort Underfoot
Detail Author:
- Name : Clarabelle Nikolaus
- Username : huels.gladyce
- Email : rbecker@hotmail.com
- Birthdate : 2000-11-23
- Address : 414 Ondricka Highway Suite 674 Stanport, AR 65017-8971
- Phone : +15852421711
- Company : Kerluke, Oberbrunner and Lehner
- Job : Fishery Worker
- Bio : Illo itaque occaecati ratione labore. Rerum est mollitia dolor. Autem aspernatur asperiores quibusdam quas quia consequatur qui quia.
Socials
twitter:
- url : https://twitter.com/rowen
- username : rowen
- bio : Officia omnis at maiores. Explicabo eligendi qui quo. Minima voluptas dolores excepturi beatae. Recusandae ut rem hic animi recusandae consequatur temporibus.
- followers : 391
- following : 2298
tiktok:
- url : https://tiktok.com/@nakiarowe
- username : nakiarowe
- bio : Sed saepe saepe sint atque et quaerat excepturi. Id quam enim aut saepe et.
- followers : 6622
- following : 2053
linkedin:
- url : https://linkedin.com/in/nakia_rowe
- username : nakia_rowe
- bio : Dignissimos tempore quo sit suscipit autem.
- followers : 3830
- following : 2107
facebook:
- url : https://facebook.com/nakiarowe
- username : nakiarowe
- bio : Eum inventore provident similique id impedit ea eum. Aut quia ut sint soluta.
- followers : 6854
- following : 2890
There's a special kind of magic in taking something overlooked and giving it a new purpose, especially when it comes to your home. Think about it: that old wooden pallet, perhaps once used to move goods for a big store like Home Depot or even shipped products for United Airlines, could actually become the stunning, unique floor you've always wanted. It's a bit like how people are finding amazing treasures in customer return pallets for resale; you're just transforming the raw material into something beautiful for your living space.
This idea of transforming humble wood pallets into a robust and beautiful floor is gaining a lot of interest, and for good reason. It offers a truly distinctive look, a sense of accomplishment from a do-it-yourself project, and a rather impressive way to reuse materials. It's a choice that speaks to creativity and a desire for something a little different than the usual flooring options, you know?
Choosing to use wood from pallets for your floors is more than just a trend; it's a statement about sustainability and personal style. It's about bringing warmth and a story into your home, creating a surface that feels deeply connected to its origins. This approach gives your space a unique character, something truly one-of-a-kind, and it feels pretty good to know you've given wood a second life, too.
Table of Contents
- What Are Pallet Hardwood Floors?
- Why Consider Pallet Wood for Your Floor?
- The Challenges and Important Considerations
- Sourcing Your Pallets: Finding the Right Wood
- Preparing Pallet Wood for Flooring: The Essential Steps
- Installation Techniques for Pallet Floors
- Finishing Your Pallet Hardwood Floor
- Tools You'll Likely Need
- Maintaining Your Unique Floor
- Creative Ideas and Variations
- Frequently Asked Questions (FAQ)
- Bringing It All Together
What Are Pallet Hardwood Floors?
Pallet hardwood floors are exactly what they sound like: flooring created from the wood salvaged from discarded shipping pallets. Instead of buying new, expensive lumber, people take these often-free wooden structures, break them down, process the wood, and then install it as a floor. It's a truly hands-on project that results in a floor with a very distinct, rustic, and sometimes quite modern feel, you know?
Each board from a pallet has its own story, its own marks and imperfections that contribute to the overall character of the floor. This means no two pallet floors will ever be exactly alike, giving your home a truly custom look. It's a way to bring a little bit of that reclaimed, natural vibe indoors, which is quite appealing to many.
Why Consider Pallet Wood for Your Floor?
There are several compelling reasons why someone might choose to go this route for their flooring, especially if they're looking for something out of the ordinary. It's not just about the look; there are practical benefits, too, that often draw people in.
Cost Savings: A Big Plus
One of the biggest draws, arguably, is the potential for significant cost savings. Traditional hardwood flooring can be incredibly expensive, from the materials themselves to the installation. Pallets, on the other hand, can often be acquired for free or for a very low cost. While you'll still need to invest in tools, fasteners, and finishes, the raw material cost is dramatically reduced, which is a huge benefit for budget-conscious projects, you see.
It's a bit like how resellers find amazing deals buying direct pallets of Macy's shelf pull merchandise or Costco returns. You're sourcing your raw material at a fraction of the retail price, turning something considered waste into a valuable asset. This makes a beautiful hardwood floor accessible to more people, which is really something.
Environmental Friendliness
Using pallet wood is a fantastic example of upcycling. Instead of these pallets ending up in landfills, you're giving them a new life, reducing waste, and lessening the demand for newly harvested timber. This eco-friendly aspect is very appealing to those who want to minimize their environmental footprint. It's a tangible way to practice sustainability in your own home, which feels pretty good.
By choosing reclaimed wood, you're contributing to a more circular economy, where resources are reused rather than discarded. This commitment to green living is a strong motivator for many DIYers, and it's a story you can proudly share about your home, too.
Unique Aesthetic and Character
The visual appeal of pallet hardwood floors is truly special. The wood often comes with natural wear, nail holes, stamps, and varying shades, all of which contribute to a rustic, industrial, or even bohemian charm. This isn't your standard, uniform hardwood; it's got character and history built right into it. It's a floor that tells a story, which is quite appealing, really.
You can create a truly custom look by mixing different types of wood, arranging boards in unique patterns, or even leaving some of the original markings visible. This allows for a level of personalization that's hard to achieve with off-the-shelf flooring options. It gives your space a warmth and authenticity that feels very inviting, you know.
The Challenges and Important Considerations
While the benefits are clear, it's also important to be realistic about the effort involved and the potential hurdles. This isn't a project for the faint of heart, but with the right preparation, it's definitely achievable. There are a few things you really need to think about before you start, actually.
Labor and Time Commitment
Breaking down pallets is hard work. It involves prying apart boards, removing countless nails, and then often milling the wood to a consistent thickness and width. This process is incredibly time-consuming and physically demanding. It's not a weekend project; it's more of a long-term endeavor that requires patience and dedication, you see.
Think about the sheer volume of wood needed for a floor. Each pallet yields a relatively small amount of usable wood, so you'll need many, many pallets. This means hours spent in demolition and preparation before you even begin to lay a single board. It's a marathon, not a sprint, basically.
Safety Concerns and Wood Treatment
Not all pallets are created equal, and some can be treated with chemicals that are not safe for indoor use. It's absolutely crucial to understand pallet markings to ensure you're only using heat-treated (HT) wood. Avoiding chemically treated (MB for methyl bromide) pallets is vital for your health and safety. You really need to be careful here, in fact.
Beyond chemical treatments, pallets can harbor mold, pests, or bacteria from their travels. Proper cleaning, drying, and potentially even kiln-drying (if you have access) are important steps to ensure the wood is safe and stable for flooring. This part can't be skipped, obviously.
Consistency and Durability
Achieving a consistent thickness and width across all your pallet boards is essential for a smooth, even floor. This usually requires access to woodworking tools like a planer and a table saw. Without proper milling, your floor could be uneven and prone to splintering. The quality of the original pallet wood also varies greatly, which affects the final durability. Some pallet wood is very soft, which might not hold up as well in high-traffic areas, you know.
Even with careful selection and preparation, pallet wood might not have the same long-term durability as commercially milled hardwood specifically designed for flooring. It's a trade-off for the unique look and cost savings. This is something to really consider for the long haul, anyway.
Sourcing Your Pallets: Finding the Right Wood
Finding enough safe and suitable pallets is the very first hurdle, and it's an important one. Just like resellers hunt for valuable liquidation pallets, you'll be on the lookout for the right kind of wood. This part takes a bit of strategy, you know.
Where to Look for Pallets
Many businesses receive goods on pallets and are often happy to give them away or sell them for a very low price just to get rid of them. Look for local businesses, construction sites, manufacturing plants, or even small retail shops. Sometimes, you can find them advertised online for free. Always ask permission before taking any pallets, of course.
It's a bit like how you might find overstock items from department stores; these pallets are essentially "overstock" for businesses. Getting them direct from the source, rather than through a broker, can save you money and ensure you know where they came from, which is pretty important for safety, actually.
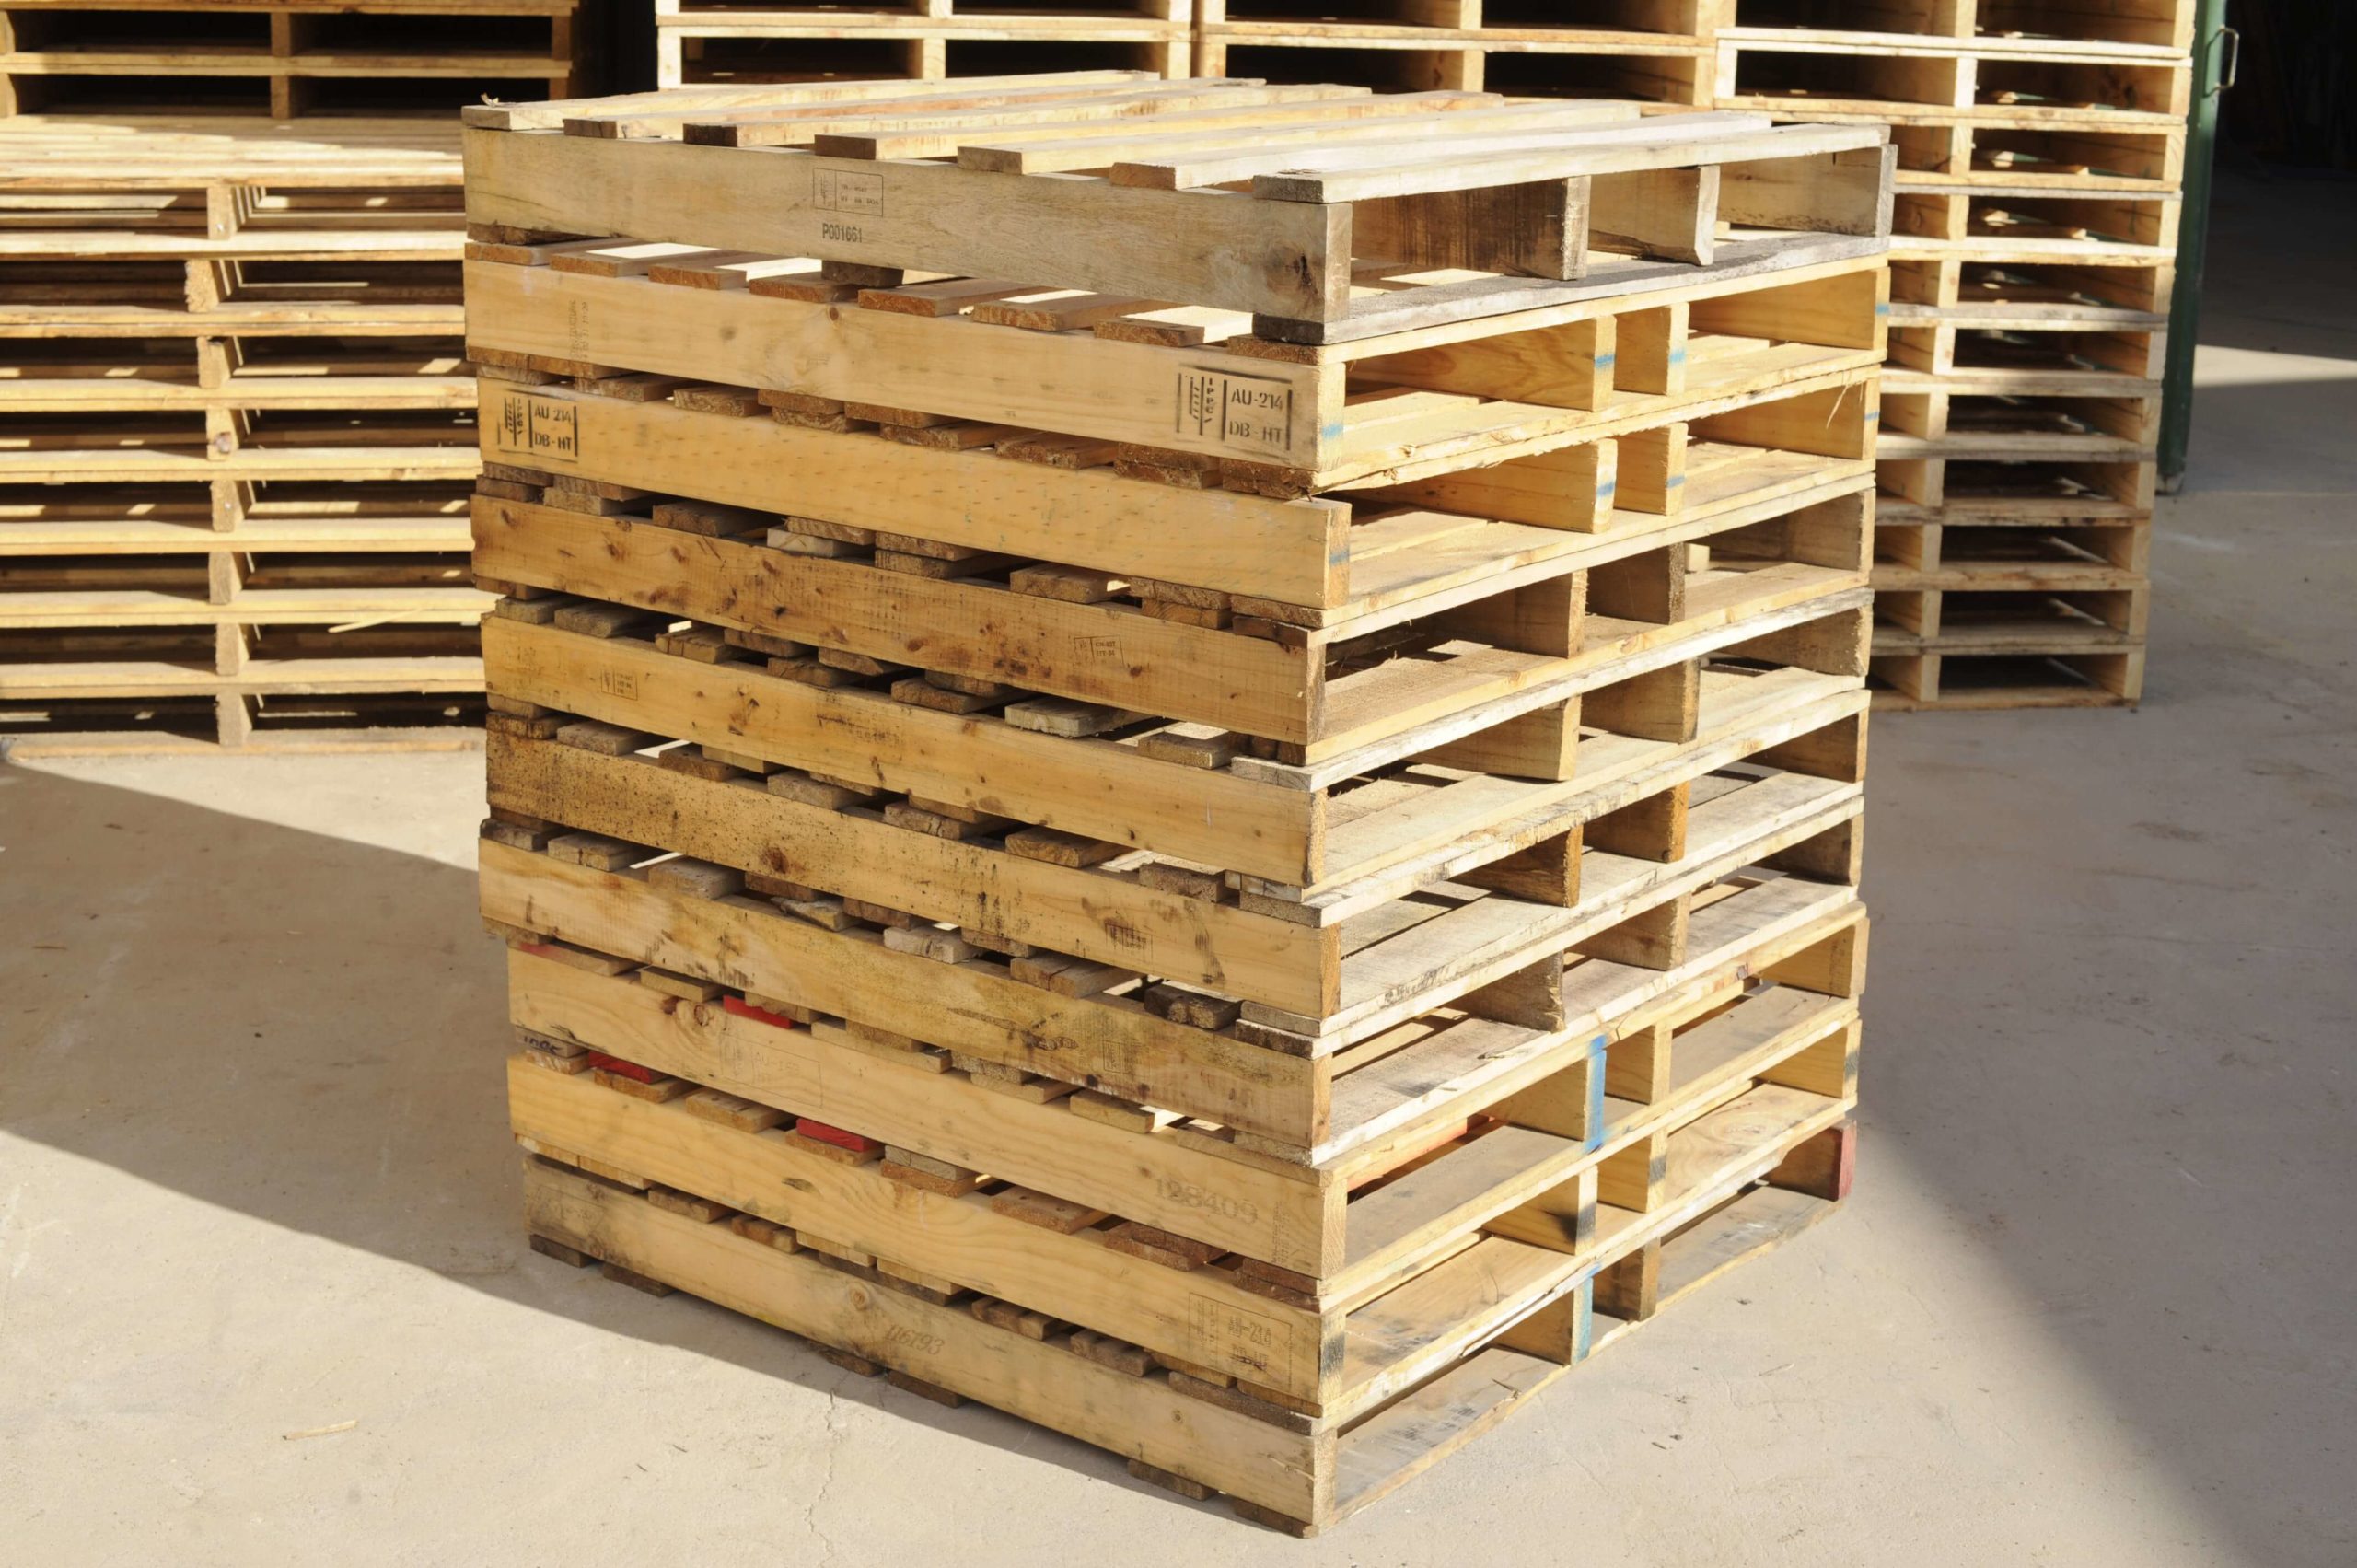
Understanding Pallet Stamps and Safety
This is arguably the most crucial step in sourcing. Look for stamps on the side of the pallet. The most important marking is "HT" for heat treated. This means the wood was heated to kill pests and is generally safe. Avoid any pallets marked "MB" for methyl bromide, as this chemical treatment is toxic and should not be brought into your home. You really need to pay attention to these marks, obviously.
Also, check for any spills, stains, or strong odors on the pallets. If a pallet looks like it carried chemicals or food waste, it's best to pass on it. Your health and safety are paramount, so be very selective about the wood you choose, in fact.
Types of Wood to Expect
Pallets are often made from various types of hardwood and softwood, depending on their origin. You might find oak, maple, pine, or even some exotic woods. This mix of wood types can add to the unique character of your floor, but it also means varying hardness and grain patterns. This variety is part of the charm, but it also means you'll have different levels of durability across your floor, you see.
Sometimes, you'll find pallets made entirely of one species, which can be great if you're aiming for a more uniform look. Other times, it's a complete mix, offering a more eclectic feel. It's a bit of a lottery, but that's part of the adventure, basically.
Preparing Pallet Wood for Flooring: The Essential Steps
Once you've collected your pallets, the real work begins. This preparation phase is where raw, rough wood transforms into usable flooring material. Skipping any of these steps could lead to problems down the line, so take your time, actually.
Cleaning and De-Nailing
First, thoroughly clean each board. Use a stiff brush, soap, and water to remove dirt, grime, and any surface contaminants. Let the wood dry completely. Then comes the tedious but vital task of de-nailing. Every single nail, staple, or piece of metal must be removed. This protects your tools and ensures a smooth surface. It's a painstaking process, but absolutely necessary, you know.
Use a claw hammer, pry bar, and pliers to get every bit of metal out. Be careful not to damage the wood too much in the process. This step alone can take many, many hours, depending on the number of pallets you have, which is something to keep in mind.
Milling and Sizing Your Boards
For a truly professional-looking floor, you'll want to mill your boards to a consistent thickness and width. A planer is essential for achieving uniform thickness, ensuring your floor lays flat. A table saw will allow you to rip the boards to a consistent width and create straight edges. This step is where the wood truly becomes "flooring," you see.
If you don't have access to these tools, consider renting them or finding a local woodworker who can help. While it's possible to lay uneven boards for a very rustic look, it can create tripping hazards and make cleaning difficult. Consistency is key for a functional floor, arguably.
Drying and Acclimation
Wood contains moisture, and if you install it too wet, it will shrink and warp as it dries, leading to gaps and buckling. Pallet wood, especially, needs to be properly dried. Stack the milled boards with spacers (stickers) between them to allow air circulation. Store them in the space where they will be installed for several weeks, or even months, to allow them to acclimate to the room's humidity. This step is crucial for the longevity of your floor, in fact.
Using a moisture meter can help you determine when the wood has reached an appropriate moisture content for installation (typically 6-9% for interior flooring). Patience here really pays off, you know.
Installation Techniques for Pallet Floors
Once your wood is prepped, the installation process is similar to installing traditional hardwood, but with some unique considerations due to the varied nature of pallet wood. It's about careful planning and execution, basically.
Subfloor Preparation
Your subfloor needs to be clean, dry, level, and structurally sound. Address any squeaks, loose boards, or uneven spots before you begin. Lay down a moisture barrier, especially if installing over concrete or in a basement, to protect your wood from humidity. This foundation is very important for a lasting floor, you see.
Just like building anything strong, the base has to be right. Don't rush this part; it will save you headaches later, honestly.
Laying Out Your Design
Before you start permanently attaching boards, dry-lay a section of your floor to see how the different colors, textures, and widths of your pallet wood will look together. This allows you to arrange boards for the most aesthetically pleasing pattern, mixing and matching to create a balanced look. This is where your creativity really shines, in a way.
You can choose a traditional staggered pattern, or get more creative with herringbone or chevron if your milling is precise enough. Planning ahead helps avoid awkward cuts and ensures a cohesive appearance, which is pretty helpful.
Fastening Methods
Pallet wood can be installed using nails, screws, or adhesive, or a combination. Nailing through the tongue (if you've milled a tongue and groove) or face-nailing (driving nails directly through the top surface) are common. Using construction adhesive in addition to fasteners can provide extra stability and reduce movement. The method you choose might depend on the subfloor and the look you're going for, you know.
For face-nailing, consider using finish nails and setting them below the surface with a nail set, then filling the holes. This creates a cleaner look. Screws can offer a very secure hold, but you might want to pre-drill to prevent splitting and countersink them for a smoother finish. Each method has its own benefits, basically.
Finishing Your Pallet Hardwood Floor
The finishing steps are what truly transform your raw wood into a beautiful, durable floor. This is where all your hard work comes to fruition, in fact.
Sanding for Smoothness
Once all the boards are laid, the entire floor needs to be sanded thoroughly. Start with a coarser grit sandpaper to level any minor inconsistencies and remove surface imperfections, then progressively move to finer grits for a smooth finish. This step is crucial for both aesthetics and comfort. You want a floor that feels good underfoot, you see.
Sanding can create a lot of dust, so be sure to use proper dust collection and wear a respirator. A well-sanded floor is the foundation for a beautiful finish, which is pretty important.
Staining and Sealing
After sanding, you can choose to stain your floor to achieve a desired color, or leave it natural to highlight the wood's inherent variations. Once the stain is dry (if you used it), apply several coats of a durable polyurethane or other floor-grade sealant. This protects the wood from wear, moisture, and spills, and makes it much easier to clean. This final layer is very important for longevity, honestly.
Follow the manufacturer's instructions for drying times between coats. A good sealant will bring out the richness of the wood and provide a lasting protective layer. It's the crowning touch, in a way.
Tools You'll Likely Need
This project requires a good collection of tools. Some are standard DIY tools, while others are more specialized. Having the right equipment makes the job much easier and safer, you know.
- Pry bar and claw hammer (for de-nailing)
- Moisture meter (for wood acclimation)
- Table saw (for ripping boards to width)
- Planer (for achieving consistent thickness)
- Miter saw or circular saw (for cutting boards to length)
- Orbital sander or floor sander (for finishing)
- Nail gun or hammer and nails/screws
- Wood glue or construction adhesive
- Measuring tape, pencil, speed square
- Safety glasses, gloves, and a respirator
- Possibly a router with a tongue and groove bit (if you want to create T&G boards)
Maintaining Your Unique Floor
Once installed, maintaining your pallet hardwood floor is similar to caring for any other hardwood floor. Regular sweeping or vacuuming keeps dirt and grit from scratching the surface. Use a damp mop with a wood-safe cleaner for spills and occasional cleaning. Avoid excessive water, which can damage wood floors. This simple care helps keep your floor looking great for years, you see.
Reapply a fresh coat of sealant every few years, especially in high-traffic areas, to protect the wood and keep it looking vibrant. This periodic maintenance will extend the life and beauty of your unique flooring, which is pretty good.
Creative Ideas and Variations
The beauty of using pallet wood is the endless possibilities for customization. You're not limited to uniform boards. Consider mixing different wood species for a varied look, or intentionally leaving some original markings visible for added character. You could even create a pattern by alternating light and dark boards, or by laying some boards perpendicular to others for a border effect. Your imagination is the only limit, basically.
Some people choose to distress the wood further before installation, or apply different stains to individual boards for a truly multi-toned effect. The rustic nature of the material lends itself well to creative experimentation, which is quite fun, honestly.
Frequently Asked Questions (FAQ)
People often have a lot of questions about this kind of flooring, and that's perfectly natural. Here are some common queries that come up, you know.
Is pallet wood good for flooring?
Yes, pallet wood can be very good for flooring, especially if you're looking for a unique, rustic, and budget-friendly option. The key is proper selection (only heat-treated, no chemicals) and thorough preparation, including cleaning, de-nailing, and milling the wood to a consistent size. It requires a lot of effort, but the result can be truly stunning and durable enough for many homes, you see.
How do you prepare pallet wood for flooring?
Preparing pallet wood involves several steps: first, carefully dismantle the pallets and remove all nails and metal. Then, clean the wood thoroughly. Next, and this is very important, mill the wood to a consistent thickness and width using tools like a planer and table saw. Finally, stack the boards with spacers and allow them to acclimate to your home's humidity for several weeks or months before installation. This careful preparation ensures a stable and long-lasting floor, in fact.
What are the disadvantages of pallet wood flooring?
While there are many benefits, some disadvantages include the significant time and labor required for sourcing and preparing the wood, the potential safety concerns if you don't choose heat-treated pallets, and the fact that pallet wood can vary in quality and durability. It also requires access to specific woodworking tools for proper milling. It's not a quick or easy project, but the rewards can be great, you know.
Bringing It All Together
Creating pallet hardwood floors is a labor of love, a testament to resourcefulness, and a way to infuse your home with genuine character. It's a project that demands patience, effort, and a willingness to learn, but the satisfaction of walking on a floor you've crafted yourself from reclaimed materials is truly unmatched. This kind of flooring tells a story, and it’s a story you’ve personally written with every board. To learn more about reclaimed wood projects, check out our other resources.
The journey from a discarded pallet to a beautiful floor is a pretty amazing one. It's about seeing potential where others see waste, and it's a very rewarding process for those who embrace the challenge. For more insights into sustainable building practices and unique home improvements, you might find inspiration from resources like the U.S. Green Building Council, which promotes green building practices and sustainable materials

13 Different Types of Pallets (by Style, Design and Material)
Export Wooden Pallets | Plastic Export Pallets | Smart Pallets

Choosing The Best Quality Wooden Pallets - BMR Pallets
