Crafting Cosmic Glow: Your Guide To The Perfect Moon Pumpkin Stencil
Detail Author:
- Name : Mylene Pouros
- Username : gina05
- Email : kessler.michel@muller.info
- Birthdate : 1972-08-10
- Address : 95916 Huels Shoal Suite 006 Cecilestad, DC 93995-9505
- Phone : (781) 520-8601
- Company : Wyman-Fritsch
- Job : Precision Printing Worker
- Bio : Et dolor pariatur sequi exercitationem. Sed voluptatum eum rerum et non sequi ducimus architecto. Laborum exercitationem sit vero magni.
Socials
facebook:
- url : https://facebook.com/erdmanm
- username : erdmanm
- bio : Nulla sapiente officiis dolor sapiente commodi nostrum.
- followers : 5622
- following : 346
tiktok:
- url : https://tiktok.com/@merdman
- username : merdman
- bio : Vitae nobis et fuga et tempore id exercitationem.
- followers : 2400
- following : 1205
As autumn air starts to feel a bit crisp, and thoughts turn to cozy nights and the magic of Halloween, there's something truly special about a glowing pumpkin on your porch. And if you're looking for a design that really captures the imagination, a moon pumpkin stencil might just be the very thing. It's a way to bring a piece of the night sky right to your doorstep, offering a gentle, mysterious light that feels just right for the season. You know, the moon, that bright, familiar face in our night sky, really does make our home planet a much more comfortable place to live, gently steadying Earth's slight wobble, which helps keep our climate rather steady.
Choosing a moon design for your pumpkin is a pretty cool idea, too. It taps into something ancient and universal, something we've all looked up at and wondered about. From its quiet presence helping to set the rhythm of ocean tides to holding a kind of history book for our entire solar system, the moon is quite a fascinating subject. A moon pumpkin, in a way, sort of honors that cosmic neighbor, bringing its calm beauty down to a more personal, crafty level.
So, whether you're a seasoned carver or just picking up a pumpkin tool for the first time, getting a moon pumpkin stencil ready for carving is a delightful project. It lets you create something truly eye-catching, something that glows with a bit of celestial wonder. Plus, it's a chance to connect with that big, round orb that has inspired stories, songs, and even calendars for countless generations, you know, as a matter of fact.
Table of Contents
- Why the Moon Shines on Our Pumpkins
- Getting Started with Your Moon Pumpkin
- Step-by-Step: Carving Your Celestial Masterpiece
- Creative Moon Pumpkin Ideas
- Caring for Your Carved Creation
- Frequently Asked Questions About Moon Pumpkins
- Embracing the Lunar Light
Why the Moon Shines on Our Pumpkins
There's a deep connection between us and the moon, isn't there? It's been a constant companion in our night sky for ages. The moon, that brightest and largest object up there, really does play a big part in making Earth a more livable place, you know. It helps keep our home planet from wobbling too much on its axis, leading to a climate that's pretty stable. This stability is something we often take for granted, but it's a huge deal for life as we know it, so.
The Moon's Impact on Earth and Our Imagination
Beyond its practical job of stabilizing our planet, the moon also sets the rhythm for our ocean tides, a truly powerful force. It's also like a giant history book, keeping a record of events from our solar system's past. Learning about how Earth's moon formed, how its path around us affects the tides, and even why solar and lunar eclipses happen, really shows just how connected we are to this celestial body. Its violent origins, for instance, are quite a story, and its changing phases actually helped shape some of the very earliest calendars people used, apparently.
This enduring presence and its profound effects on our world make the moon a naturally inspiring subject for art, stories, and, well, pumpkin carving. It's a symbol of mystery, change, and constancy all at once. People have launched many missions to explore it, trying to figure out what it's made of and how it came to be. This human drive to explore and understand our moon just adds to its allure, making it a wonderful choice for a pumpkin design, too.
Choosing Your Lunar Look
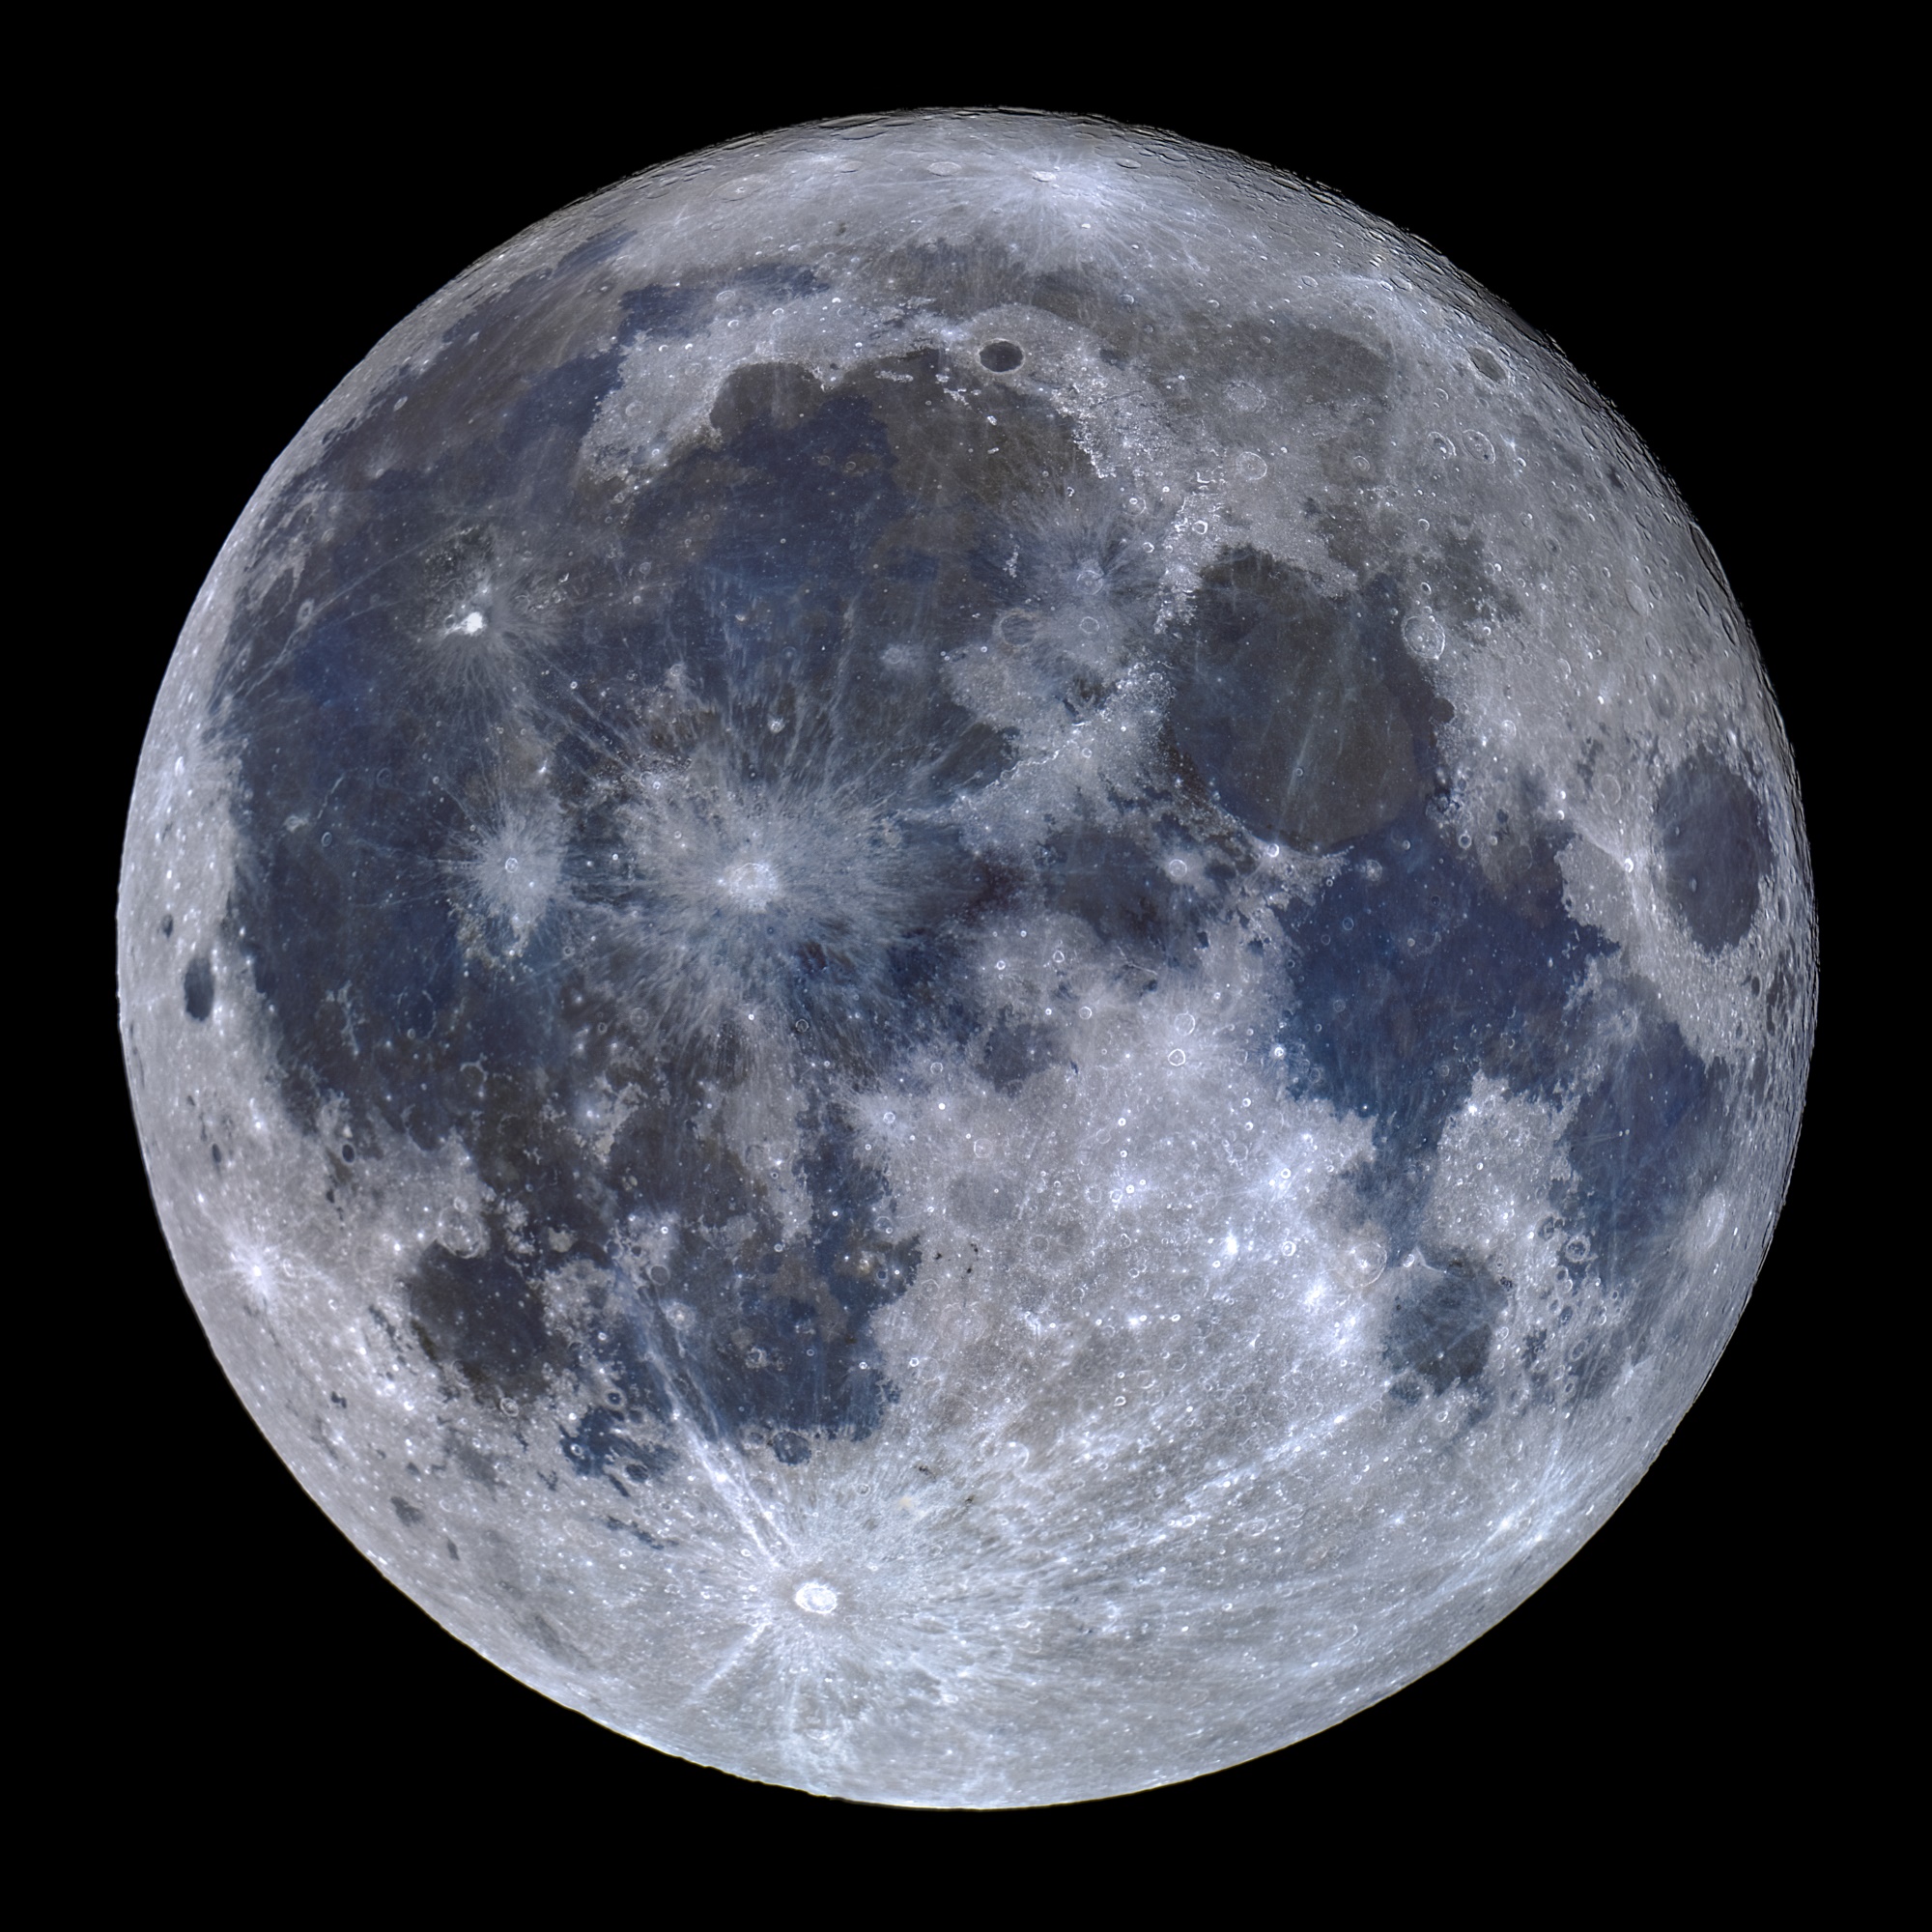
When you think about a moon pumpkin stencil, there are so many ways you can go. You could opt for a simple crescent, a full, round moon, or even a more detailed depiction of its surface. Maybe you want a friendly "man in the moon" face, or perhaps something more abstract, like a swirling, mystical moon. The moon's diameter, by the way, is approximately 2,160 miles, which is about 3,475 kilometers. It's the fifth largest natural satellite in our solar system, though it's much smaller than some of the really big moons orbiting Jupiter and Saturn. This size, when seen from Earth, makes it a truly impressive sight, which you can capture on your pumpkin, naturally.
Consider the mood you want to create. A soft, glowing full moon can feel comforting, while a thin, sharp crescent might add a touch of eerie elegance. Think about the textures too; the moon's surface is covered in craters and plains, which can be wonderfully translated into a carved design. This choice of style is what really makes your moon pumpkin unique, you know.
Getting Started with Your Moon Pumpkin
Before you even think about carving, a little preparation goes a long way. This is where the fun really begins, as you gather your supplies and get ready to transform a humble gourd into a glowing lunar masterpiece. Having everything ready beforehand makes the whole process a lot smoother and more enjoyable, as a matter of fact.
Picking the Perfect Pumpkin
The first step, quite obviously, is to pick out a good pumpkin. Look for one that's firm all over, without any soft spots or mold. A pumpkin with a relatively smooth surface will make it much easier to transfer your moon pumpkin stencil design. Think about the size, too. A larger pumpkin gives you more space for a detailed moon design, while a smaller one might be perfect for a simple crescent or a collection of moon phases. Just feel it all over, making sure it feels sturdy and healthy, you know.
Also, consider the shape. Some pumpkins are round and plump, while others are taller or more oblong. A rounder pumpkin might be ideal for a full moon, while a slightly oval one could lend itself well to a stylized crescent. Don't forget to check the bottom; you want it to sit flat and stable, especially since it will be holding a light source. A stable base is pretty important, after all.
Essential Carving Tools
You don't need a huge array of fancy tools, but a few key items will make a big difference. A good, sturdy serrated knife is helpful for cutting the top or bottom of the pumpkin. For the actual carving of your moon pumpkin stencil, a smaller, sharper carving knife or a specialized pumpkin carving kit with various tools will be very useful. These kits often include different sized saws and detail tools that are perfect for intricate lines and curves. You might also want a scoop or a large spoon for cleaning out the inside, and a dry-erase marker or a pencil for tracing. Having these items ready will save you a lot of hassle, honestly.
For transferring your stencil, masking tape is quite handy. And for poking holes to guide your cuts, a push pin or a small awl works well. Some people even like to use a small drill for tiny details or to create starry effects around their moon. Just make sure whatever tools you use are clean and sharp, which makes the carving process much safer and more precise, too.
Finding or Making Your Stencil
Now, for the star of the show: your moon pumpkin stencil! You have a few options here. You can find many free stencils online with a quick search. Websites dedicated to Halloween crafts often have a good selection of moon designs, from simple shapes to more elaborate lunar landscapes. Just print them out to the size you need. Alternatively, if you're feeling creative, you can design your own. Just draw your moon design on a piece of paper. This allows for a truly unique and personal touch, you know.
When selecting or creating your stencil, think about the level of detail. Simpler designs are easier for beginners and quicker to carve. More complex designs, with craters or specific moon phases, will take more time and a steady hand. Remember, the moon's phases actually shaped the earliest calendars, so there's a lot of history and meaning in those different shapes. Consider if you want to carve out the positive space (the moon itself) or the negative space (the area around the moon), as this will affect how your design looks when lit, you know, in a way.
Step-by-Step: Carving Your Celestial Masterpiece
With your pumpkin and tools ready, it's time to get down to business. This is where your vision for that moon pumpkin stencil really starts to come to life. Take your time with each step; it's a fun process, not a race, you know.
Preparing the Pumpkin
First things first, you need to open up your pumpkin. Most people cut a circle around the stem at the top. However, cutting a hole in the bottom can actually make the pumpkin more stable and easier to place over a light source. Whichever way you choose, make sure the cut is wide enough for your hand to fit inside comfortably. Cut at an angle, so the lid or base won't fall into the pumpkin once it's replaced. This little trick helps keep things neat and tidy, basically.
Once you've made your cut, it's time for the messy but satisfying part: cleaning out the inside. Use your scoop or a large spoon to scrape out all the seeds and stringy bits. Get it as clean as you can. A clean interior will help your pumpkin last longer and allow the light to shine through more clearly. Some people even thin out the wall where they plan to carve their moon pumpkin stencil, which makes it a bit easier to cut through, apparently.
Transferring the Design
Now, take your printed or drawn moon pumpkin stencil and tape it securely onto the smoothest part of your pumpkin. Make sure it lies flat, without any wrinkles or bubbles, especially around the edges of your design. Use masking tape to hold it firmly in place. This step is pretty important for accuracy, you know.
With the stencil taped down, use your push pin or small awl to poke small holes along all the lines of your moon design. Space the holes fairly close together, about an eighth of an inch apart, so you have a clear outline when you remove the paper. Be careful not to poke too deep, just enough to mark the pumpkin's surface. Once you've traced every line, carefully peel off the paper stencil. You should now see a dotted outline of your moon design on the pumpkin. If any dots are faint, you can connect them with a dry-erase marker or a pencil, just a little.
The Carving Process
This is the moment of truth! Using your small carving knife or saw, carefully cut along the dotted lines you've created. Take your time, going slowly and steadily. It's often easier to start with the smaller, more intricate details of your moon pumpkin stencil first, then move on to the larger shapes. Keep the blade clean as you go, wiping away any pumpkin bits that might clog it up. Remember, you can always remove more pumpkin, but you can't put it back, so be cautious, you know.
If your design has areas that aren't meant to be cut all the way through, but rather just scraped or shaved to create a translucent effect, use a different tool for that. Sometimes, a linoleum cutter or a small wood gouge can work well for creating varying depths and textures, giving your moon a more realistic, cratered look. This adds a lot of character, as a matter of fact.
Adding the Glow
Once your moon pumpkin stencil is fully carved, it's time to bring it to life with light. Traditional candles are a classic choice, but for safety and longevity, battery-operated LED lights are often a better option. They don't produce heat, so your pumpkin will last longer, and there's no fire risk. You can find flickering LED tea lights or larger LED puck lights that give off a wonderful glow. Place your chosen light source inside your pumpkin, replace the lid or base, and step back to admire your glowing celestial creation. It's truly magical to see your moon come to life, you know, really.
Creative Moon Pumpkin Ideas
Beyond a simple moon, there are so many ways to get creative with your moon pumpkin stencil. The moon itself offers a wealth of inspiration, from its various phases to its fascinating surface. Let's explore some ideas that can make your pumpkin truly stand out. Remember, the moon is the fifth largest natural satellite in the solar system, and its impressive size, though smaller than Jupiter's and Saturn's largest moons, still makes it a grand subject, you know.
Phases of the Moon
Why carve just one moon when you can carve a whole sequence? A really cool idea is to carve several smaller pumpkins, each depicting a different phase of the moon: a new moon (just an outline or dark), a crescent, a quarter, a gibbous, and a full moon. You could arrange them in a line on your porch or steps to show the lunar cycle. This is a bit more involved, but the visual impact is quite striking. It's a nice nod to how the moon's phases shaped the earliest calendars, too.
Alternatively, you could carve all the phases onto a single, very large pumpkin, arranging them in a circle. This creates a kind of lunar calendar on your gourd. You might even label each phase if you want to add an educational touch. This approach definitely tells a story with your carving, which is pretty neat, you know.
Man in the Moon and Other Faces
The classic "man in the moon" is a beloved and whimsical choice for a moon pumpkin stencil. This usually involves carving simple facial features onto a full or nearly full moon shape. You can make him smiling, sleepy, or even a bit mischievous. This design is universally recognized and always brings a smile to people's faces, so.
But why stop there? You could create a "woman in the moon," or even an animal in the moon, like a cat or an owl silhouette within the lunar shape. Or perhaps a more abstract, ethereal face, with swirling lines to represent clouds or cosmic dust. The possibilities are really endless when you think about putting a face on that big, round orb, you know, honestly.
Cratered Surfaces and Textures
For a more realistic or textured moon pumpkin, think about its actual surface. The moon is covered in countless craters, mountains, and plains. You can replicate this by not carving all the way through the pumpkin. Instead, use scraping tools to remove just the outer layer of the pumpkin skin, creating varying depths and translucency. This technique allows light to filter through differently, highlighting the "craters" and "mountains" you create. It gives your moon a very dimensional feel, which is pretty cool, you know.
You can use different sized scraping tools to make larger craters and smaller pockmarks. Experiment with how much pumpkin flesh you remove to get different levels of light. This method can be a bit more challenging but yields a truly impressive and unique moon pumpkin that looks like it's straight from a telescope view, basically.
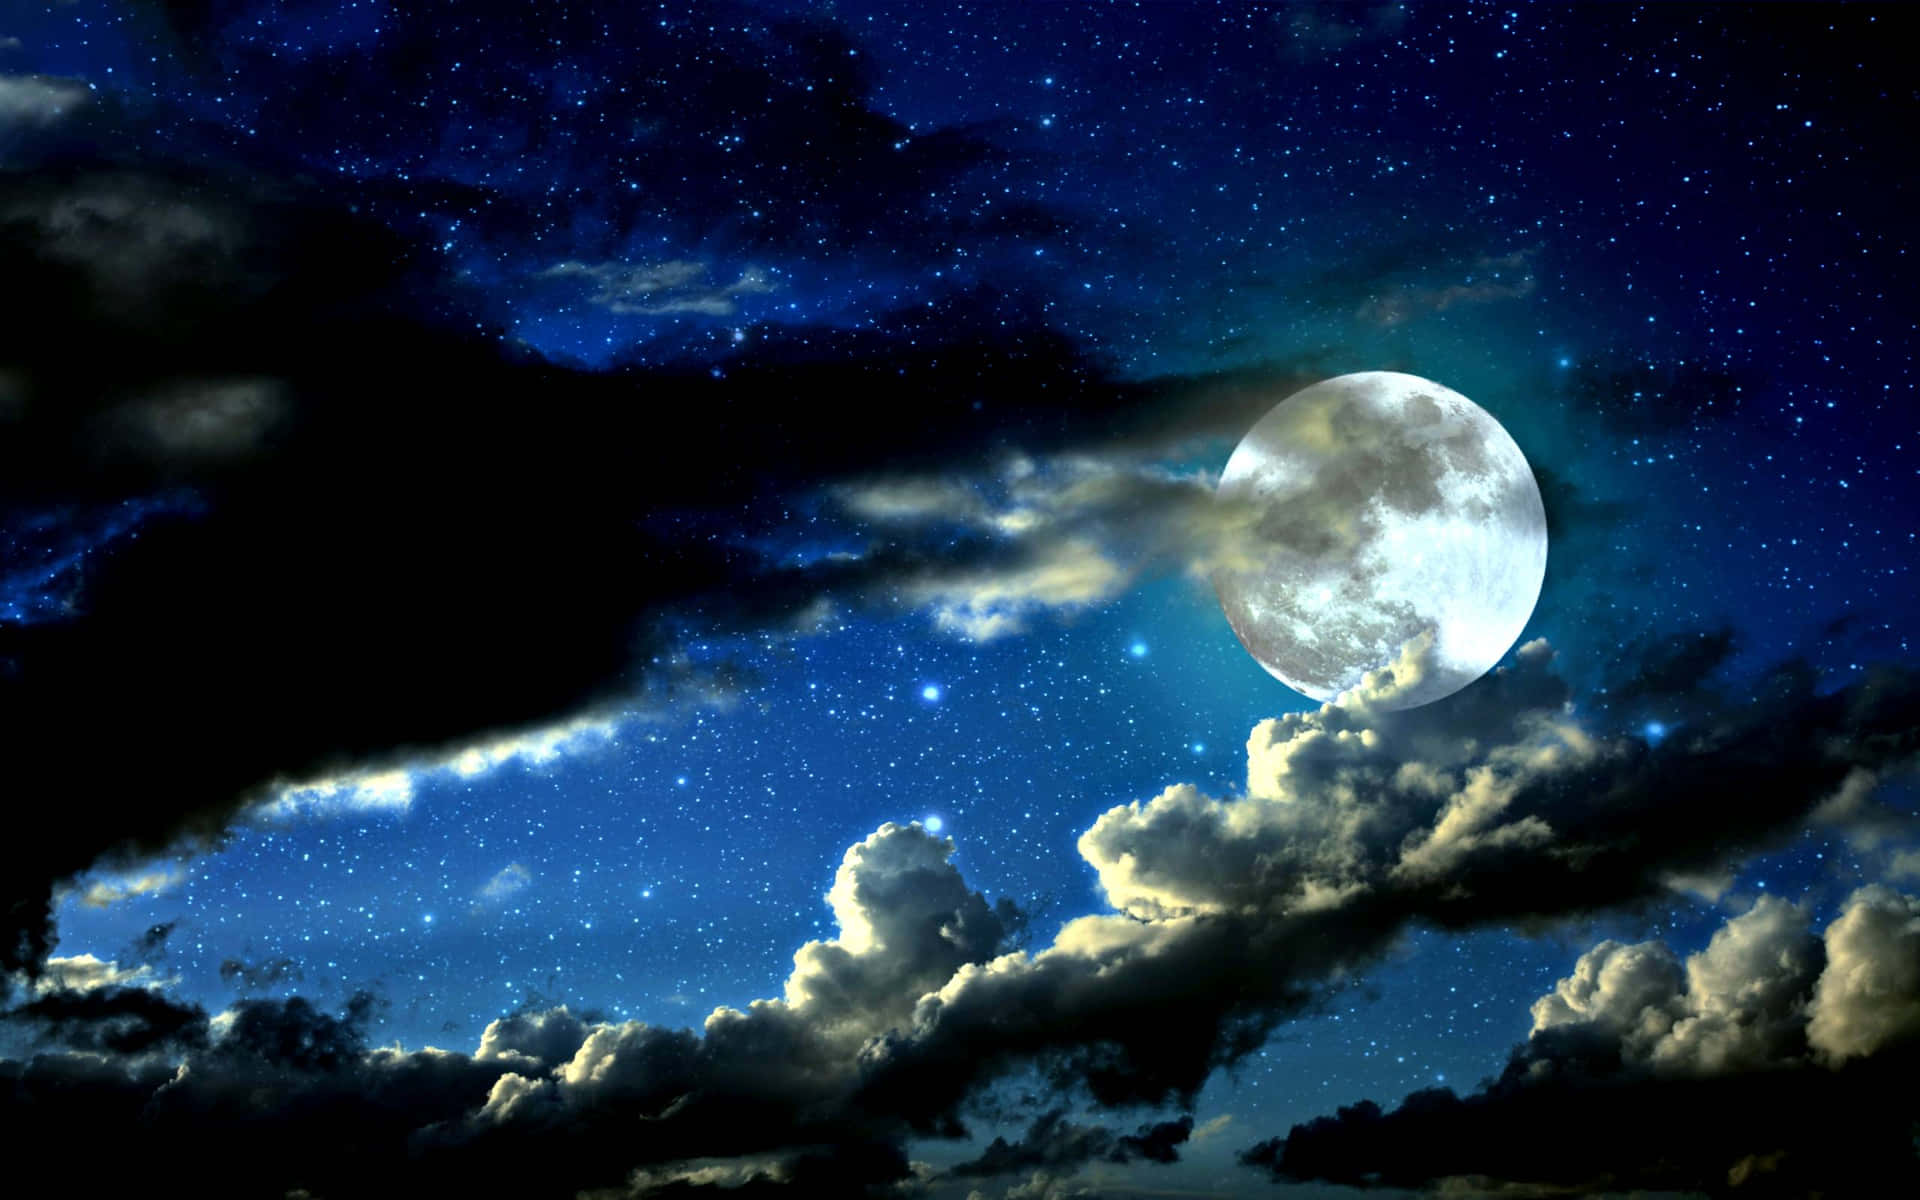
Moon with Stars and Other Elements
A moon rarely appears alone in the night sky, does it? Add some twinkling stars around your moon pumpkin stencil for an even more magical effect. You can carve small star shapes or, for a simpler approach, use a drill with a small bit to create tiny holes that will let pinpricks of light shine through. This creates a wonderful starry backdrop for your lunar design. It's a simple addition that really enhances the overall celestial theme, you know.
You could also incorporate other elements like bats flying across the moon, a witch on a broomstick, or even a lone tree silhouette against the lunar glow. These additions tell a story and add a lot of character to your pumpkin. Just make sure these extra elements complement your moon design without overwhelming it. The moon should still be the star of the show, obviously.
Caring for Your Carved Creation
Once your beautiful moon pumpkin is carved and glowing, you'll want to make it last as long as possible. Pumpkins, being organic, do start to break down once cut. To slow this process, you can mist your pumpkin daily with water, especially the cut edges. Some people even give their pumpkins a quick bath in a bleach solution (about one tablespoon of bleach per gallon of water) for a few hours before carving, which helps kill off bacteria and mold. You know, it's like giving it a little spa treatment.
Another tip is to apply petroleum jelly or vegetable oil to all the cut surfaces. This helps seal in moisture and prevents the pumpkin from drying out too quickly. If you live in a warm climate, bringing your pumpkin inside during the day, or at least out of direct sunlight, can also extend its life. And if you're using a real candle, remember the heat it generates can speed up decay, so LED lights are often a better choice for longevity. Taking these small steps really makes a difference in how long you can enjoy your lunar masterpiece, pretty much.
Frequently Asked Questions About Moon Pumpkins
People often have questions when they're planning their pumpkin carving projects. Here are a few common ones that might help you with your moon pumpkin stencil endeavor.
How can I make my moon pumpkin look more realistic?
To make your moon pumpkin look more real, focus on surface texture. Instead of cutting all the way through, try scraping away just the outer skin to create varying depths. This lets light filter through in different ways, highlighting "craters" and "mountains." Using a small drill for tiny pockmarks can also add a lot of detail, you know, in a way. Also, studying actual moon photos can give you great ideas for placement of features, so.
What's the best way to light a moon pumpkin for a soft glow?
For a soft, even glow, battery-operated LED lights are usually the best choice. They don't get hot, so your pumpkin lasts longer, and you can find ones that flicker like a real candle without the fire risk. Placing a larger LED puck light inside can give a more diffused illumination, while smaller LED tea lights can be used for more subtle effects or in smaller pumpkins, you know, just a little.
Can I use a moon pumpkin stencil if I'm new to carving?
Absolutely! If you're new to carving, pick a simple moon pumpkin stencil. A basic crescent or a full circle moon with minimal detail is a great starting point. Focus on clean cuts and take your time. As you get more comfortable, you can try more intricate designs. Everyone starts somewhere, and a moon is a pretty forgiving shape, you know, really.
Embracing the Lunar Light
Crafting a moon pumpkin with a well-chosen moon pumpkin stencil is more than just a Halloween decoration; it's a way to bring a piece of cosmic wonder right to your home. It connects us to that incredible celestial body that has inspired humanity for ages, from its powerful role in Earth's climate stability to its fascinating history of violent origins and exploration. The moon, you know, is quite a marvel, even being the fifth largest natural satellite in our solar system, with a diameter of about 2,160 miles.
Whether your moon is simple and serene or intricately detailed with craters and stars, it will surely cast a magical glow, inviting smiles and sparking curiosity. So, gather your tools, pick your perfect pumpkin, and let the quiet beauty of the moon inspire your next carving project. It's a creative way to celebrate the season and honor our incredible lunar neighbor, you know. Learn more about the moon's incredible journey on our site, and you can even explore other fascinating facts about our solar system right here. It's truly amazing what you can create when you look to the stars, literally!
Our Moon: Astronomy Photographer of the Year 2019 winners gallery
Download Cool Moon With Clouds Wallpaper | Wallpapers.com

The Moon
