Easy Clay Projects: Simple Ideas For Creative Fun Today
Detail Author:
- Name : Dr. Zackery Howe
- Username : pstroman
- Email : parker.erich@beahan.org
- Birthdate : 1986-08-02
- Address : 6078 Waters Forges Davisshire, CA 73009-8461
- Phone : (947) 588-9998
- Company : Hickle, Jacobs and Emard
- Job : Radio and Television Announcer
- Bio : Qui debitis minima et suscipit optio eius. Id quis harum aut. Reiciendis deserunt error aut est saepe libero.
Socials
tiktok:
- url : https://tiktok.com/@fredy.roob
- username : fredy.roob
- bio : Eum et sed non quia autem aliquid.
- followers : 5084
- following : 2937
instagram:
- url : https://instagram.com/fredyroob
- username : fredyroob
- bio : Est nesciunt fugit amet est rem. Autem voluptatum eius fugit et.
- followers : 5586
- following : 1541
twitter:
- url : https://twitter.com/fredy.roob
- username : fredy.roob
- bio : Vero omnis nisi doloremque. Dolore et tempore adipisci similique distinctio perferendis. Mollitia autem maxime ut doloribus.
- followers : 1214
- following : 1261
facebook:
- url : https://facebook.com/fredyroob
- username : fredyroob
- bio : Rerum aliquam sint ut. Dolorum deserunt odit nesciunt blanditiis.
- followers : 3770
- following : 1280
linkedin:
- url : https://linkedin.com/in/fredyroob
- username : fredyroob
- bio : Qui consectetur enim voluptatibus perspiciatis.
- followers : 1640
- following : 2454
Too busy to find a creative outlet, maybe? Many people feel that way, but a bit like those easy breakfast ideas that help you start your day with something delicious, these simple clay projects can help you begin a fun, hands-on hobby with very little fuss. You don't have to be a professional artist to make something wonderful.
Wondering what to make with your hands after a long day? Just like trying those quick dinner ideas that get a satisfying meal on the table fast, these easy clay projects offer a quick, rewarding way to create something tangible. They are perfect for anyone who wants to explore their artistic side without feeling overwhelmed. You can make something truly special, you know?
You don't have to be a pro sculptor to make a delightful piece. Satisfy your creative urge with these easy clay ideas, which are perfect for beginners and full of charm. These simple clay creations come together with zero stress, offering a relaxing and fulfilling experience, honestly.
Table of Contents
- Why Pick Up Clay? The Joy of Simple Creation
- Getting Started: What You Need for Easy Clay Projects
- Super Simple Clay Projects for Beginners
- Tips for Terrific Clay Projects
- Common Questions About Easy Clay Projects (FAQs)
Why Pick Up Clay? The Joy of Simple Creation
Engaging with clay offers a wonderful break from screens and daily demands. It provides a tangible way to express yourself, and the process itself can be very calming. You get to use your hands, feeling the material change as you shape it, which is quite satisfying, really.
This creative pursuit is accessible to almost anyone, regardless of prior art experience. It’s a chance to experiment and see what forms emerge from your efforts. There is a special kind of joy in making something from scratch, something that started as just a lump of material, and then it becomes a finished piece, you know?
A Relaxing Pastime, Pretty much
Working with clay can be a very mindful activity. The focus required helps to quiet other thoughts, making it a great way to unwind. It's similar to how some people find peace in cooking or baking; the hands-on nature draws you in completely. It is a bit like meditation, in a way.
The gentle pressure of shaping the clay, the way it responds to your touch, creates a calming rhythm. This kind of creative play reduces stress and fosters a sense of accomplishment. It’s a nice break from the usual hustle, very much so.
Gifts and Decor, Honestly
Handmade items carry a special meaning, both for the creator and the recipient. Easy clay projects let you make unique gifts for friends and family, showing them you put thought and effort into their present. These items often have a charm that store-bought things just can't match, you know?
Beyond gifts, your clay creations can add a personal touch to your home decor. A small dish, a decorative coaster, or a custom planter can reflect your style and bring warmth to your living space. They are little pieces of art made by you, and that feels good, apparently.
Getting Started: What You Need for Easy Clay Projects
Beginning your clay journey does not require a lot of fancy equipment. The beauty of easy clay projects is their simplicity. You likely have many of the basic tools already around your house. It's about using what's available and keeping things straightforward, so.
The main goal is to get started quickly, without a big investment or a long shopping list. Think of it like making a simple rice dish; you need the main ingredient and a few other things, and you're good to go. That's the approach here, too it's almost.
Choosing Your Clay, Actually
For beginners, air dry clay is often the best choice. It hardens without needing a kiln or oven, making it incredibly convenient. It's easy to work with and comes in various colors, though most people start with white or terra cotta. You can find it at most craft stores or even online, you know?
Another option is polymer clay, which you bake in a regular home oven. This type of clay is great for smaller, more detailed items like jewelry beads. It comes in many colors and stays soft until baked, giving you plenty of time to work. Both are good starting points, in fact.
Basic Tools, You know
You don't need specialized pottery tools for simple projects. A rolling pin (or a smooth bottle) helps flatten clay. A butter knife or plastic knife works well for cutting shapes. You can use toothpicks or skewers for making holes or adding details. These are things you probably have already, basically.
Other useful items include a smooth surface to work on (like a plastic placemat or wax paper), a small bowl of water to smooth cracks, and maybe some sandpaper for finishing touches. Cookie cutters can also be very helpful for creating uniform shapes. It's all about being resourceful, right?
Super Simple Clay Projects for Beginners
These projects are chosen because they require minimal skill and tools, but they still produce satisfying results. They are perfect for getting a feel for the clay and building your confidence. Think of them as the "easy chicken recipes" of the clay world—perfect for beginners and full of charm, as a matter of fact.
Each idea offers a chance to explore different techniques, like shaping, texturing, and adding color. You can adapt these ideas to your own taste, making them truly yours. They are a great starting point for anyone wanting to try their hand at working with clay, you know?
Tiny Trinket Dishes, Basically
These small dishes are perfect for holding rings, earrings, or other little treasures. To make one, roll out a piece of clay to about a quarter-inch thickness. Cut a circle or an organic, free-form shape. Gently press the edges up to form a shallow bowl. You can use a small actual bowl as a mold, too, just a little.
Once shaped, let it dry completely. You can add texture by pressing lace or leaves into the clay before it dries. After drying, paint it with acrylic paints and seal it for protection. These are really satisfying to make and use, pretty much.
Simple Coasters, Right
Coasters are both practical and decorative. Roll out your clay to about a quarter-inch thick. Use a cookie cutter or a glass to cut out perfect circles or squares. You can leave them plain or press designs into them with stamps or textured items. Think about using natural elements, for example.
Make sure they are flat while drying to avoid warping. Once dry, you can paint them, perhaps with abstract designs or simple patterns. Adding a layer of cork or felt to the bottom can protect surfaces even more. They make lovely gifts, too, honestly.
Clay Beads and Pendants, So
Creating your own beads and pendants allows for unique jewelry pieces. Roll small bits of clay into balls, tubes, or other shapes. Use a toothpick or skewer to poke a hole through the center of each bead. For pendants, flatten a piece of clay and cut a shape, then make a hole at the top for stringing, okay?
Let them dry thoroughly. Once dry, you can paint them with bright colors, metallic paints, or even simple washes. String them onto cord or chain to make necklaces, bracelets, or keychains. This is a project that really lets your creativity shine, you know?
Little Planters for Succulents, Okay
Small succulents need small homes, and handmade clay planters are just perfect. Roll out a slab of clay for the base and cut it into a circle or square. For the sides, roll out another piece and cut a long strip. Score and slip the edges, then join the strip to the base, forming a cylinder or box, basically.
Remember to make a drainage hole in the bottom with a skewer or a pencil. Let it dry slowly and completely to prevent cracking. Once dry, you can paint it to match your home decor or leave it natural for a rustic look. They are quite charming, in a way.
Personalized Keychains, Anyway
Keychains are a fun, quick project that makes a great personalized gift. Roll out a small piece of clay and cut it into any shape you like: a heart, a star, a simple circle, or even a letter. Use a stamp or a toothpick to carve initials or a small design onto the surface. You can add texture too, you know?
Poke a hole near the top edge for the keychain ring. After it dries, paint it and seal it. Attach a metal keychain ring, and you have a unique item. These are quick to make, so you can whip up a few in one sitting, as a matter of fact.
Decorative Bowls, Pretty
These bowls are meant for display or for holding dry items, not food. Start by rolling out a larger, even piece of clay. Gently drape it over an existing bowl (lined with plastic wrap to prevent sticking) or press it into a mold. This helps it keep its shape as it dries, obviously.
You can create interesting edges by tearing or cutting the clay before it hardens. Once dry, remove it from the mold. Paint the inside and outside with colors that complement your space. These bowls add a lovely handmade touch to any room, seriously.
Tips for Terrific Clay Projects
Even with easy projects, a few simple tips can make your experience much smoother and your results even better. These little pieces of advice can help you avoid common pitfalls and enjoy the creative process more fully. It’s about setting yourself up for success, right?
Just like knowing a few tricks for those easy dessert recipes can make all the difference, these clay tips will help you achieve a satisfying outcome. They are simple steps that have a big impact on your finished piece, honestly.
Keep It Simple, To be honest
For your first few projects, resist the urge to create overly complex designs. Simple shapes and basic forms are easier to manage and less likely to crack during drying. Focus on getting a feel for the clay and its properties. You can always try more intricate things later, you know?
Starting with simple projects builds your confidence and helps you understand how the clay behaves. This foundation will serve you well as you move on to more involved creations. It’s like learning to walk before you run, basically.
Drying Your Pieces, At the end of the day
Air dry clay needs to dry slowly and evenly to prevent cracking. Place your finished pieces in a spot with good air circulation but away from direct sunlight or strong drafts. Turning them occasionally can help ensure all sides dry uniformly. This step is quite important, you know?
Depending on the thickness and humidity, drying can take anywhere from 24 to 72 hours, or even longer for thicker items. Be patient; rushing the drying process is a common reason for cracks. Let nature do its thing, essentially.
Adding Color, Obviously
Once your clay piece is completely dry, you can add color. Acrylic paints are a great choice for air dry clay because they are easy to use, come in many colors, and dry quickly. You can use brushes, sponges, or even your fingers to apply paint. Have fun with it, you know?
For a more natural look, you can leave the clay unpainted or just add a clear sealant. Consider using different painting techniques, like dry brushing for a rustic feel or sponging for texture. The possibilities are quite open, really.
Protecting Your Creations, Seriously
To make your finished clay projects more durable and water-resistant, apply a sealant. Clear acrylic sealants, either in a spray or brush-on form, work very well. This step protects the paint and the clay from moisture and wear. It helps your creations last longer, you know?
For items that might come into contact with water, like coasters, choose a waterproof sealant. Always follow the product instructions for application and drying times. This final touch makes a big difference in the longevity of your handmade items. You can find suitable sealants at a reputable art supply store, here.
Common Questions About Easy Clay Projects (FAQs)
What is the easiest thing to make with clay?
Small, flat items are generally the easiest to make. Think about simple shapes like tiny trinket dishes, flat coasters, or small decorative tags. These don't require complex shaping or joining techniques, which means less chance of things going wrong. You can achieve satisfying results with minimal effort, you know?
Simple shapes also dry more evenly, reducing the risk of cracks. They are a great way to get a feel for the material and build confidence before trying more involved pieces. It's about starting small and getting comfortable, as a matter of fact.
What kind of clay is easiest for beginners?
Air dry clay is widely considered the easiest for beginners. It's soft, pliable, and doesn't require any special equipment like a kiln to harden. You simply shape it and let it sit out in the air for a day or two, and it becomes solid. This makes it very accessible, you know?
Polymer clay is another good option for beginners, especially for small items, because it stays soft until you bake it in a regular oven. Both types are much simpler to start with than traditional ceramic clay, which needs high temperatures to cure. Learn more about clay types on our site.
Do I need a kiln for easy clay projects?
No, you do not need a kiln for easy clay projects if you use air dry clay or polymer clay. Air dry clay hardens simply by exposure to air, usually over 24-72 hours. Polymer clay hardens when baked in a standard home oven at a low temperature, typically for a short period. This makes these clays perfect for home crafters without specialized equipment, obviously.
Traditional ceramic clay does require a kiln to fire and harden properly, but that is a more advanced type of pottery. For simple, stress-free projects, stick to air dry or polymer clay. You can find more project ideas on this page here.
Exploring easy clay projects offers a wonderful way to unwind and create something with your hands. It is a satisfying hobby that brings a sense of accomplishment, much like preparing a delicious meal from scratch. These simple ideas let you make unique items for your home or as heartfelt gifts, all without needing special skills or complex tools. Pick up some clay today and see what delightful creations you can bring to life, you know?

These are pinch pot rattles a great idea for yr7/8 pottery lessons in

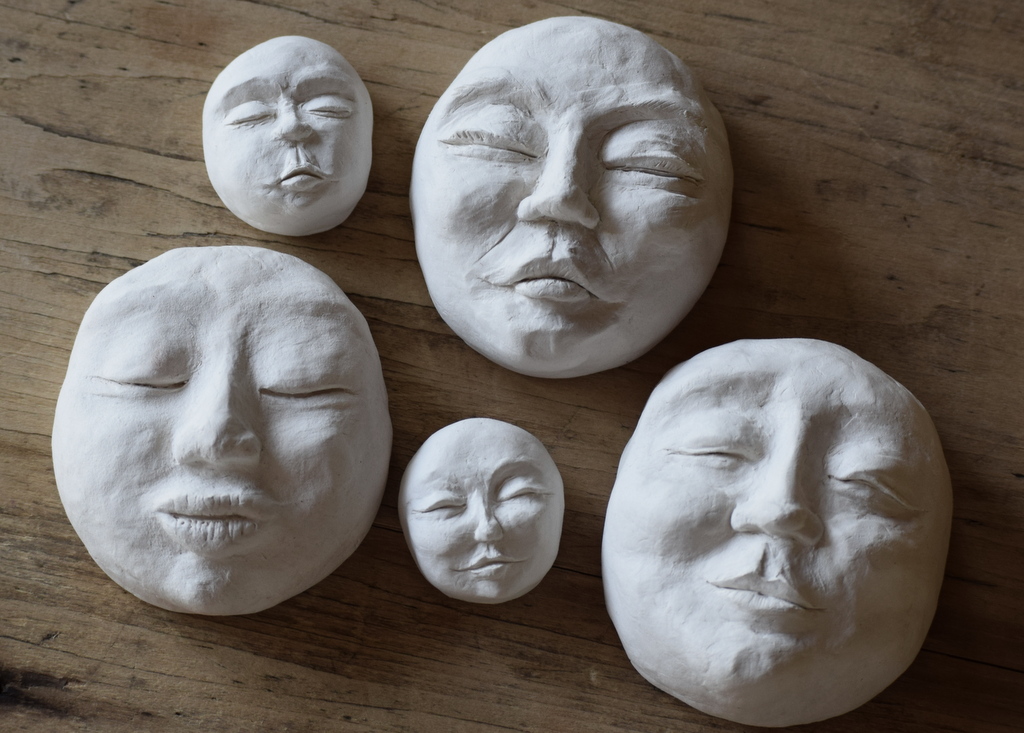
Modelling faces | Polymer clay art, Sculpting clay, Sculpture clay
lil fish studios
