Crafting Charming Crochet Doll Hairstyles: Ideas & How-To Tips
Detail Author:
- Name : Quinton Volkman
- Username : beahan.alena
- Email : heller.sammie@hotmail.com
- Birthdate : 1989-11-09
- Address : 8411 Keith Pass North Marianne, GA 53414-6143
- Phone : +1 (445) 267-3715
- Company : Rowe LLC
- Job : Gaming Supervisor
- Bio : Quis illum aut repellat. Iste ducimus dolores doloremque rerum voluptatem soluta. Velit expedita quo facilis dolores eius.
Socials
facebook:
- url : https://facebook.com/atorp
- username : atorp
- bio : Itaque voluptatum sed ut aperiam.
- followers : 6765
- following : 2275
linkedin:
- url : https://linkedin.com/in/audie_id
- username : audie_id
- bio : Voluptates veritatis autem qui ut aut tempore.
- followers : 6711
- following : 1204
tiktok:
- url : https://tiktok.com/@torpa
- username : torpa
- bio : Animi ut sunt eaque culpa ut molestias alias eum.
- followers : 3061
- following : 474
twitter:
- url : https://twitter.com/torp1998
- username : torp1998
- bio : Vitae natus quibusdam quas quia nostrum. In in laudantium natus pariatur quo voluptatem illum. Esse dolores quos recusandae voluptatem.
- followers : 4643
- following : 776
instagram:
- url : https://instagram.com/torp2020
- username : torp2020
- bio : Ut eum possimus eos modi nam. Aut eum laborum iure est fuga sequi officiis.
- followers : 2762
- following : 1104
Bringing a crochet doll to life often feels like adding a spark of magic, and a big part of that, you know, is giving them just the right look. Think about it: a lovely hairstyle can completely change a doll's personality, making it truly unique. It’s a chance to really show off your creative side, making something special that someone will cherish.
Many people start their crochet journey with simple projects, perhaps a scarf or a basic blanket, and that's perfectly fine. But, you know, as your skills grow, maybe you start looking at more detailed things. Creating something like a crochet doll, with its own little outfit and, very importantly, its own hair, can be such a rewarding step. Our site, , has so many free patterns for all sorts of projects, from the very first stitches to more involved creations. You can find guides on how to crochet, too, which is helpful.
So, if you're keen to give your crochet creations a bit of flair, or maybe you're just looking for some fresh ideas for those little yarn friends, this guide is for you. We're going to explore all sorts of delightful crochet doll hairstyles, offering tips and tricks to help you get started or simply improve your doll-making game. It's actually quite fun, you know, figuring out how to make those tiny strands of yarn look just right.
Table of Contents
- Why Crochet Doll Hair Matters
- Getting Started with Crochet Doll Hair
- Popular Crochet Doll Hairstyles to Try
- Tips for Amazing Crochet Doll Hair
- Troubleshooting Common Hair Challenges
- Frequently Asked Questions About Crochet Doll Hair
Why Crochet Doll Hair Matters
When you spend time making a crochet doll, every little detail counts, you know? The yarn color, the stitches, the tiny clothes—all of it comes together. But the hair, well, that's often the part that truly gives the doll its own special feel, a bit like a real person having their own look. It really makes a difference.
Bringing Characters to Life
Imagine a doll with no hair; it just looks a bit unfinished, doesn't it? Adding hair is like giving the doll a voice, a personality. A doll with long, flowing locks might seem gentle, while one with short, spiky hair could appear mischievous. It's amazing, really, how much a simple hairstyle can communicate about a character.
You can tell a whole story just with the hair. A doll with braids might be ready for an adventure, or one with a neat bun could be quite proper. This is where your creativity truly shines, you know, as you decide who this little yarn person will be. It's quite a powerful way to define them.
A Creative Outlet
For many crafters, making crochet doll hair is a chance to experiment. You might try different yarn types, various colors, or even mix and match textures. It's a low-pressure way to try out new techniques you've learned, like making special stitches or learning how to attach strands in a new way. It's a bit like playing dress-up, but with yarn, you know?
There are so many possibilities, from super simple styles to really intricate ones. This part of doll making lets you express yourself, and that's a really good feeling. It’s where your unique vision for the doll can really come to life, which is very satisfying.
Getting Started with Crochet Doll Hair
If you're new to making doll hair, it might seem a bit tricky at first, but it's actually quite manageable. It really just builds on the basic crochet skills you might already have. Think of it as another step in your crafting journey, you know? It's not as hard as it looks.
Essential Tools and Materials
Before you begin, gathering your supplies is a smart first step. You'll need a few things that are probably already in your crochet kit, or are very easy to find. Having everything ready just makes the process smoother, you know, less stopping and starting.
Yarn: The type of yarn you pick really affects the final look. Acrylic yarn is a popular choice because it's affordable and comes in so many colors. It holds its shape well, too. Cotton yarn gives a softer, more natural feel, which is nice for some dolls. You might even try specialty yarns, like fuzzy ones, for a unique texture. It just depends on the style you want, you know?
Crochet Hook: Just like with any crochet project, your hook size should match your yarn. Check the yarn label; it usually suggests a hook size. Using a hook that's too big can make the hair too loose, while one that's too small might make it too stiff. It's about finding that balance, you know, for the best drape.
Scissors: Sharp scissors are a must for cutting yarn cleanly. You'll be cutting many strands for hair, so a good pair makes a big difference. It's a small thing, but it really helps.
Tapestry Needle: This blunt-tipped needle is super useful for weaving in ends and, importantly, for styling the hair once it's attached. It helps you pull strands through stitches without splitting the yarn, which is pretty handy, you know.
Stuffing Tool (Optional): If your doll's head is already stuffed, a stuffing tool or even the back of your crochet hook can help create a firm surface for attaching hair. This just makes the process a bit easier, you know, for getting those strands in place.
Basic Techniques You'll Use
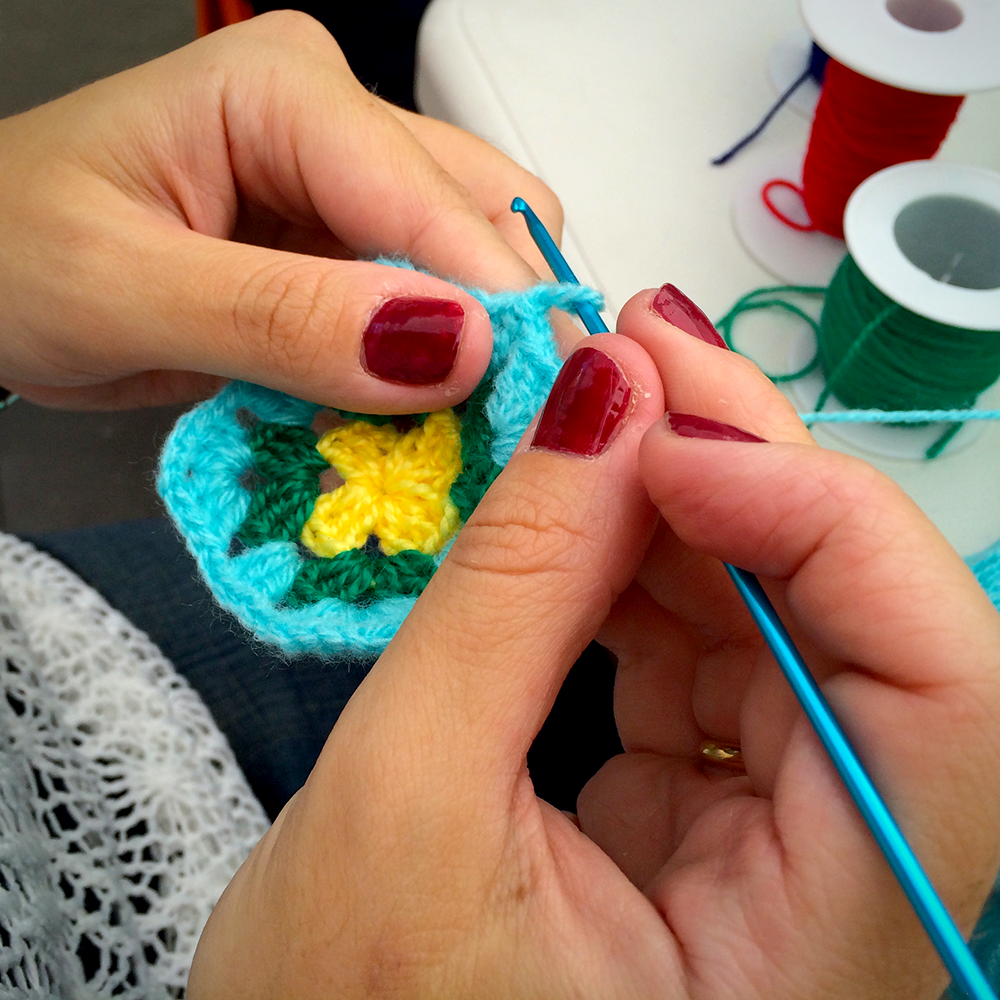
Making crochet doll hair uses many of the fundamental crochet skills you've probably already picked up. If you're an absolute beginner, don't worry! Our site has guides like "Absolute Beginners Crochet | Episode One" that show you exactly what you need to get started, how to prepare your yarn, and even how to hold your hook and make a slip knot. It's all there for you, you know, to help you learn.
You'll also learn how to make a chain and a basic stitch like single crochet, which are building blocks for almost any project. These techniques are really quite simple to pick up, and once you have them down, so many possibilities open up for you. It's pretty cool, actually.
Looping Yarn: Crochet, at its heart, is about interlocking loops of yarn using a hook. For doll hair, you'll often cut individual strands of yarn and then loop them onto the doll's head. This creates a natural-looking hair texture. It's a very straightforward method, you know, for getting those individual strands.
Making a Slip Knot: This is the very first step in almost any crochet project. You need to know how to make one to get your yarn onto the hook properly. Our guides show you exactly how to do this, very clearly, so you can get started without a hitch. It's a foundational skill, really.
Chain Stitch: Most crochet projects, including some doll hair patterns, start with a chain stitch. It forms the base row of your work. Learning how to chain is one of the first things you'll do as a beginner, and it's quite simple, actually. It's like building the foundation for your project.
Single Crochet: This is a very basic stitch that creates a dense fabric. Some doll wigs or hair caps are made using single crochet. It's a fundamental stitch that you'll use a lot, so getting comfortable with it is a good idea. It's pretty versatile, you know.
Attaching Hair Strands: The most common way to attach hair is to cut strands of yarn to your desired length, then fold each strand in half. You insert your hook into a stitch on the doll's head, loop the folded yarn through, and then pull the ends of the yarn through the loop to create a knot. This method, sometimes called the "latch hook" or "loop and knot" method, is very secure. You just repeat this process for all the hair, you know, covering the head as needed.
Popular Crochet Doll Hairstyles to Try
Once you've got the basics down, the fun really begins! There are so many crochet doll hairstyles you can create, from simple and sweet to intricate and fancy. It’s a bit like being a doll hair stylist, you know, with yarn. You can really let your imagination run wild.
Classic Long Locks
Long, straight hair is a timeless look for any doll. To achieve this, you simply attach longer strands of yarn to the doll's head. You can then leave them loose, or perhaps gently comb them with your fingers to make them lie flat. This style is quite simple to do, and it gives the doll a very sweet, traditional appearance. It's a really popular choice, you know.
You can vary the length to make it shoulder-length, waist-length, or even longer. The choice of yarn here is important; a smooth acrylic or cotton yarn will give the best straight look. It’s a versatile base for other styles later, too, which is pretty handy.
Playful Pigtails and Braids
Once you have long hair, you can easily turn it into pigtails or braids. Pigtails give a doll a very youthful, cheerful look. Just divide the hair into two sections and tie them with a small ribbon or a bit of yarn. It's a quick way to change the doll's whole vibe, you know.
Braids add a lovely textured detail. You can make classic three-strand braids, or even fishtail braids if you're feeling a bit more adventurous. Braids also help keep the hair neat and prevent tangles, which is a nice bonus. They look so charming, really, on a little doll.
Chic Buns and Updos
For a more sophisticated or tidy look, consider creating a bun or an updo. A simple bun can be made by gathering all the doll's hair and twisting it into a coil, then securing it with a few stitches or a small hair tie. This style is pretty elegant, you know.
You can place the bun at the nape of the neck, on top of the head, or even create two buns for a fun, quirky look. Updos can involve more complex braiding or twisting before gathering the hair, offering a very polished finish. It really shows off your skill, too.
Short and Sassy Styles
Not every doll needs long hair! Short hairstyles can be incredibly charming and give a doll a completely different personality. Think about a cute bob, or a slightly layered cut. You simply cut the yarn strands shorter before attaching them, or trim them after they are attached. It’s a very modern look, you know.
A pixie cut or a boyish style can be very sweet and unique. These styles often require less yarn and can be quicker to make, which is a plus. They also tend to be less prone to tangling, which is a practical consideration, really.
Unique Character Hair
Don't limit yourself to realistic hair! Crochet allows for truly imaginative hairstyles. You could make wild, spiky hair for a monster doll, or long, flowing strands in rainbow colors for a fantasy creature. Maybe even add little horns or antennae made from yarn. It’s a chance to really be creative, you know.
Consider adding different textures by using boucle or fuzzy yarns, or incorporating wire into some strands for poseable hair. The sky's the limit when it comes to unique character hair, and that's what makes it so much fun. You can truly make something one-of-a-kind.
Tips for Amazing Crochet Doll Hair
Making crochet doll hair is more than just attaching yarn; it’s about making it look great and last. A few simple tips can really make a big difference in the final appearance and durability of your doll's hair. It’s worth taking a little extra time, you know, to get it just right.
Choosing the Right Yarn for the Look
As we mentioned, yarn choice is pretty important. For straight hair, a smooth, slightly shiny yarn works best. For curly hair, a yarn with more bounce or even one that's a bit fuzzy can give a nice effect. Think about the doll's overall design and the feel you want to achieve. It really sets the tone, you know, for the whole look.
Also, consider the weight of the yarn. Thicker yarns will create chunkier hair, while thinner yarns will give a finer, more delicate look. Don't be afraid to experiment with different brands and fibers until you find what you like best. It’s all part of the creative process, really.
Securing Hair Neatly
When attaching hair, consistency is key. Try to space your hair strands evenly across the doll's head to avoid bald spots or overly dense areas. Using a consistent method for knotting the yarn will also ensure a uniform look. A secure knot means the hair won't easily pull out, which is pretty important, you know, for playtime.
You might want to mark out sections on the doll's head with pins before you start, especially if you're aiming for a specific part or hairline. This helps keep everything organized and symmetrical. It’s a small step that makes a big difference, actually.
Adding Details and Accessories
Once the hair is attached, you can really make it pop with little details. Tiny bows, ribbons, or even miniature crochet flowers can be added to the hair. Small beads or embroidered stitches can create highlights or streaks. These little touches truly bring the doll to life, you know, making it even more special.
You can also use a bit of fabric glue, very sparingly, to hold stubborn strands in place if needed, especially for very short styles. Just be careful not to use too much. It’s about those finishing touches, really, that make all the difference.
Learning from Tutorials
There are thousands of free crochet patterns, tutorials, and engaging stitch alongs available to help you elevate your crafting skills, especially for things like doll hair. Our site, , and others like The Crochet Crowd, offer a wide range of resources for all skill levels. You can find visual guides that show you step-by-step how to attach hair, create different styles, and even troubleshoot common issues. It's a really great way to learn, you know, seeing it done.
Watching someone else do it can clarify things that might seem confusing in a written pattern. Don't hesitate to browse through different tutorials until you find one that clicks with your learning style. There's so much information out there, you know, to help you succeed.
Troubleshooting Common Hair Challenges
Even with the best intentions, you might run into a few little hiccups when making crochet doll hair. Don't worry, these are common issues, and there are usually simple ways to fix them. It's all part of the learning process, you know, figuring things out.
Tangled Strands
If your doll's hair is getting tangled, especially if it's long, the yarn type might be a factor. Some yarns, like those with a fuzzy texture, are more prone to tangling. Try to use a smoother yarn for long, flowing hair. You can also gently "comb" the hair with your fingers or a wide-tooth comb to keep it neat. A very light mist of fabric softener or hairspray (test on a hidden strand first!) can sometimes help, too, to keep it smooth.
For dolls that will be played with a lot, consider shorter styles or braids, as these are less likely to tangle. It's a practical choice, really, for durability.
Uneven Lengths
It's easy for hair strands to end up slightly different lengths. The best way to fix this is to trim the hair once it's all attached. Lay the doll flat and carefully snip the ends to create a straight line or a desired shape. You can use a ruler for precision if you want a very even cut. It's like giving the doll a haircut, you know, to tidy things up.
Remember, you can always cut more off, but you can't put it back on! So, trim a little at a time until you're happy with the result. It's better to be cautious, really.
Hair That Won't Stay
If the hair strands seem loose or are falling out, it usually means the knots aren't secure enough. Make sure you're pulling the yarn ends tightly through the loop when attaching each strand. You can also try using a slightly smaller hook to pull the yarn through, which might create a tighter knot. It's about getting a good grip, you know, on those loops.
For extra security, especially on high-wear areas, you can add a tiny dab of fabric glue to the knot on the inside of the doll's head, if the doll is not meant for small children. Always make sure the glue is non-toxic and dries clear. This really helps keep everything in place.
Frequently Asked Questions About Crochet Doll Hair
Here are some common questions people often ask about making crochet doll hair:
How do you make hair for a crochet doll?
You typically make hair for a crochet doll by cutting strands of yarn to your desired length. Then, you fold each strand in half and use a crochet hook to pull the folded loop through a stitch on the doll's head. The ends of the yarn are then pulled through this loop, creating a secure knot. This process is repeated across the doll's head to create a full head of hair. It's a very common and effective method, you know.
What kind of yarn do you use for doll hair?
The best yarn for doll hair really depends on the look you want. Acrylic yarn is a popular choice because it's widely available, comes in many colors, and holds its shape well. Cotton yarn offers a softer, more natural feel. You can also use specialty yarns like fuzzy or textured ones for unique effects. It's all about what kind of hair you imagine for your doll, you know, and what will give you that specific texture.
How do you attach hair to a crochet doll?
To attach hair to a crochet doll, you usually use a method where you loop and knot individual yarn strands onto the doll's head. You insert your crochet hook into a stitch on the doll's head, grab the folded middle of a yarn strand, pull it through to form a loop, and then pull the two ends of the yarn strand through that loop. This creates a secure knot that holds the hair in place. You repeat this for all the hair, you know, covering the doll's head as needed.
Making crochet doll hairstyles is a wonderfully creative part of bringing your yarn friends to life. With a little practice and some fun experimentation, you'll be creating all sorts of charming looks in no time. So, why not pick up your hook and some yarn today and see what amazing hairstyles you can dream up? It's a really rewarding feeling, you know, seeing your doll come to life with its own unique hair.
Crochet 101: The Crochet Beginner's Guide
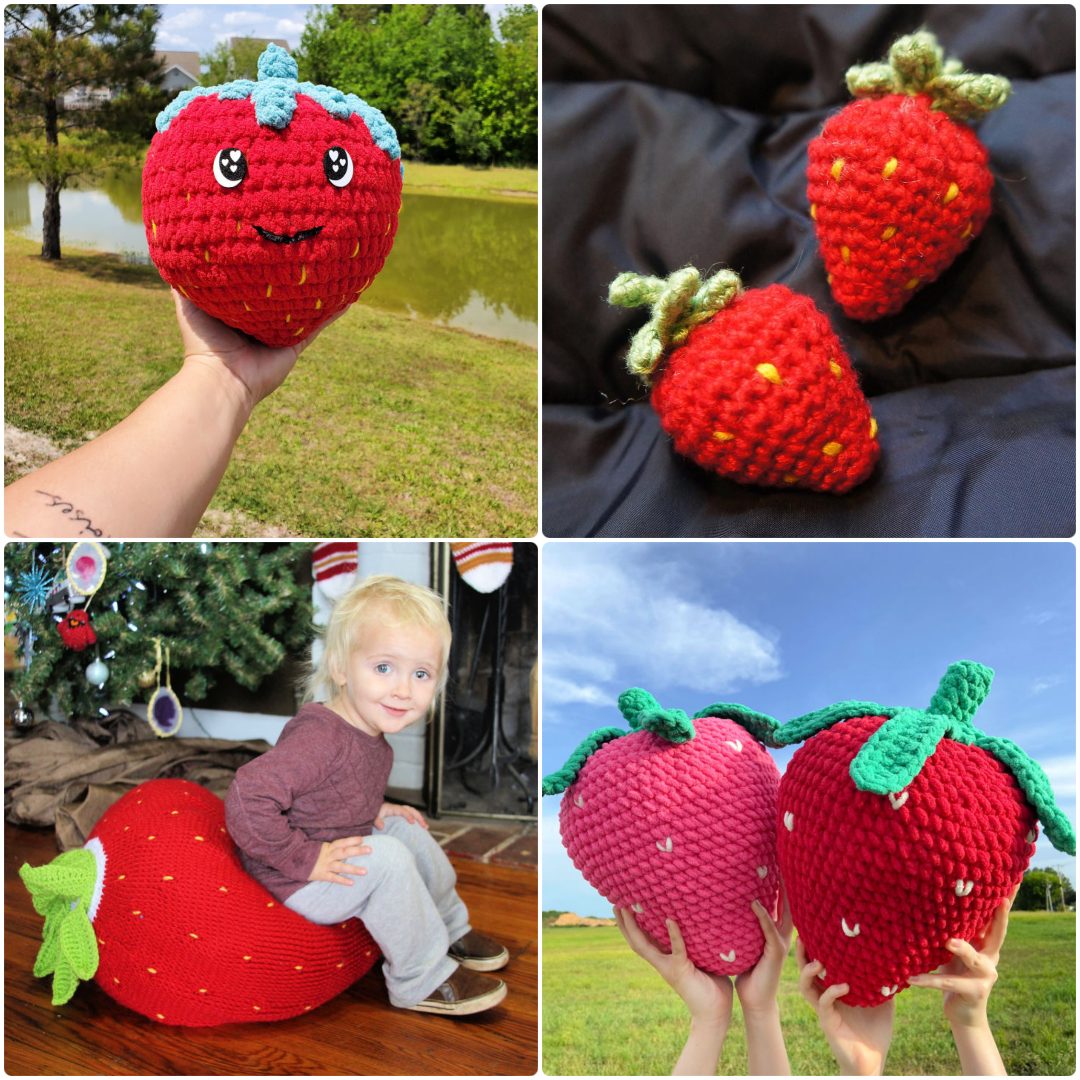
25 Easy and Free Crochet Strawberry Patterns
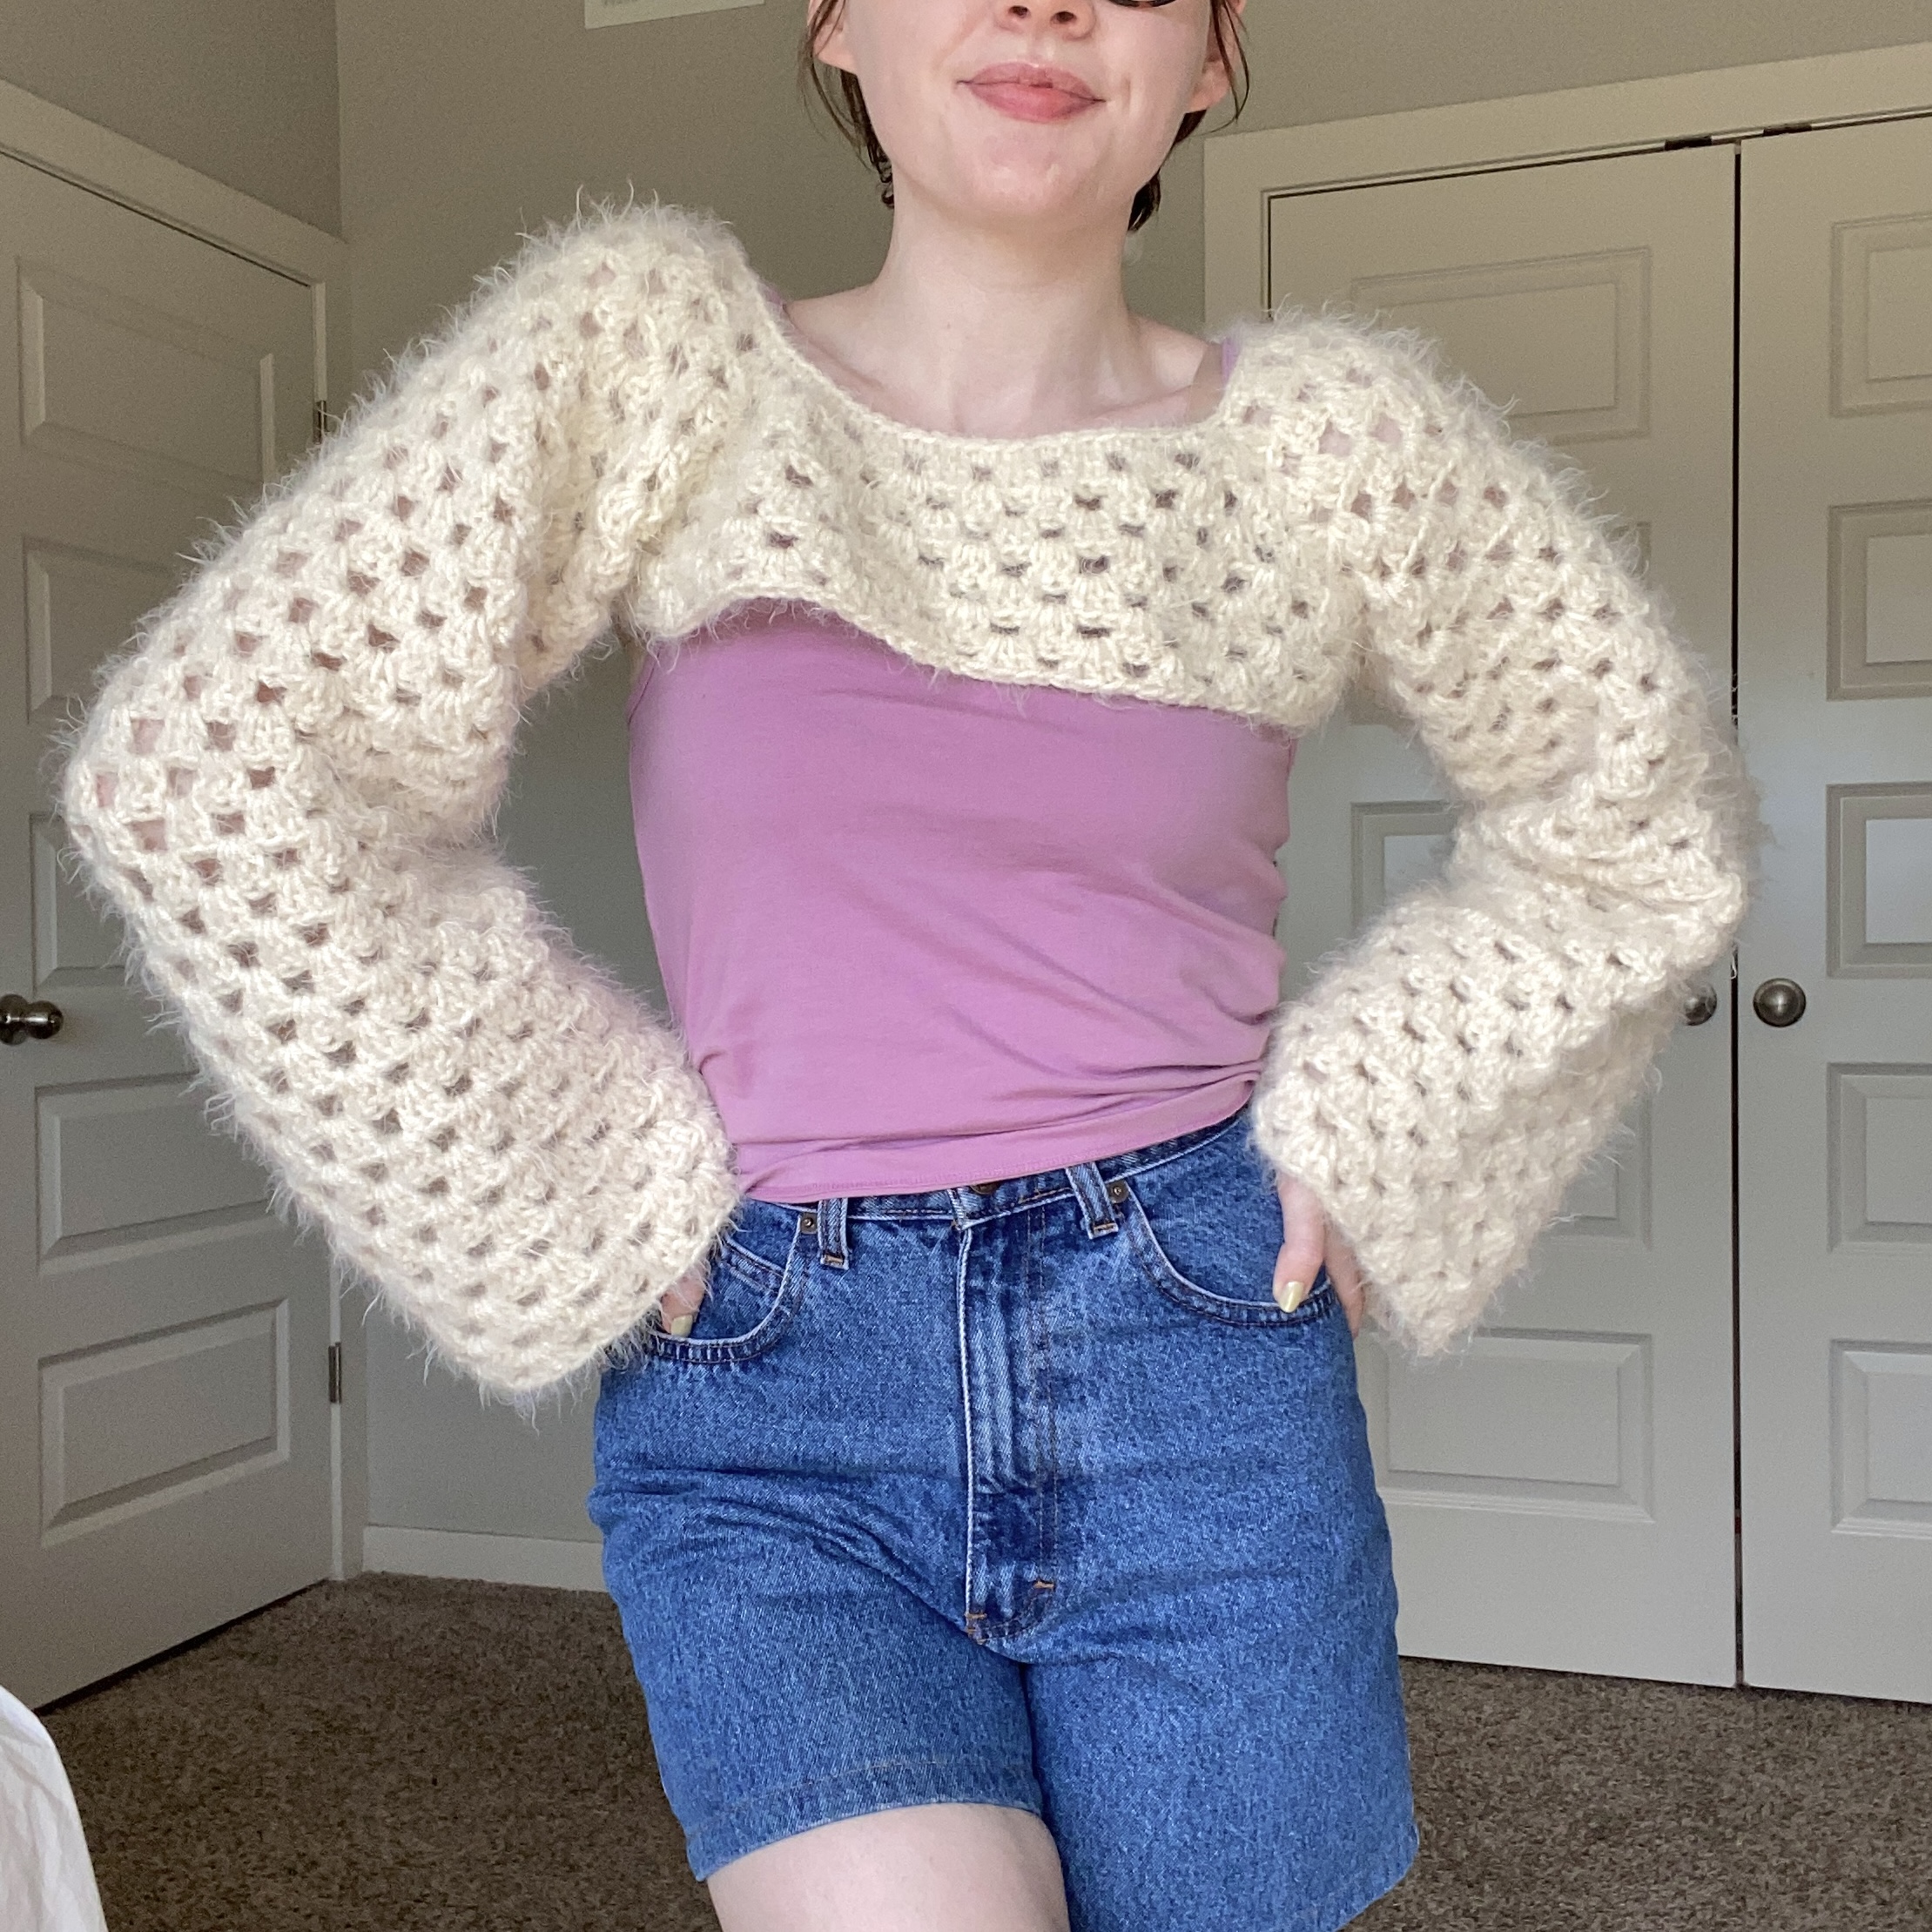
Eyelash Yarn Crochet Patterns
