The Grommet Punch: Your Key To Easy, Lasting Fixes
Detail Author:
- Name : Gia Hansen
- Username : gudrun.huel
- Email : heath.senger@gmail.com
- Birthdate : 2002-03-27
- Address : 72556 Sawayn Shoal Joanieshire, RI 85739-2047
- Phone : +1 (520) 595-7712
- Company : Grady Group
- Job : Drilling and Boring Machine Tool Setter
- Bio : Quos provident ullam quae ducimus et architecto. Et nihil aliquam vel. Ab iste sequi dolor dolore nulla dolores.
Socials
linkedin:
- url : https://linkedin.com/in/hilbert.kihn
- username : hilbert.kihn
- bio : Explicabo est recusandae iste iste minima.
- followers : 1552
- following : 1255
tiktok:
- url : https://tiktok.com/@hkihn
- username : hkihn
- bio : Accusantium eum doloremque voluptatem fugit eaque vel.
- followers : 1517
- following : 439
facebook:
- url : https://facebook.com/hilbert_real
- username : hilbert_real
- bio : Praesentium doloribus quos at vel.
- followers : 2355
- following : 2067
twitter:
- url : https://twitter.com/kihnh
- username : kihnh
- bio : Dolorem et aperiam velit. Earum est eum repellendus placeat recusandae. Sint dolor accusamus voluptas. Numquam iusto sapiente alias est earum.
- followers : 3443
- following : 1038
instagram:
- url : https://instagram.com/hilbert_kihn
- username : hilbert_kihn
- bio : Aliquam aut minus et sit voluptas sit magnam. Sint harum consectetur laborum itaque iure.
- followers : 1977
- following : 2954
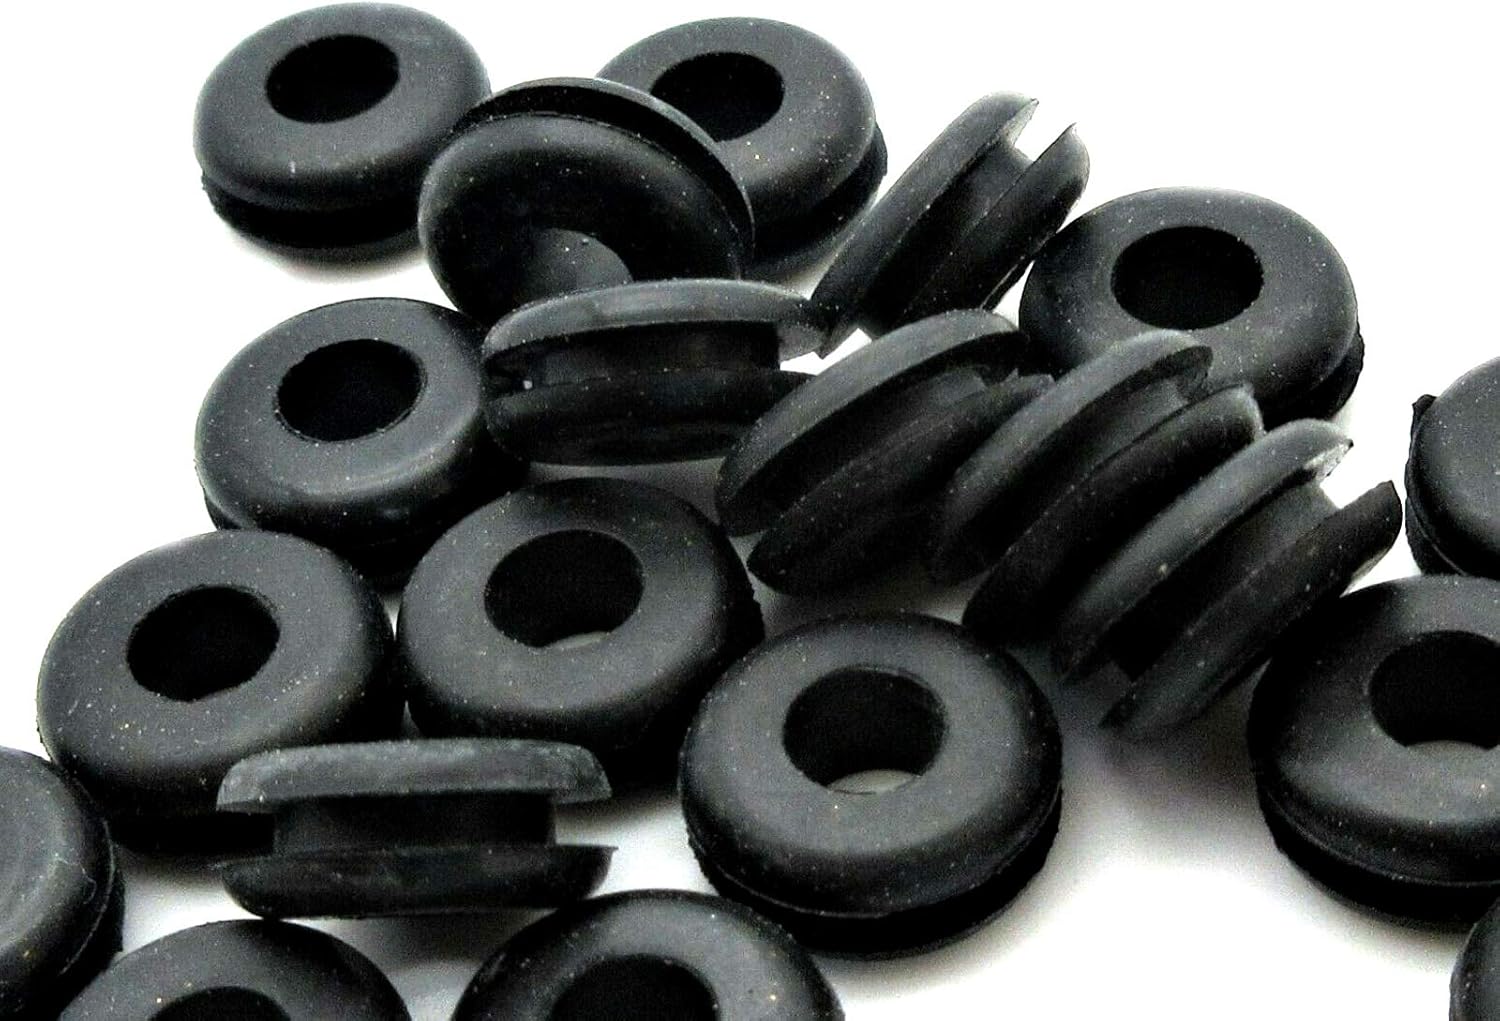
Have you ever found yourself wrestling with a stubborn piece of rubber, perhaps an old, rock-hard grommet that just won't budge? It's a rather common scenario, you know, especially when dealing with older vehicles or worn-out materials. Trying to replace a crucial part, like a PCV valve grommet, only to have it crumble into tiny bits can be incredibly frustrating. It feels like a simple job should be, well, simple, but sometimes the right tool makes all the difference in the world.
Many folks, just like someone recently shared about their 1962 FJ40, spend hours trying to get those old, brittle grommets out. They might even try different methods and tools, only to find the rubber breaking apart. Finding exact sizes, like those 46mm or 26mm firewall grommets, is one challenge, but then you face the task of getting them installed cleanly and securely. That's where a specialized tool, a grommet punch, truly steps in to help.
This isn't just about car parts, though; it's about any situation where you need a neat, strong hole for a grommet to sit just right. Whether you're working on a canvas tarp, a new shower curtain, or even some wiring in your home, having the proper tool can turn a potentially messy chore into a rather satisfying project. A grommet punch is that specialized tool, and understanding how it works can really change how you approach these kinds of tasks.
Table of Contents
- What Exactly is a Grommet Punch?
- Why a Grommet Punch Makes All the Difference
- Types of Grommet Punches for Different Jobs
- Choosing the Right Grommet Punch for Your Project
- Step-by-Step: How to Use a Grommet Punch Effectively
- Common Uses for a Grommet Punch
- Keeping Your Grommet Punch in Top Shape
- Frequently Asked Questions About Grommet Punches
What Exactly is a Grommet Punch?
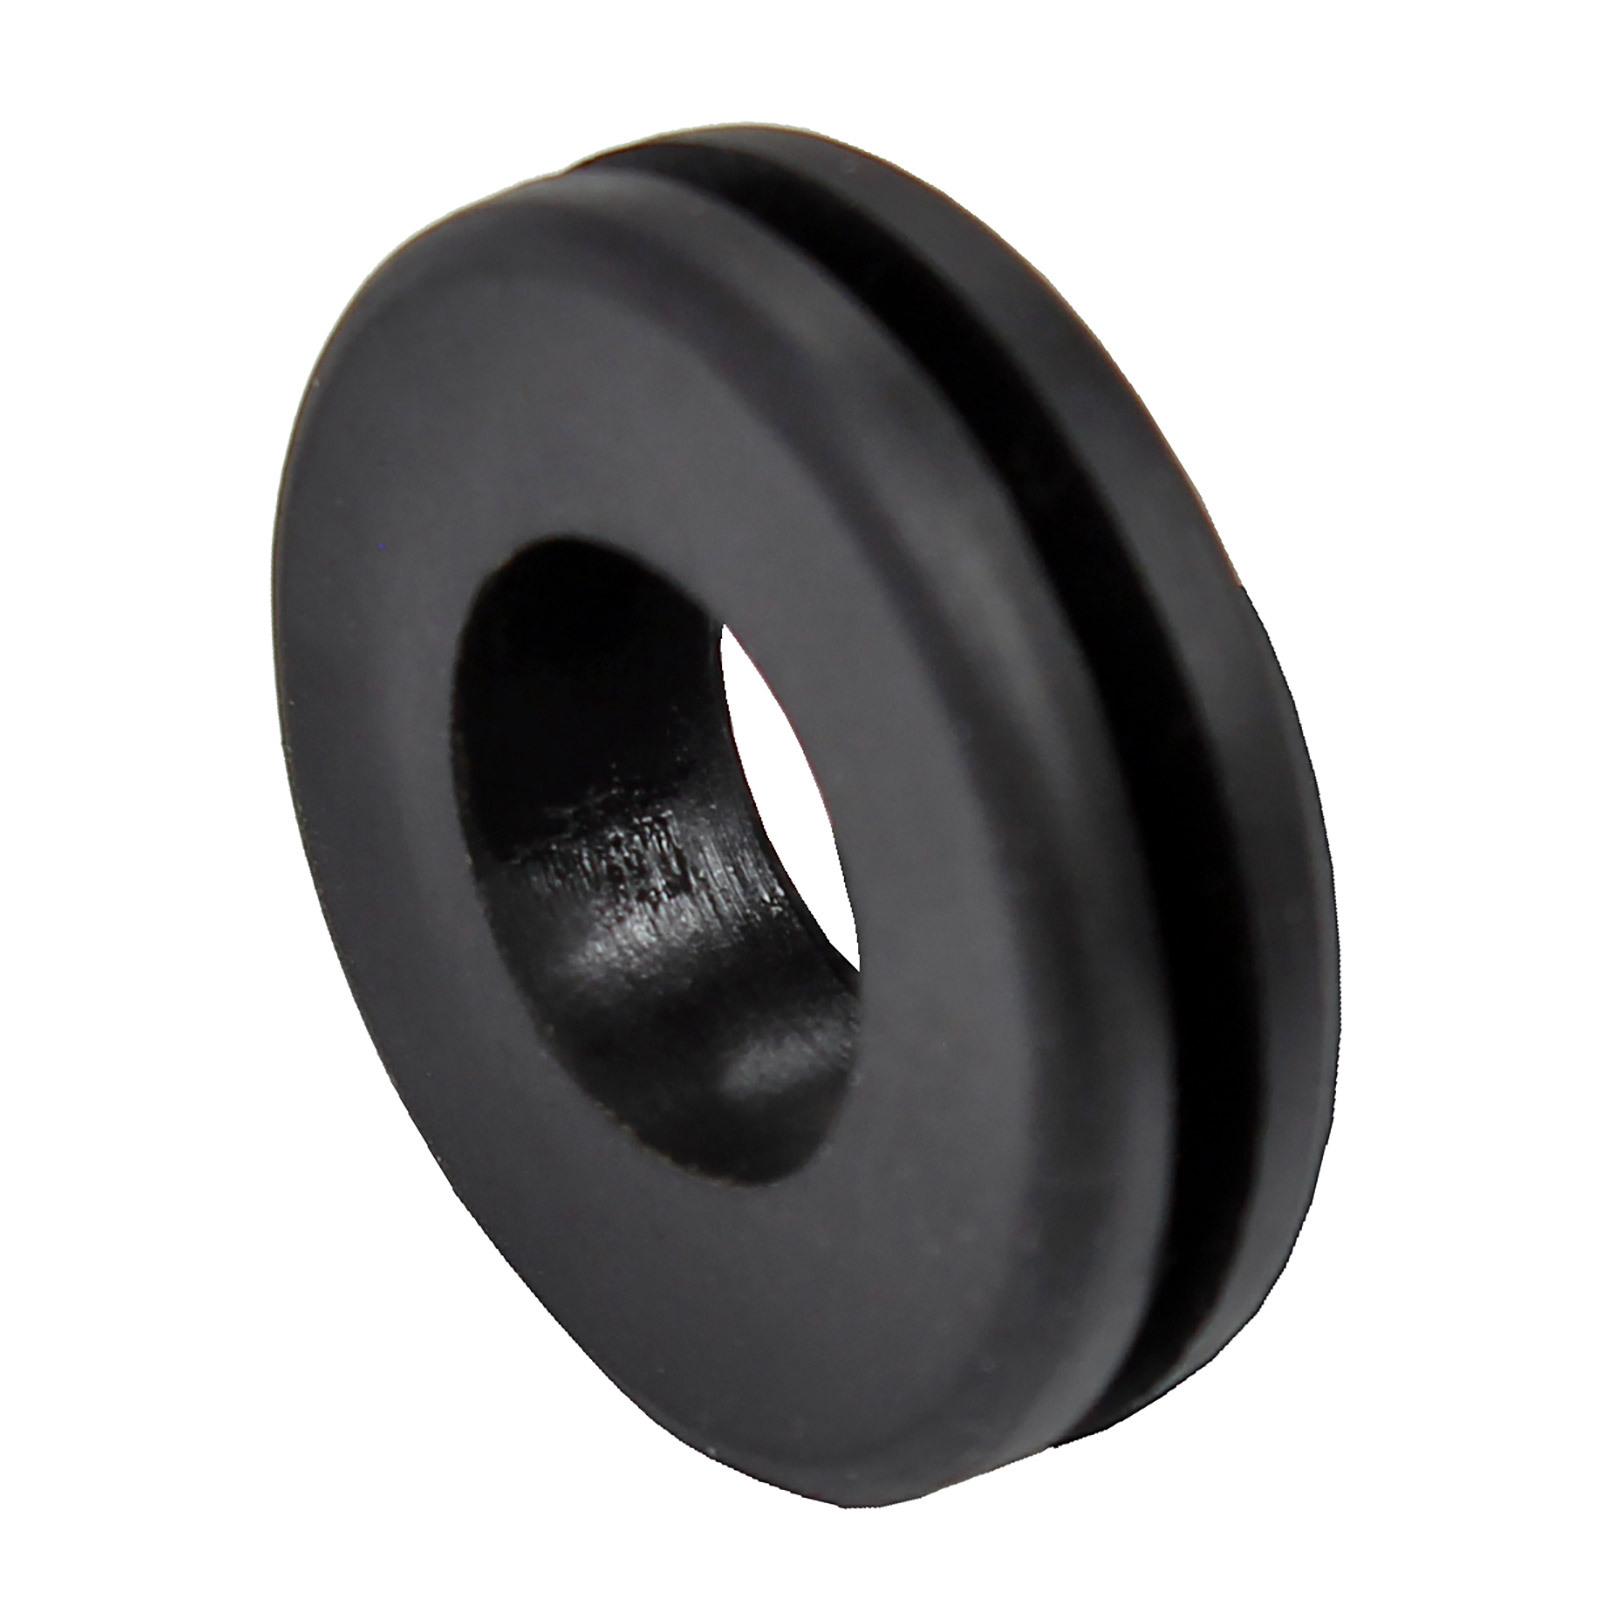
A grommet punch, you see, is a specialized tool designed to create clean, precise holes in various materials, which then allow for the neat installation of grommets. Grommets themselves are those little rings, often metal or plastic, that reinforce holes in fabric, leather, or even thin sheets of metal. They prevent tearing and provide a smooth edge for cords, wires, or fasteners to pass through. The punch itself typically consists of a sharp, circular cutting end and a mechanism to apply force, usually by striking it with a hammer or squeezing handles.
There are, in a way, different designs for these tools, but their core purpose remains the same: to make a hole that perfectly matches the barrel of the grommet. This precision is rather important because a hole that's too small won't let the grommet fit, and one that's too big won't allow the grommet to seat securely. So, a good punch creates just the right opening, ensuring a snug and lasting fit for whatever you're trying to secure.
Some punches come as a kit, with various sized cutters and a setting die, while others are integrated into a single tool, like a pair of pliers. They're all meant to simplify a task that, without the right equipment, can become quite messy and frustrating, leading to torn materials or improperly installed grommets. It’s a tool that really helps get a professional result without too much fuss.
Why a Grommet Punch Makes All the Difference
When you're working on projects that need grommets, the quality of the hole you create is actually pretty important for the final outcome. A grommet punch makes a huge difference compared to trying to make holes with scissors, a knife, or even a drill. Those methods can often lead to frayed edges, irregular shapes, or holes that just aren't quite the right size, which then compromises the integrity of the material and the grommet's hold.
Consider, for example, the challenges someone faces when trying to replace hardened rubber parts, like those old PCV valve grommets in a vintage vehicle. As someone shared, those old grommets can be rock-hard and break into pieces when you try to remove them. Then, putting a new one in a perfectly shaped hole is essential for a good seal. A proper punch helps ensure that the new grommet sits exactly as it should, without any struggle.
Tackling Hardened Grommets
Old rubber, especially in engine compartments or exposed areas, tends to become incredibly brittle over time. This is a common problem for classic car enthusiasts, as we heard about the 1962 FJ40. Trying to extract a hardened grommet without the right tools can be a real headache; it often crumbles, leaving bits behind that are difficult to clear out. A grommet punch, while primarily for new installations, highlights the need for precision when dealing with these tough materials. For removal, while not a punch itself, the need for a "special tool" to get out those stubborn, broken pieces is very real, and the punch ensures your *new* installation is clean and easy, unlike the removal process you just endured.
When you finally manage to get the old, crumbling bits out, you need a clean, clear opening for the new part. If the old hole is ragged or uneven from the struggle, the new grommet won't seat properly. This is where the concept of a precise hole, which a grommet punch provides for new material, becomes so vital. It helps you prepare the space for a perfect fit, preventing future issues like leaks or loose components. So, really, it's about making sure your hard work on removal pays off with a flawless installation.
Achieving a Professional Finish
Nobody wants a project that looks like it was done in a hurry or with the wrong tools. A grommet punch creates a perfectly round, clean-cut hole every single time. This means no frayed edges on fabric, no jagged tears in plastic, and no uneven gaps around your wiring or hoses. This level of neatness is actually pretty important for both the look and the function of your work.
For instance, when installing those larger firewall grommets, perhaps 30mm mounting holes with a 40mm total width, for a wiring loom in a vehicle, a clean hole is absolutely essential. A messy hole could lead to wires rubbing and eventually shorting out, or it could allow moisture and dirt to get through the firewall. A professional finish means durability and safety, not just good looks. It just gives you that confidence in your work, you know?
Saving Time and Frustration
Think about the time someone might spend searching for "a comprehensive list of grommets" or trying different methods to get a hardened PCV grommet out, only for it to break into pieces. That's time and effort wasted, and it’s very frustrating. A grommet punch, by contrast, simplifies the hole-making process immensely. It's a quick, single action that creates the perfect opening, every time.
This efficiency means you spend less time struggling with makeshift tools and more time actually completing your project. It also reduces the chances of making mistakes that require you to start over or patch up damaged material. So, in a way, it’s an investment in your peace of mind and the quality of your finished product. It really does make a big difference, you know, when you’re trying to get things done right.
Types of Grommet Punches for Different Jobs
Just like there are different types of jobs that need grommets, there are also various kinds of grommet punches, each designed for specific materials and levels of use. Knowing which type is best for your particular project can save you a lot of trouble and ensure you get the best possible result. So, it's worth looking at the options available to you.
Handheld Punch Kits
These are perhaps the most common type for general DIY and occasional use. A handheld punch kit usually includes a set of different sized cutting dies and a punch tool, which you strike with a hammer. You place your material on a cutting mat or block, position the die, and then hit the punch to create the hole. They are pretty versatile and can handle a variety of materials like fabric, leather, and thin plastics.
They are, you know, quite affordable and don't take up much space, making them a good choice for someone who only needs to install grommets every now and then. However, they do require a bit of physical effort and a steady hand to get a perfectly straight cut. For those larger grommets, say the 46mm ones, you'd definitely want a good, heavy hammer to get a clean cut.
Rotary Punches
A rotary punch looks a bit like heavy-duty pliers, but instead of jaws, it has a rotating wheel with several different sized punch heads. You simply rotate the wheel to select the desired hole size, position your material between the jaws, and squeeze the handles. These are great for lighter materials like paper, cardstock, thin leather, and some fabrics.
They offer convenience because you don't need a hammer or a separate cutting surface, and changing sizes is very quick. However, their reach is limited to how far you can insert the material into the jaws, and they might not be strong enough for very thick or tough materials. They're very handy for small, quick jobs, though, that's for sure.
Grommet Pliers
These tools are specifically designed to both punch the hole and set the grommet in one go, or sometimes in two distinct steps with the same tool. They look like heavy-duty pliers, and they usually come with a set of dies that match specific grommet sizes. You squeeze the handles to cut the hole, and then often, with a different part of the pliers, you crimp the grommet into place.
Grommet pliers are incredibly convenient for repetitive tasks, especially with fabric or canvas, where you're installing many grommets of the same size. They offer good control and consistent results. However, they are typically limited to a few specific grommet sizes that fit the pliers' dies, so they might not be the best choice if you need a wide range of sizes, like those 26mm or 46mm ones mentioned earlier.
Heavy-Duty Presses
For professional use or very frequent grommet installation, a heavy-duty press is the way to go. These are often bench-mounted machines that use a lever or foot pedal to apply significant force. They come with interchangeable dies for various grommet sizes and types, and they can punch through very thick or tough materials, including multiple layers of fabric, vinyl, or even thin metal sheets.
Presses offer unparalleled consistency, speed, and ease of use, making them ideal for commercial applications like banner making, tarp manufacturing, or large-scale upholstery projects. They are, of course, a much larger investment in terms of cost and space, but for high-volume work, they are virtually indispensable. They make quick work of even the toughest materials, you know, which is rather impressive.
Choosing the Right Grommet Punch for Your Project
Picking the right grommet punch isn't just about grabbing the first one you see. It really depends on what you're trying to achieve, the materials you're working with, and how often you plan to use it. Making a thoughtful choice can save you frustration and ensure your projects turn out just the way you want them to. So, let's consider a few key things.
Considering Material and Thickness
The type of material you'll be punching through is actually a very important factor. For delicate fabrics or paper, a rotary punch or grommet pliers might be sufficient, as they offer precise control without excessive force. If you're working with tougher materials like heavy canvas, leather, or multiple layers of fabric, a handheld punch kit with a hammer or a heavy-duty press will be much more effective.
Think about the thickness, too. A thick piece of rubber, like a firewall grommet, or multiple layers of vinyl for a banner, will require more cutting power than a single sheet of paper. Trying to use a light-duty punch on a thick material will likely result in an incomplete or ragged hole, which is not what you want at all. So, you know, match the punch's capability to your material's demands.
Matching Grommet Size
Grommets come in a huge range of sizes, as we heard with the 46mm, 26mm, and 30mm mounting hole sizes. Your grommet punch must, of course, be able to create holes that perfectly match the barrel diameter of the grommets you plan to use. Many punch kits come with interchangeable dies for various sizes, which is rather convenient.
If you only ever use one specific size of grommet, a dedicated single-size punch or pliers might be fine. But if your projects vary, a kit with multiple dies will offer much more versatility. Always double-check that the punch sizes in the kit correspond to the grommet sizes you typically work with to avoid any surprises down the line. It's really about planning ahead, you know.
Frequency of Use
How often you'll be using the grommet punch should also influence your decision. For occasional DIY projects, a basic handheld kit or a pair of grommet pliers is usually a cost-effective and perfectly adequate choice. They're easy to store and simple to operate for a few holes here and there.
However, if you're running a small business, doing frequent repairs, or tackling a large restoration project with many grommets, investing in a more robust solution like a heavy-duty press could save you significant time and effort in the long run. It's like, you know, buying a good quality tool that will stand up to repeated use rather than one that might wear out quickly. The initial cost might be higher, but the long-term benefits are usually worth it.
Step-by-Step: How to Use a Grommet Punch Effectively
Using a grommet punch effectively is all about preparation and technique. Getting a clean, professional result every time is actually pretty simple once you know the steps. So, let's walk through the process, making sure your grommets are set just right.
Preparing Your Material
First things first, make sure your material is clean and laid out flat. If you're working with fabric, it might be a good idea to iron out any wrinkles. For materials that tend to fray, like some fabrics, consider reinforcing the area where the grommet will go. You can do this with a bit of fusible interfacing or a dab of fabric glue around the intended spot. This extra step, while seemingly small, can really help prevent tearing and ensure a stronger hold for your grommet.
Mark the exact spot where you want the center of your hole to be. A pencil or a fabric marker works well for this. Accuracy here is important, especially if you're installing multiple grommets that need to be evenly spaced, like on a tarp or a curtain. Take your time with this step, because once you punch the hole, there's no going back, you know.
Positioning the Grommet
If you're using a handheld punch kit, place your material on a sturdy, sacrificial cutting surface. This could be a specialized cutting mat, a piece of scrap wood, or a heavy-duty plastic block. Never punch directly onto a valuable surface, like your workbench or floor, as the punch will go straight through. For grommet pliers or rotary punches, simply position the material between the jaws of the tool, aligning your mark with the center of the punch opening.
Make sure the material is flat and smooth, with no wrinkles or folds under the punch area. This ensures a clean, round cut. If you're working with a thicker material, you might need to apply a bit more pressure or ensure your hammer strike is firm and direct. It's all about getting that perfect alignment, you see.
Making the Punch
For handheld punches, place the sharp cutting die directly over your marked spot. Hold the punch firmly, keeping it as vertical as possible. Then, strike the top of the punch with a hammer. You usually need one or two solid, sharp blows rather than many light taps. The goal is to cut through the material cleanly in one go. Check the hole; if it's not completely cut, you can try another firm tap.
With rotary punches or grommet pliers, simply squeeze the handles together firmly and evenly. You'll feel the tool cut through the material. Listen for the satisfying "click" or "thud" that tells you the cut is complete. Once the hole is made, remove any excess material that might be stuck in the punch, which is rather common, you know, especially with softer materials. A clear hole is what we're aiming for.
Setting the Grommet
Once you have your perfectly punched hole, it's time to set the grommet. Most grommet kits come with two parts: the grommet (which has a barrel) and a washer (which is flat). Insert the barrel of the grommet through the hole from the front side of your material. The flange of the grommet should rest flat against the material.
Then, place the washer over the barrel on the back side. You'll then use a setting tool (often included in the punch kit) and a hammer, or the setting part of your grommet pliers, to crimp the barrel of the grommet over the washer. This creates a secure, reinforced hole. Apply firm, even pressure or strikes until the grommet is fully crimped and holding tightly. Check that it's secure and flat against the material, and that's it, you're done!
Amazon.com: Rubber Grommets for 5/16" Panel Hole - 3/16” ID x 7/16 OD
Rubber grommet 20mm plate hole x 1.6mm plate thickness 12mm internal

Buy 125 Piece Rubber Grommets Kit, Rubber Grommets for Wiring, Rubber
