Ignite Your Ride: The Enduring Appeal Of Flame Stencils For Cars
Detail Author:
- Name : Michaela Ritchie
- Username : mazie.rutherford
- Email : kaia.effertz@parker.net
- Birthdate : 2000-07-07
- Address : 9085 Lavada Tunnel South Gregg, AK 53117
- Phone : +1-520-752-6179
- Company : Legros LLC
- Job : Financial Services Sales Agent
- Bio : Qui id perferendis est voluptates est rerum voluptatem odio. Est suscipit asperiores libero molestiae suscipit perspiciatis in. Enim praesentium magni incidunt.
Socials
tiktok:
- url : https://tiktok.com/@emileroob
- username : emileroob
- bio : Repellat omnis velit et error quia quas sit.
- followers : 172
- following : 73
twitter:
- url : https://twitter.com/roobe
- username : roobe
- bio : Deserunt est quam nihil et. Tenetur quidem qui assumenda impedit laboriosam eos.
- followers : 3316
- following : 764
facebook:
- url : https://facebook.com/emileroob
- username : emileroob
- bio : Enim maiores alias rem.
- followers : 749
- following : 2424
There's something truly captivating about flames, isn't there? That glowing, almost living part of a fire, a stream of hot, burning gas, gives off both light and heat. It is a very powerful image. For car enthusiasts, this fiery appeal often finds its way onto their vehicles, creating a dynamic look that really stands out. Flame stencils for cars offer a fantastic way to bring this intense visual energy to your ride, making it seem like it is moving even when parked. This kind of design speaks to speed, power, and a bold sense of style, so it is quite popular.
Adding a flame design to your car used to mean hours of intricate freehand painting by a professional, which could be very expensive and, you know, a bit daunting. But now, with the rise of flame stencils for cars, getting that custom, hot rod look is much more accessible. These stencils provide a simple path to achieve precise, eye-catching patterns without needing to be an expert artist yourself. It's a pretty neat solution for anyone wanting to personalize their vehicle with a classic, yet always fresh, aesthetic. So, it's almost like having a professional finish right at your fingertips.
Whether you're looking to give your daily driver a bit of extra flair or you're preparing a show car for an event, flame stencils offer a versatile and impactful way to express your personality. They allow you to transform a plain surface into something truly unique, reflecting a passion for speed and a love for distinctive vehicle art. This approach helps you make your car truly yours, a rather personal statement on wheels, you know? It's about making a statement without having to commit to a fully custom paint job.
Table of Contents
- Why Flames on Cars Are So Compelling
- The Big Benefits of Using Stencils
- Finding Your Perfect Flame Stencil
- Getting Your Car Ready for the Flames
- Applying the Stencil Just Right
- Painting Your Flames with Precision
- The Reveal and Finishing Touches
- Keeping Your Flames Looking Hot
- Beyond the Hood: Creative Placement Ideas
- Frequently Asked Questions About Flame Stencils for Cars
- Where to Find Your Next Flame Stencil Adventure
Why Flames on Cars Are So Compelling
The visual of a flame, a hot, glowing mass of burning gas, has always held a special fascination for people. It is a symbol of energy, passion, and speed, which is why it connects so well with cars. When you see flames on a vehicle, it suggests a powerful engine and a driver with a bold spirit. The color and temperature of a flame depend on the type of fuel used, and this variety in nature inspires the many hues we see in flame designs on cars, from deep reds and oranges to cool blues and purples. It is quite interesting how that works.
A flame is, basically, a mix of its fuel, light, and the solids and gases it creates. This natural phenomenon, with its movement and warmth, translates into an incredibly dynamic design element for vehicles. The visual effect of a flame, a body of burning gases emitting heat and light, often produced by combustion, creates an illusion of motion even when a car is standing still. This is what makes flame stencils for cars such a popular choice; they give a static object a sense of raw, untamed energy, which is pretty cool.
The Big Benefits of Using Stencils
Using stencils for your car's flame design offers several clear advantages over trying to paint them freehand. First off, precision is a huge plus. Stencils help you get clean, sharp lines and perfectly symmetrical patterns, which can be really hard to achieve otherwise. This means your flames will look professional and well-done, not like something that was rushed. So, for a polished look, stencils are a great help.
Another major benefit is consistency. If you want flames on both sides of your car or a repeating pattern, stencils make sure each flame looks identical. This uniformity is pretty important for a balanced and attractive design. Plus, for many folks, the thought of freehand painting on their car is a bit scary; stencils take away that fear by guiding your hand. This makes the whole process much more approachable for DIY enthusiasts, which is, you know, a good thing.
Time and cost savings are also significant. Hiring a professional custom painter for flame work can be quite expensive and take a long time. With flame stencils for cars, you can do the work yourself, saving a lot of money and completing the project on your own schedule. This allows for more personal expression without breaking the bank, and that's a big win for many car owners. It's actually a very practical solution.
Finding Your Perfect Flame Stencil
Picking the right flame stencil is the first step to getting that awesome look on your car. There's a huge variety out there, so you'll want to think about the overall style you're going for. Do you want something subtle or something that screams for attention? The choice of stencil will largely dictate the final appearance of your car's new fiery artwork, so take your time looking. It's really about matching the design to your vision.
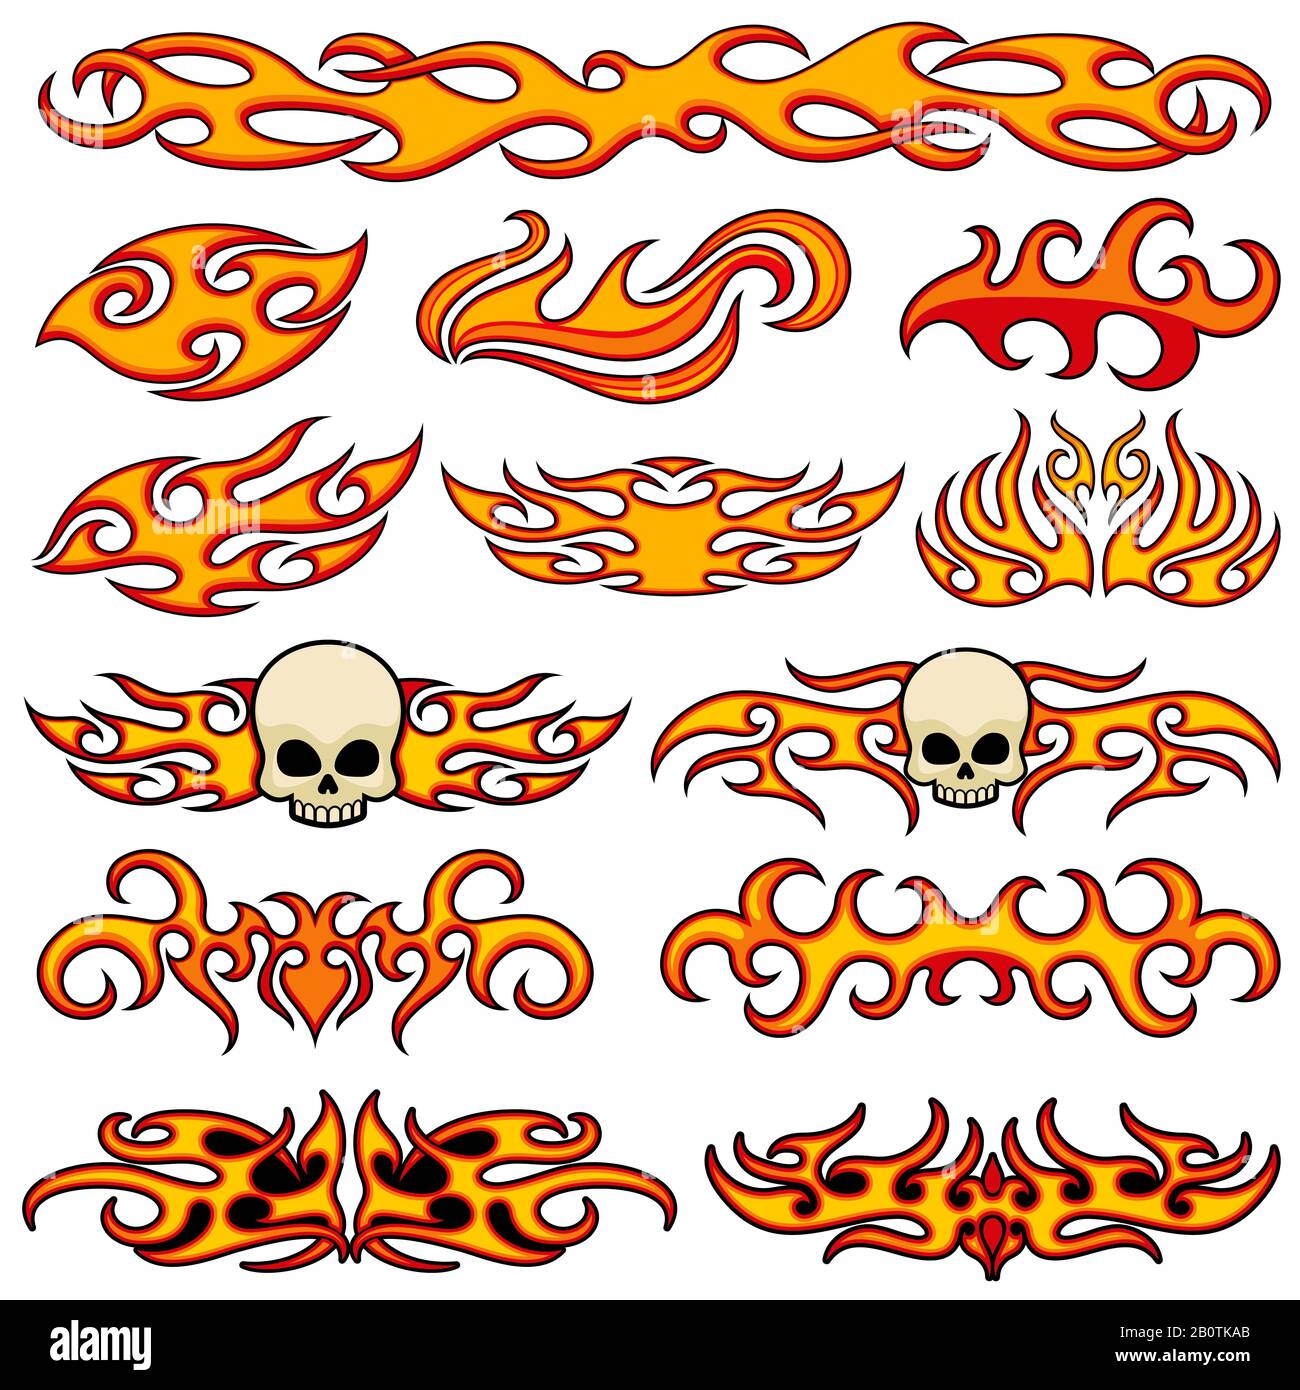
Types of Flame Patterns
Flame designs come in many forms, each with its own character. You have classic, traditional flames that often have a smooth, flowing look, reminiscent of old hot rods. Then there are tribal flames, which are usually more angular and aggressive, sometimes with sharp points. Ghost flames are a bit more understated, often painted in colors that are just slightly different from the base coat, making them visible only in certain light conditions. This can be a very cool effect, actually. There are also realistic flames, which try to mimic the actual appearance of fire, complete with wisps and smoke effects. Each style offers a different vibe, so consider what fits your car's personality best.
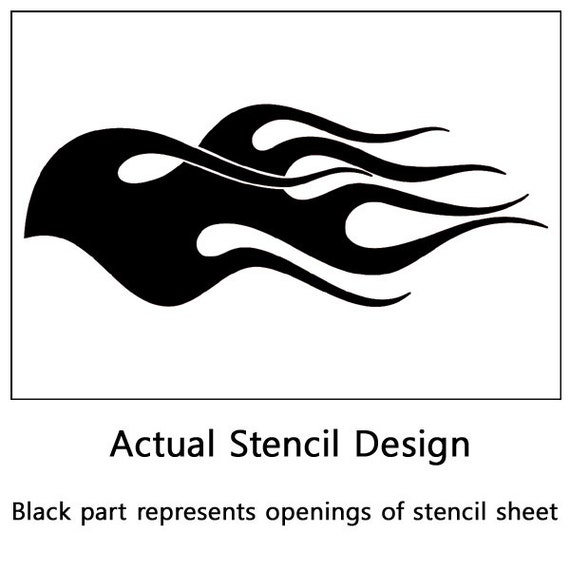
Stencil Materials: What Works Best?
Flame stencils for cars are typically made from a few different materials. Vinyl stencils are very common. They are usually adhesive-backed, meaning they stick directly to your car's surface. These are often single-use, providing a very clean edge because they conform well to curves. Reusable plastic stencils, on the other hand, are thicker and can be used multiple times. They might be better for larger projects or if you plan to do several vehicles. Each material has its advantages, so consider how often you plan to use the stencil and the complexity of your car's curves. It's pretty important to pick the right one for the job.
Getting Your Car Ready for the Flames
Proper preparation is, you know, absolutely essential for a good-looking flame job. First, give your car a thorough wash to remove all dirt, grime, and wax. Any contaminants left on the surface can mess with the stencil's adhesion or the paint's finish. After washing, make sure the surface is completely dry. You might even use a degreaser or rubbing alcohol to wipe down the areas where the stencil will go, just to be sure it's perfectly clean. This step really helps the paint stick well.
Next, you'll want to mask off any areas you don't want painted. Use good quality painter's tape and masking paper or plastic sheeting to cover windows, trim, lights, and any other parts that should stay their original color. Take your time with this part; careful masking prevents overspray and makes cleanup much easier. It's a bit tedious, but it pays off in the end, honestly. Also, working in a dust-free, well-ventilated area is a very good idea to prevent dust from settling on your wet paint.
Applying the Stencil Just Right
Once your car is clean and masked, it's time to apply the flame stencils for cars. This step requires a steady hand and a bit of patience. Before peeling off the backing, position the stencil on your car to get a feel for where you want it. You can use a few pieces of painter's tape to hold it temporarily. Once you're happy with the placement, start peeling the backing from one end, slowly pressing the stencil onto the car's surface. Use a squeegee or a credit card to smooth out any air bubbles as you go, working from the center outwards. This helps the stencil stick firmly and prevents paint from bleeding underneath. It's like, a crucial part of the process.
If you're using a multi-layer stencil, pay close attention to the registration marks. These marks help you line up each layer perfectly for a complex design. Take your time and make sure each part of the stencil is pressed down firmly, especially around the edges of the flame pattern. A good seal is key to getting those crisp lines. Sometimes, a little heat from a hairdryer can help the vinyl conform to curves better, but be careful not to overheat it. This step, you know, really makes a difference in the final look.
Painting Your Flames with Precision
Now for the fun part: adding color to your flame stencils for cars! The type of paint and how you apply it will greatly affect the final appearance. Always follow the paint manufacturer's instructions for drying times and recoating. Working in thin, even coats is almost always better than trying to apply one thick coat, as this helps prevent drips and ensures a smoother finish. It's a pretty important detail for a professional look.
Choosing Your Paint
For car applications, you'll want to use automotive-grade paint. This type of paint is designed to withstand the elements, resist chipping, and maintain its color over time. You can use spray cans for smaller areas or if you're just starting out, but for a truly professional result, an airbrush or paint gun will give you much more control and a smoother finish. Consider the color scheme carefully; traditional flames are often red, orange, and yellow, but custom colors like blues, greens, or even metallics can look incredibly striking. The color of a flame depends on the type of fuel, so you can play with that idea in your design. For instance, a blue flame is typically hotter, so a blue flame design might suggest more power. It's really about personal preference.
Application Techniques for a Fiery Look
When painting, apply several light coats rather than one heavy one. This prevents paint from pooling under the stencil and creating blurry edges. If you're using multiple colors for a fading effect, start with your lightest color first, then layer the darker colors over it, allowing each coat to dry to the touch before applying the next. For example, you might start with yellow, then add orange, and finally red at the base of the flames. This creates a realistic gradient that really makes the flames pop. Some artists even add a touch of black or dark gray for a "soot" effect, mimicking incomplete combustion, which can add a lot of depth. It's a very artistic process.
The Reveal and Finishing Touches
Once your paint has dried completely, it's time for the exciting reveal. Carefully peel off the flame stencils for cars. Do this slowly and at an angle to avoid lifting any of your fresh paint. If you notice any small areas where paint has bled under the stencil, you can often clean these up gently with a fine brush and some rubbing alcohol, but be very careful not to touch your new flame design. After the stencil is removed, allow the paint to cure fully according to the manufacturer's instructions; this might take a few days. Then, applying a clear coat over your new flames is a really good idea. This protects the paint from UV rays, scratches, and the elements, giving it a glossy, durable finish. It's basically like sealing in your hard work.
Keeping Your Flames Looking Hot
To keep your newly stenciled flames looking their best, proper care is important. Wash your car regularly with a gentle car soap and a soft sponge or wash mitt. Avoid harsh chemicals or abrasive cleaners that could damage the clear coat or the paint underneath. If you hand wash, be gentle over the stenciled areas. Using a high-quality car wax or paint sealant periodically will also help protect the finish and keep your flames looking vibrant for years to come. This kind of maintenance, you know, helps preserve your investment and keeps your car looking sharp. It's a pretty simple way to ensure longevity.
Beyond the Hood: Creative Placement Ideas
While the hood is a classic spot for flame stencils for cars, don't feel limited to just one area. Flames can look amazing on the sides of your vehicle, running along the fenders or doors, creating a sense of speed. They can also be applied to the trunk lid, roof, or even subtly on interior panels for a cohesive custom look. Some people even put smaller flame accents on wheel covers or mirror caps. Think about how the flames will flow with the lines of your car and what kind of statement you want to make. You could, for example, have them start small at the front and grow larger towards the back, suggesting acceleration. It's really about your imagination.
You can also experiment with different flame types and colors to create unique effects. For instance, a subtle ghost flame on a dark car can be incredibly elegant, while bright, traditional flames on a lighter vehicle will grab immediate attention. Consider layering different stencil sizes for a more complex, multi-dimensional flame. You might even combine flames with other design elements like pinstriping for a truly personalized touch. Learn more about car customization on our site, and link to this page for more stencil ideas. There are so many possibilities, it's almost endless.
Frequently Asked Questions About Flame Stencils for Cars
Q: How long do flame stencil designs last on a car?
A: The lifespan of your flame design really depends on the quality of the paint used, how well it's applied, and if a clear coat is added. With good automotive paint and a protective clear coat, your flames can last for many years, pretty much as long as a factory paint job. Regular care, like washing and waxing, also helps a lot to keep them looking fresh.
Q: Can I remove flame stencil paint if I change my mind?
A: If the flames are painted directly onto your car's clear coat, removing them without damaging the original paint can be quite challenging. It often requires professional sanding and repainting of the area. If you're looking for a temporary flame look, consider using flame decals or wraps instead, as those are designed for easier removal. It's important to know this before you start, you know?
Q: Are flame stencils suitable for beginners?
A: Absolutely! Flame stencils for cars are actually a fantastic way for beginners to get into car customization. They take away the difficulty of freehand drawing and help you achieve professional-looking results with practice. Starting with a smaller, simpler stencil design on a less visible part of the car, like a mirror cap, can be a good way to gain confidence before tackling a larger area. It's a pretty straightforward process if you follow the steps.
Where to Find Your Next Flame Stencil Adventure
Finding quality flame stencils for cars is easier than ever these days. Many online retailers specialize in automotive stencils and decals, offering a wide selection of designs, sizes, and materials. You can often find custom stencil makers who can create a unique flame pattern just for you. Local auto body shops or custom paint shops might also carry a selection or be able to recommend good suppliers. When choosing a supplier, look for reviews that mention good material quality and precise cuts. This ensures you get a stencil that will give you the best possible results, which is pretty important for a smooth application. For more ideas and inspiration, you can check out forums and communities dedicated to car customization, like those found on Autogeek Online, where enthusiasts share their projects and tips.
Flame Stencils For Cars

Flame Stencils For Cars
Flame Stencils For Cars
